Great Planes CAP 232 40 Kit - GPMA0232 User Manual
Page 18
B. Use the sharpened tube to
carefully gouge the leading
edge of the aileron. You'll have to make a few cuts to make
the recess deep enough for the torque rod.
❏ ❏
11. Test fit the aileron to the wing to make sure the
torque rod fits and there is approximately 1/16" clearance
between the aileron and the root of the wing with the
aileron aligned at the tip. Make adjustments if necessary.
❏ ❏
12. Mark the location of the hinges on the aileron and
the wing. Cut the hinge slots. Without using glue, test fit the
aileron to the wing with the hinges.
❏ ❏
13. Remove the aileron from the wing. Mark the
"bevel to" lines and shape the leading edge of the aileron to
a "V" as shown on the plan the same way you did for the
elevator and the rudder.
❏
14. Perform the same steps to shape the right aileron
and fit it to the wing.
❏
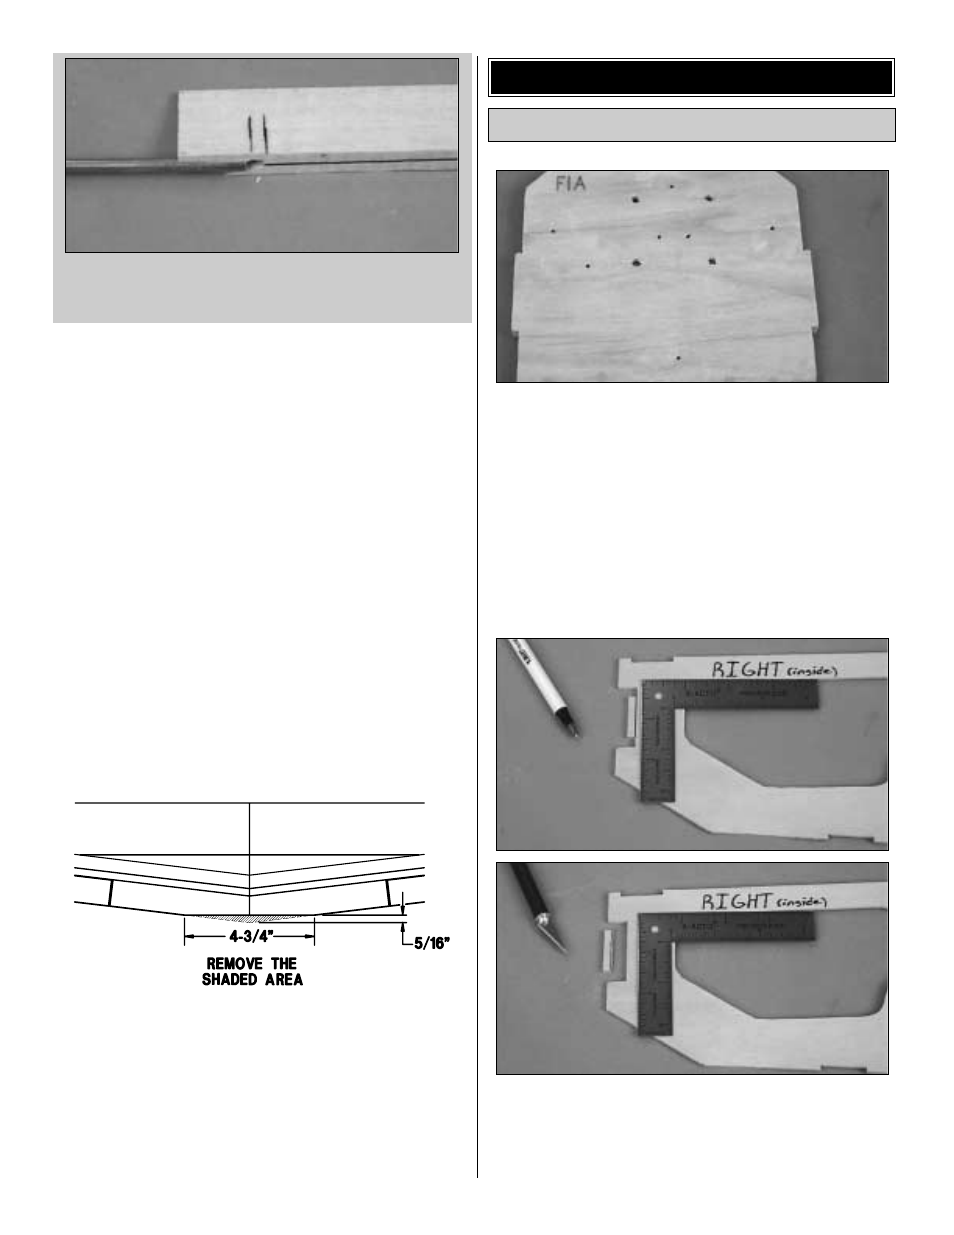
15. Sand approximately 5/16" into the TE at the
centerline. (The flat will end up approximately 4-3/4" wide).
❏
16. Use lightweight balsa filler such as HobbyLite to fill
glue joints or dents in the wing. After the filler has fully dried
use your bar sander to sand the wing using progressively
finer grades of sandpaper so it is smooth and all the joints
are blended.
❏
1. Use 30-minute epoxy to glue the firewall formers
F-1A and F-1B together. Make sure the embossed label on
F-1A is facing UP and the edges and tabs on both formers
are aligned. Wipe away excess epoxy before it cures. From
now on this assembly will be referred to as the firewall.
Note: If the formers are warped, simply clamping them
together may not "cancel out" the warps. It is best to clamp
the formers to a table or a flat board until the epoxy cures.
❏
2. Use a straightedge and a ball point pen to draw a line
across the
tab connecting the notches in the front of only
one of the fuselage sides. Use the line as a guide to
remove the tab with a #11 knife blade. On the inside
surface, label this as the RIGHT fuselage side.
Assemble the Fuse Formers & Sides
BUILD THE FUSELAGE
18