Decisions you must make now – Great Planes Spirit 2-Meter Sailplane Kit - GPMA0530 User Manual
Page 5
COMMON ABBREVIATIONS USED IN
THIS BOOK AND ON THE PLANS:
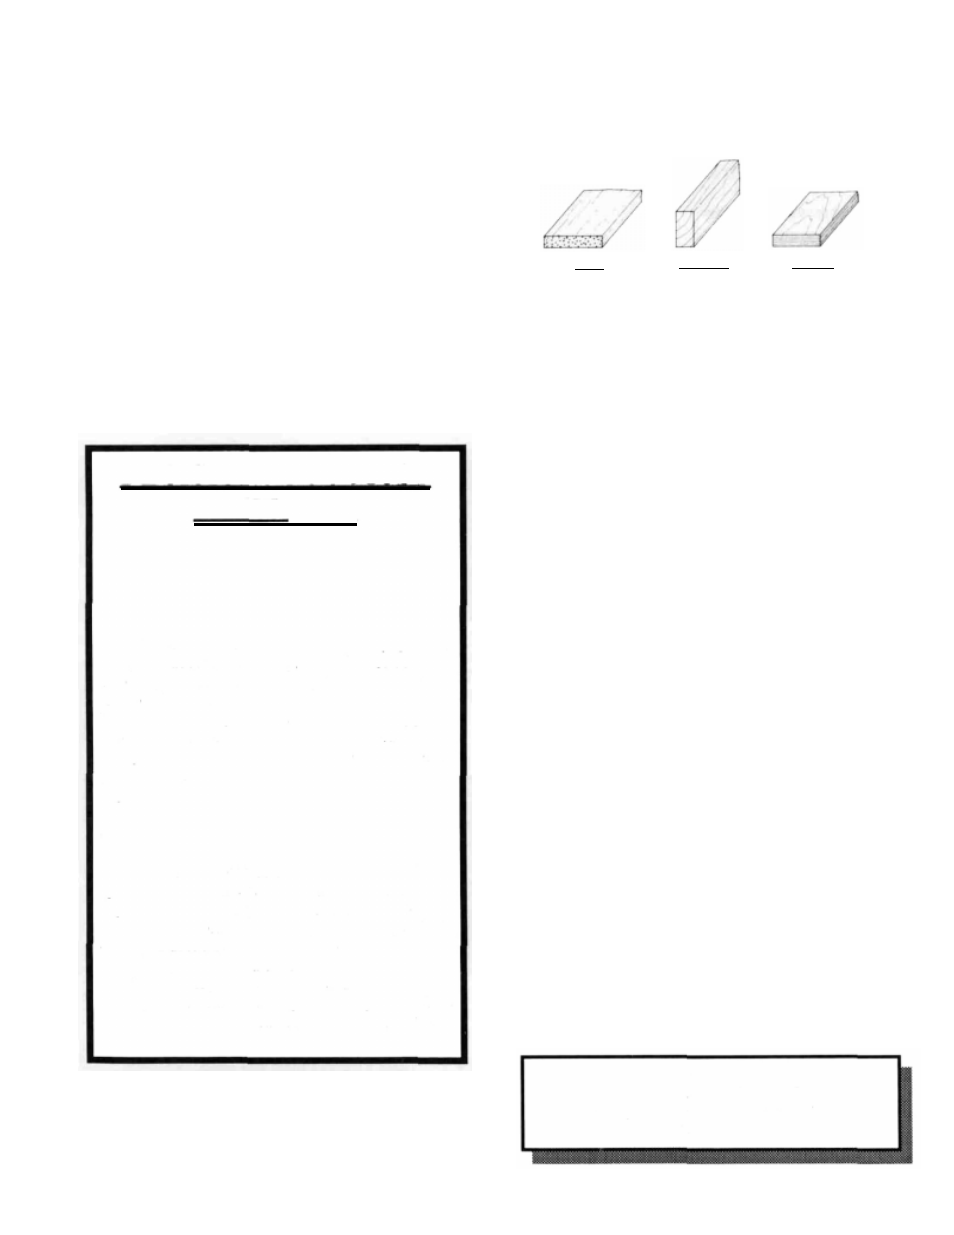
TYPES OF WOOD
Elev
Fuse
LE
Lt
Ply
Rt
Stab
TE
= Elevator
= Fuselage
= Leading
Edge
(front)
Left
= Plywood
= Right
= Stabilizer
= Trailing
Edge
(rear)
" =
Inches
BALSA
B A S S W O O D
P L Y W O O D
DECISIONS YOU MUST
MAKE NOW
WING CONFIGURATION
The SPIRIT kit has three different wing options: a
two-piece rubber band on wing, a one-piece bolt on wing
or a one-piece rubber band on wing. The two-piece wing
is the easiest version to build and is recommended for
beginners. Some experienced sailplane pilots may prefer
the one-piece bolt on wing, but the large wing can present
transportion problems in todays small cars. The one-
piece rubber band wing would be the next best choice for
beginners.
SPOILERS
The SPIRIT can be built either with or without
spoilers. Spoilers act as airbrakes and make it easier for
experienced pilots to precisely land on target during
contests. They can also be helpful in losing altitude
quickly. Due to the added complexity encountered when
installing spoilers, they are NOT recommended for first
time builders. If you are a beginner and may eventually
want spoilers, install just the spoiler tubing now and the
rest of the spoiler pans can be installed when you are
ready.
GET READY TO BUILD
NOTE: It will be helpful to build on a piece of
"Celotex", or other semi-soft (and flat) surface,
into which you may easily stick pins to firmly hold
down the parts while building and to avoid warps.
1. Unroll the plan sheet. Re-roll the plan inside out and let
it uncurl while you read through this instruction book. This
will help the plan lay flat and get you acquainted with the
building process. NOTE: Because there are several op-
tions to consider when building the SPIRIT, you should
read the instruction book through before building and
then go back and cross off the steps you won't use to build
your model.
2. Remove
all
parts from the box. As you do, figure out the
name of each part by comparing it with the plans and the parts
list at the back of this book. Write the part name or size on
each piece to avoid confusion later. Use the die-cut patterns
shown on page 4 to identify the die-cut parts and mark them.
If any of the die-cut parts are difficult to punch out during
construction, do not force them! Instead, first cut around the
parts with a hobby knife. After punching out the die-cut parts,
use your T-Bar or sanding block to lightly sand the edges to
remove any die-cutting irregularities.
INSTRUCTIONS IN BOXES LIKE THIS
ARE VERY IMPORTANT AND SHOULD
BE FOLLOWED CAREFULLY
5