Great Planes Spirit 2-Meter Sailplane Kit - GPMA0530 User Manual
Page 20
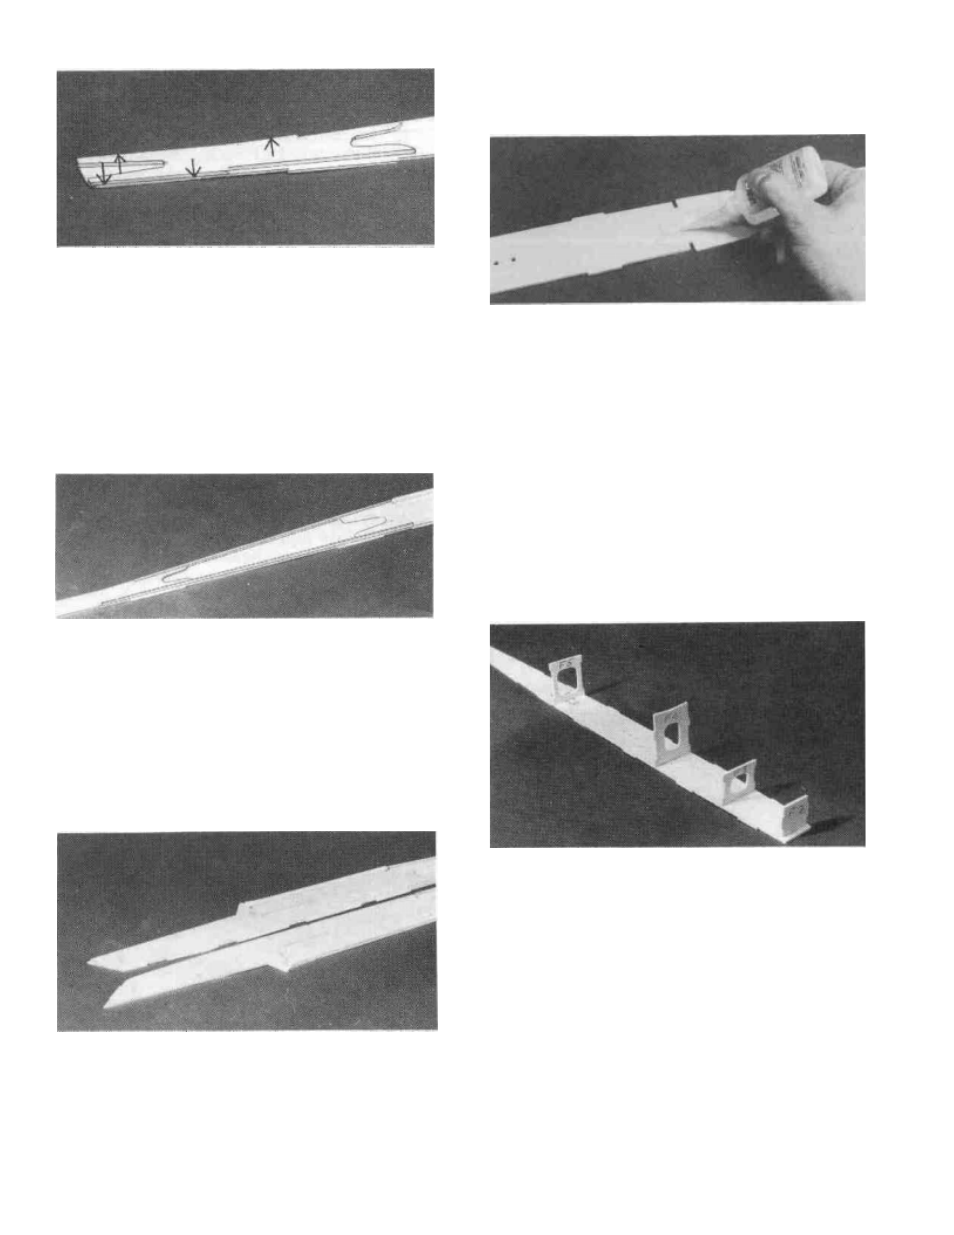
DD 3.
Glue the 3/32" Die-Cut Balsa Rear Fuselage
Doubler (SPRTF02) in place making sure it lines up with the
fuselage sides at the rear of the doubler where the arrows in
the photo arc pointing.
DD 4.
Glue one of the 3/32" Die-Cut Balsa Wing
Saddle Triplers (SPRTF01) in place on lop of the front
fuselage doubler. Do not let the tripler overlap the notches for
the formers.
FRAME-UP THE FUSELAGE
D 1.
Lay a piece of waxed paper over the FUSELAGE
TOP VIEW. Assemble but do not glue glue yet 1/8" Die-Cut
Plywood Front Fuselage Bottom (SPRTF03) and the 3/32"
Die-Cut Balsa Rear Fuselage Bottom (SPRTF04) together
over the FUSELAGE TOP VIEW on the plans. The 1/8"
plywood bottom should be installed with the three towhook
hole marks DOWN so you can tell where to drill the towhook
holes after the fuselage is assembled. Make sure the bottoms
are aligned with the plan and that both pieces are pushed
firmly against the work surface to even up the bottoms. If the
joint is a nice tight fit, apply thin CA to the joint. If the joint
is a little loose, take the bottoms apart, apply thick CA and
reassemble them.
DD 5.
Cut one of the 1/8" Square Balsa Stringers
(SPRTF07) to fit between the notch for former F5 and the rear
doubler and glue it in place making sure it is lined up flush
with the lop edge of the fuselage side (excluding the tabs).
Cut another 1/8" sq. balsa stringer to fit along the bottom
between the rear doubler and the notch for former F5 and glue
it in place. Make sure it is lined up flush with the bottom edge
of the fuselage side (excluding the tabs).
D 6.
Go back to step 2 and assemble the RIGHT fuselage
side. The easiest way to do this is to pin the other fuselage side
upside down above the one you just built as shown in the
photo. MAKE SURE YOU ARE NOT BUILDING TWO
IDENTICAL SIDES, THEY SHOULD BE THE OPPO-
SITE OF EACH OTHER.
D 2.
Trial fit all of the 1/8" Plywood Formers (except
Fl) in the respective notches in the fuselage bottom and sand
them if needed to make them fit properly. Use thick CA to
"Tack" glue the formers in place. The notches in the
fuselage sides will align the formers correctly.
D 3. Align
the fuselage sides with the fuselage bottom
and position the formers so they will key into the notches.
Remove the assembly from the work surface and use rubber
bands to hold it all together.
D 4.
Check the fit of the 1/16" Plywood Tow-hook Plate
(SPRTW05) in its slot between formers F4 and F5. Enlarge
the slot if needed to make the plate fit and glue it to the
20