Great Planes Spirit 2-Meter Sailplane Kit - GPMA0530 User Manual
Page 14
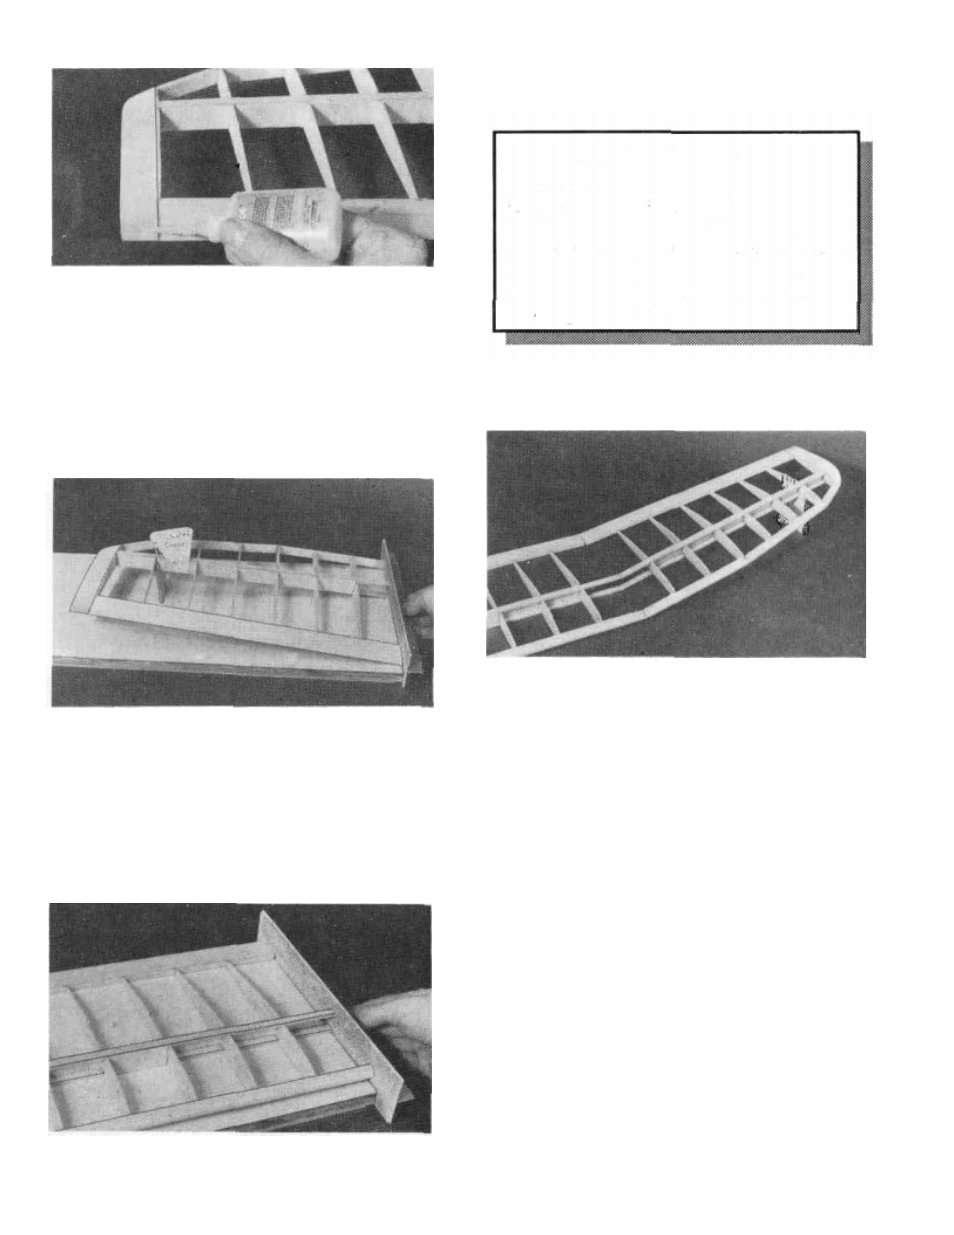
DD 13. Apply several drops of thin CA to the rear portion
of the balsa wing tip. Allow the glue to soak into the wood and
cure. The glue will help harden the wood and protect it from
damage.
sand the leading edge, spars and trailing edge so they are all
even and of the correct length.
NOTE: The SPIRIT'S wing is designed to be
just under the legal maximum projected wing
span for 2-meter sailplanes (approximately
78-3/4"). Be very careful when joining these
panels to get the right amount of dihedral and
to keep the panels the correct length or you
could very easily build a wing that is too long
for competition in the 2-meter class.
JOIN THE INNER AND OUTER WING
PANELS
DD 1. Prop up the outer panel 2-5/8" (from the work
surface to the bottom of W10) using the lower notch of the
Dihedral Gauge (from SPRTW08) next to rib W9. Use a
sanding block to carefully sand the leading edge, spars and
trailing edge to achieve vertical surfaces on each. Check your
progress by occasionally setting the panel on the plans to
make sure you are not sanding any "sweep" (forward or
backward tilt) into the wing.
DD 2.
With the inner panel flat on the work surface,
DD 3. Test fit the inner and outer panels together over
the plan to make sure the leading edges, spars, and trailing
edges all meet up nicely when the tip panel is blocked up the
required 2-5/8" at the bottom of rib W 10 (Use the lower notch
of the dihedral guage at W9 as shown on the plans to obtain
the correct angle). Sand any ends if needed to make every-
thing fit well.
DD 4.
With the dihedral gauge in place. Apply thick CA
or epoxy to the leading edge, trailing edge and spar joints to
"tack glue" the two panels together. Hold everything in
place until the glue has cured.
DD 5.
Punch out two of the 1/32" Plywood Polyhedral
Braces from the die-cut sheet (SPRTW06) and test fit them
in place against the front and back of the spars. Sand them if
needed to achieve a good fit.
DD 6.
When satisfied with the fit apply a generous bead
of epoxy or thick CA to the spars and install the braces on both
sides of the spars. Use the die-cut C2 clamps (from
SPRTW08) to hold everything in place. The photo at the top
of the next page shows this procedure.
14