Carl Goldberg GBGA1064 User Manual
Page 5
5
AILERON SERVO INSTALLATION
1.
Collect the following parts:
(1) Left wing
(1) Right wing
(2) Servos
(2) 12” Servo Extensions
(1) Wheel Collar
(1) 24” Thread ( Not Included)
2.
Locate the the servo hole in the bottom of
wing.
Carefully cut the covering over the servo
holes.
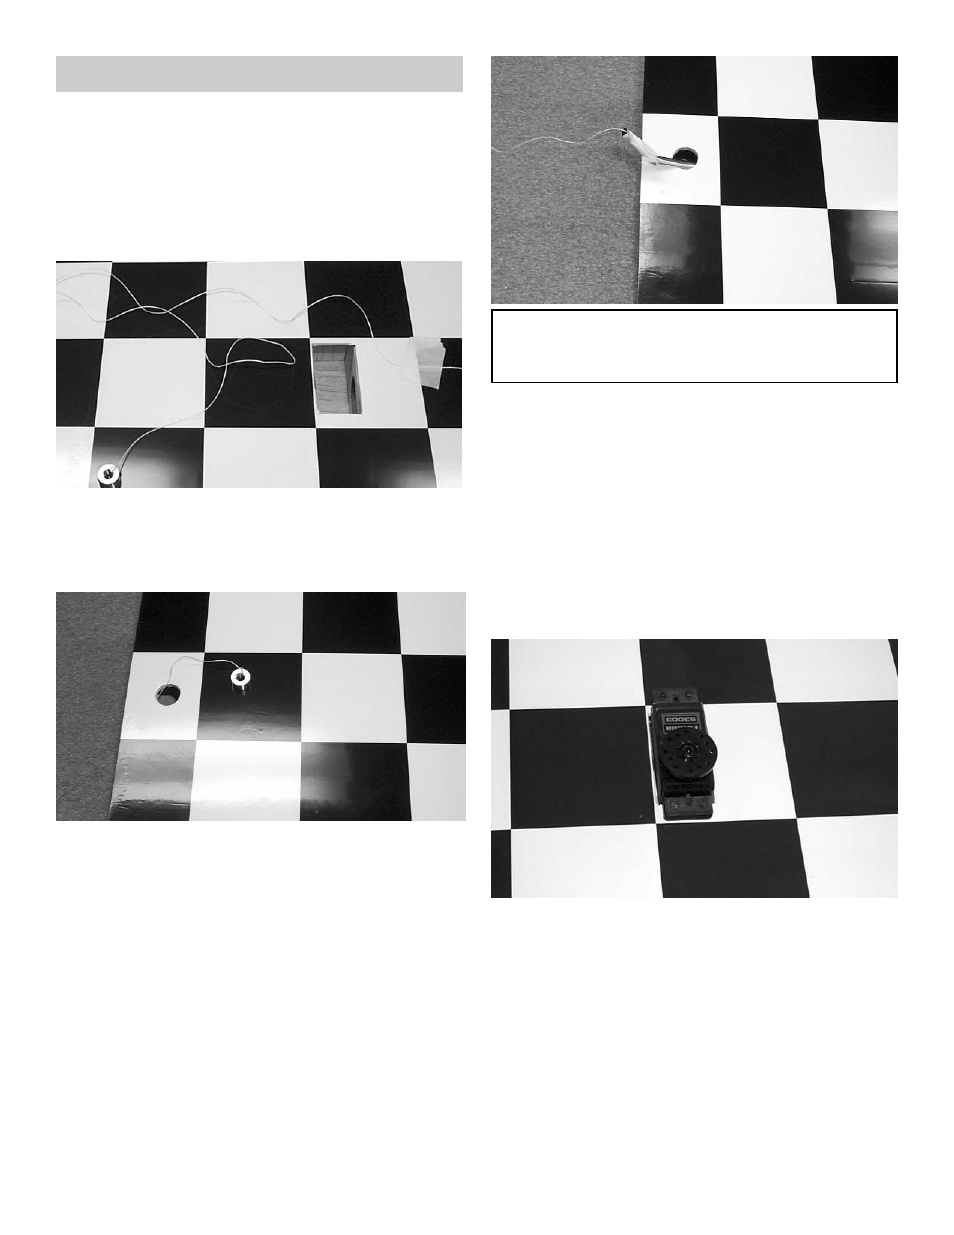
3.
Tie the string to the wheel collar.
Insert the wheel collar with the string into the
servo hole.
While holding the wing up on the root rib, drop
the other end of the string with the nut into the
aileron servo hole. Allow the nut to fall down
through the wing rib holes till it rest against
the center root rib.
Pull the wheel collar with the string out the
hole in the bottom of the wing next to the cen-
ter rib.
IMPORTANT! To ensure that any connections locat-
ed inside the wing will not come loose, either when
the wires are pulled, or during flying, always tape
them securely together with electrical tape.
4.
Attach the aileron servo wire to the12" exten-
sion and securely tape the connection togeth-
er.
Tie one end of the string to the aileron servo
extension.
3.
SLOWLY pull on the string until the end of the
12" extension comes out of the hole.
Tape the extension securely to the wing, so
that it will not slide back in while you are work-
ing.
4.
Using the screws supplied with your radio,
screw the servos to the mounting plates in the
wings.
Repeat these steps for the other aileron
servo.