Carl Goldberg GBGA1064 User Manual
Page 15
15
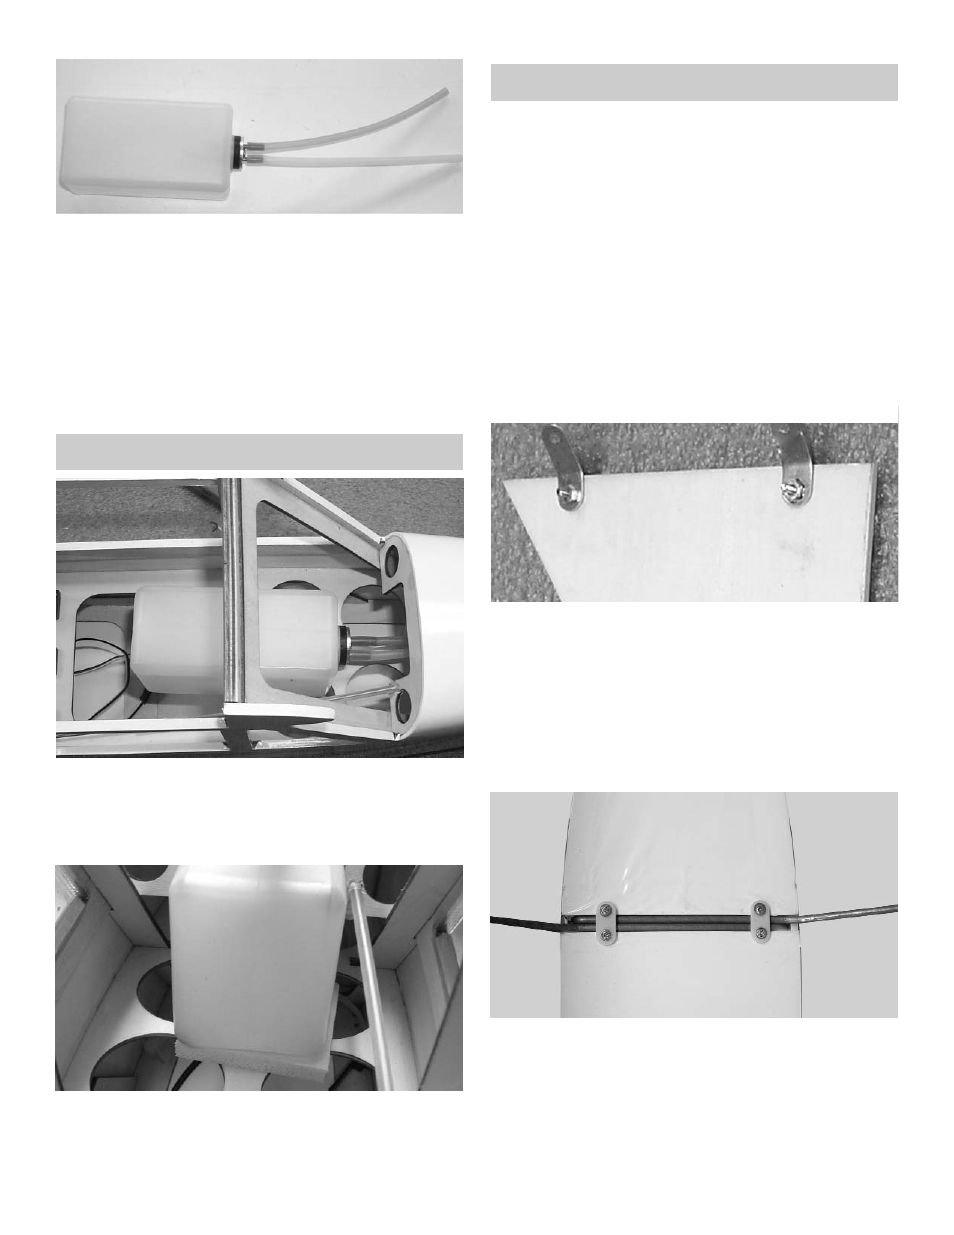
6.
Attach the two pieces of 5mm tubing to the
two tank outlets. They are different colors so
you can tell which is the vent and which is the
fuel pickup after the tank is installed. Make a
note of which color you attach to which tube.
The short brass with the clunk is the fuel pick-
up and must go to the carburetor. The long
brass tube is the vent and should go to the
pressure outlet on the muffler.
Set tank aside till ready to install.
FUEL TANK INSTALLATION
1.
Making sure the vent tube is pointing up inside
the tank, install the fuel tank through the fuse-
lage cabin.
Insert the fuel lines through the hole in the fire-
wall
2.
You can insert some optional foam rubber
under the fuel tank to help hold the tank in
place.
Connect the fuel lines to your motor.
MAIN LANDING GEAR
1.
Collect the following items:
(4) 1/2” Brass Straps
(4) 2-56 Hex Nuts
(4) 2-56 x 5/16 Philip Head Screw
(2) Main Landing Gear Wire
(2) 1/2” Nylon Landing Gear Straps
(4) #2 x 5/16 Sheet Metal Screw
(4) #2 x 3/8 Sheet Metal Screw
(4) 5/32 Wheel Collars with Set Screws
(2) 3-1/4” Wheels
(2) Small Rubber Bands
(2) Covered Landing Gear Fairing
1.
Bend the 1/2” brass straps the same as you
did on the wing.
Insert the 2-56 x 5/16 screws through the front
of the landing gear fairing.
Place a brass strap and a 2-56 hex nut and
tighten.(Don’t Forget to use Lock tight).
Repeat this for the other landing gear fairing.
Make sure you make a left and right side.
2.
Insert the Main landing gear wire into the hole
in the bottom of the fuselage.
Hold the landing gear in place by using the
1/2” nylon straps across the wire and #2 x 3/8”
screws.