Installing mfp front panel software – Kofax Document Exchange Server 2.5 User Manual
Page 43
Kofax Document Exchange Server Installation Guide for WebLogic
Kofax, Inc.
39
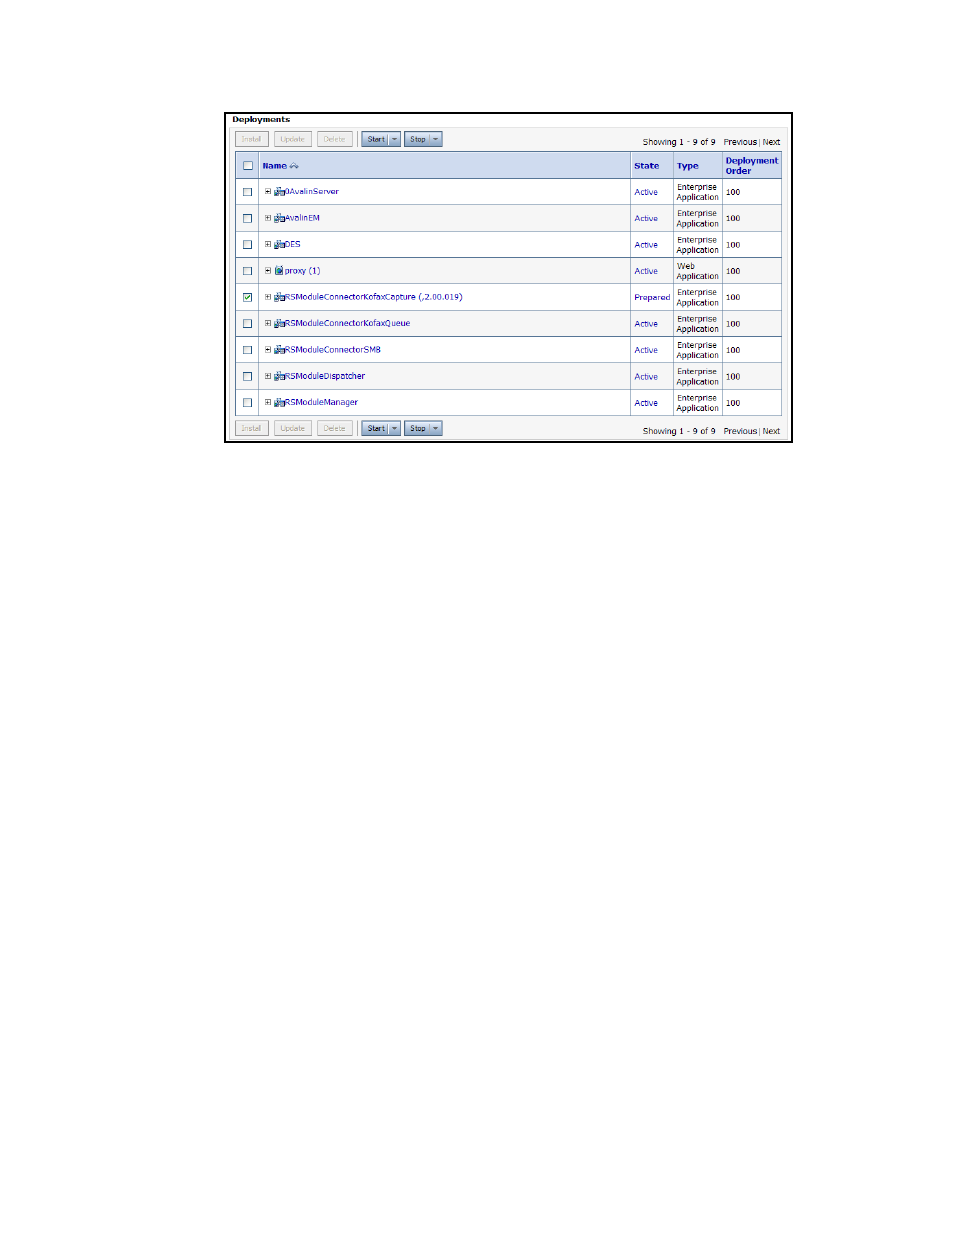
Figure 17. Deployments Table with Connector Selected
12
Click Start | “Servicing all requests”. Click Yes when prompted. The connector should
now be deployed and active.
13
In Kofax Administration Console, be sure the connector is enabled.
X To delete a connector
1
In the WebLogic Server Administration Console in your Document Exchange Server
domain, select Deployments and click the Lock & Edit button.
2
If the connector you want to delete is in an Active state, you must stop it before it can be
deleted. Select the check box to the left of the connector name and click Stop | Force Stop
Now (or appropriate selection, depending on whether there is work to be completed).
3
Select Yes when prompted. The connector State returns to Prepared.
4
Select the check box to the left of the connector name of the connector you want to delete.
5
Click the Delete button and click Yes when prompted.
6
Click the Activate Changes button. The connector should now be deleted.
Installing MFP Front Panel Software
Your MFP may require additional software to display Kofax Document Exchange Server shortcut
buttons on the front panel. Instructions for installing the software and other information about
setting up the MFP are in administrator guides in the following folders:
The Documentation\Guides folder where Kofax Document Exchange Server is installed
(usually C:\Program Files\Kofax\Document Exchange Server)
The setup\Guides folder on the Kofax Document Exchange Server installation media
For more information about supported MFPs, refer to the Kofax Web site.