Kofax Document Exchange Server 2.5 User Manual
Page 33
Kofax Document Exchange Server Installation Guide for WebLogic
Kofax, Inc.
29
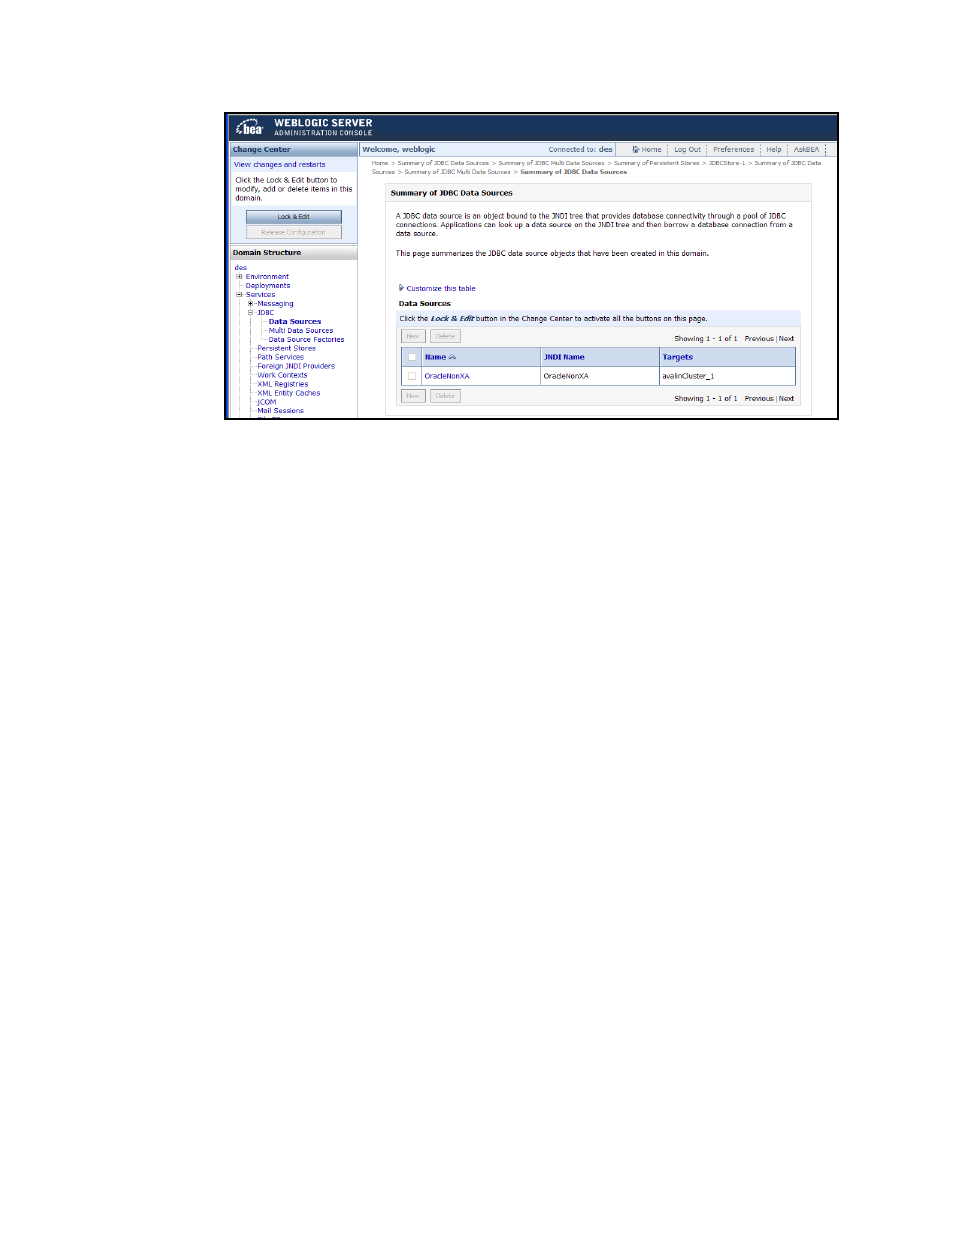
Figure 9. Summary of JDBC Data Sources Screen
2
Under the Change Center, click the Lock & Edit button.
3
Click New. The JDBC Data Source Properties screen appears. Complete the fields as
follows:
Name: A name of your choosing, for example OracleNonXA_1. This is to identify the data
source: it is not the information about your RAC node, which comes later.
JNDI name: A name of your choosing, which can be same as Name above.
Database Type: Oracle
Database Driver: Oracle’s Driver (Thin)
4
Click Next. The Transaction Options screen appears. Unselect “Supports Global
Transactions”.
5
Click Next. The Create a New JDBC Data Source screen appears. Complete the fields as
follows:
Database Name: The SID of a RAC node.
Host Name: The host name of the RAC node above.
Port: 1521
Database User Name: The user name specified in the install.properties for
db.avalin.ora.user=.
Password and Confirm Password: The password for the database user above.
6
Click Next. The Test Your Connection screen appears where you can test your connection
and then click Next. The Select Targets screen appears.
7
In the Clusters group, select the check box of your cluster as the target and click Finish.
You are returned to the Summary of JDBC Data Sources screen.
8
In the Name column of the Data Sources table, click the data source name. The Settings
screen appears.
9
Click the Connection Pool tab. At the bottom of the screen (you may have to scroll down),
expand Advanced. Select Test Connections On Reserve, then click Save.
10
Click Save.
11
Under Change Center, click the Activate Changes button.