Installing, On separate machines (one or more managed servers) – Kofax Document Exchange Server 2.5 User Manual
Page 13
Kofax Document Exchange Server Installation Guide for WebLogic
Kofax, Inc.
9
User names cannot include spaces, and the following characters are not permitted: ~ #
% * \ ; / : & ? . ' , " ` $ < + >
User names and passwords are case-sensitive.
Passwords can include spaces, but not at the beginning or end. There can be no
repeating spaces.
The password for the initial administrator cannot include the following characters that
are prohibited by the database: & $ < ' > \ * / "
You can create additional administrators by assigning the Administrator role to other
users in Kofax Administration Console.
Click Next to continue.
6
Accept the default installation path, or choose another location. Click Next to continue.
7
Review the installation parameters and click Install to begin the installation.
Note
If you are installing on 64-bit OS, the installation of Bonjour is not a silent
installation: you will be prompted to complete the Bonjour installation screens.
Installing on Separate Machines (one or more managed servers)
X On the machine that will be the administration server
Note
If you will not have the administration server and proxy server on this same machine, you
must repeat these installation steps on that proxy server machine.
1
Insert the Kofax Document Exchange Server installation media into your drive.
2
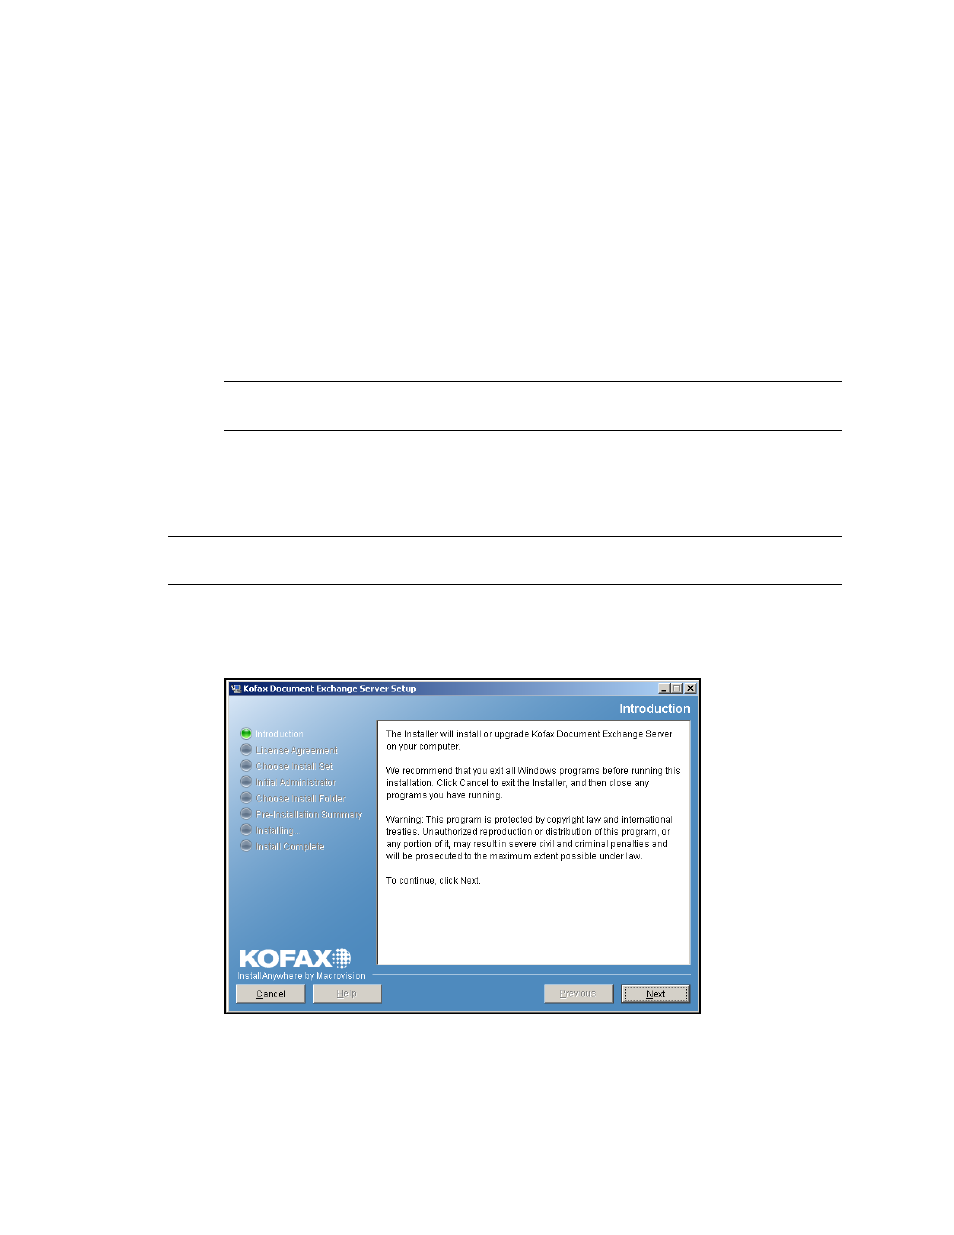
Browse to the \setup folder, and run setupweblogic.exe. The Introduction screen appears
(Figure 3). Click Next.
Figure 3. Kofax Document Exchange Server Installer Introduction Screen
3
On the License Agreement screen, review the license agreement and select “I accept the
terms of the License Agreement”. Click Next to continue.