Sharing the configuration files, Installing the document exchange server components, Installing on one machine – Kofax Document Exchange Server 2.5 User Manual
Page 12
Kofax Document Exchange Server Installation Guide for WebLogic
8
Kofax, Inc.
Sharing the Configuration Files
There are many configuration files that are installed to the \conf folder in the root of the
WebLogic domain. The Kofax Document Exchange Server Administrator’s Guide has instructions on
how to use these files to customize your implementation. In a clustered environment, all managed
servers in the cluster should use the same configuration settings. The recommended way to
accomplish this is to maintain each managed server’s local \conf folder and manage the files
either manually or by using a centralized management tool.
Another alternative is to create a network share, place the configuration files in that share, and
specify the share location in a property in the install.properties file. When you create the share, the
final location in the path must be a folder named \conf. Then, modify the avalin.domain.conf.path
property in the install.properties file with a value of the full UNC path to the share, or UNC path
to clustered shared storage location.
Important
If you use this method to share the configuration files and the network share fails, all
of the servers in the cluster will be affected.
Installing the Document Exchange Server Components
This section provides instructions for installing Kofax Document Exchange Server, related
components, and installation scripts. You will be running an installation program from the
installation media. Follow the instructions that apply to your planned implementation:
If you will be installing the administration server and a managed server on the same
machine, see
.
If your administration server and managed servers are on separate machines, see
on Separate Machines (one or more managed servers)
Installing on One Machine
1
Insert the Kofax Document Exchange Server installation media into your drive.
2
Browse to the \setup folder, and run setupweblogic.exe.
3
Review the Kofax Document Exchange Server license agreement and select “I accept the
terms of the License Agreement” to continue with the installation. Click Next to continue.
4
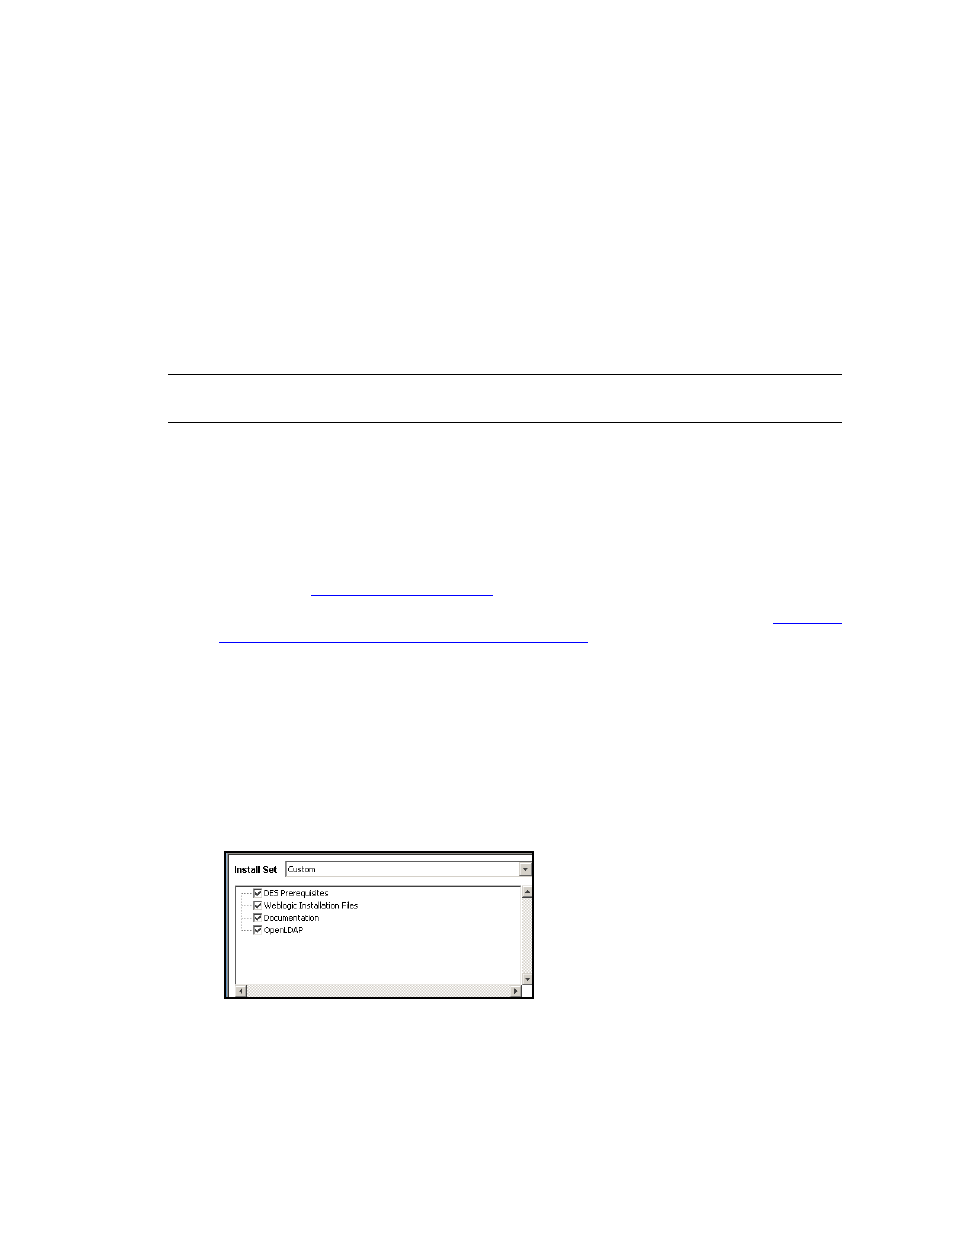
You will be prompted to select features to install. Select all features (however, selecting to
install Documentation is optional) and click Next to continue.
Figure 2. Custom Installation Set: All Features Selected
5
Type the user name and password for the initial Kofax Document Exchange Server
administrator. Use this user account to log on to Kofax Administration Console for the
first time. The user name and password must meet the following rules:
User names must be unique on the server.