Checkline DFX-7 User Manual
Page 46

Dakota Ultrasonics
42
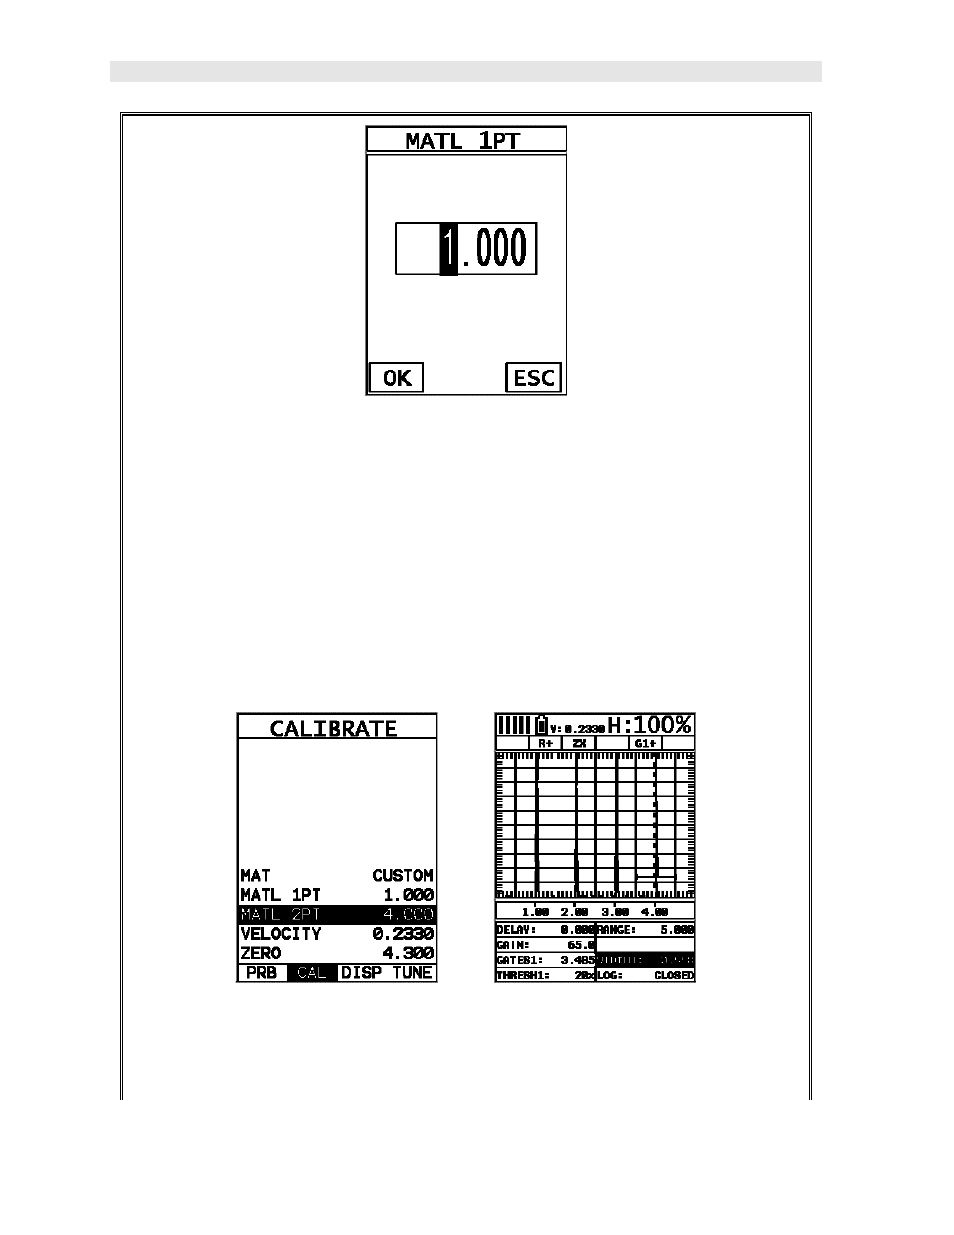
3) Press the ENTER key to display the Digits Edit Box.
4) Press the UP and DOWN arrow keys to scroll the highlighted value.
5) Press the LEFT and RIGHT arrow keys to scroll the digit locations.
6) Repeat steps 4 & 5 until the known thickness value is correctly displayed.
7) Press the OK key to calculate the velocity and return to the menu screen, or
ESC to cancel the one point calibration.
Apply a drop of couplant on the transducer and place the transducer in steady
contact with the 4” calibration standard. Be sure that the reading is stable and
the repeatability indicator, in the top left corner of the display, is fully lit and
See also other documents in the category Checkline Sensors:
- Series-2 (16 pages)
- Series-3 (22 pages)
- Series-4 (26 pages)
- Series-5 (34 pages)
- FGV-XY (19 pages)
- DS2 (6 pages)
- FGE (8 pages)
- Series-5I (32 pages)
- Series-3I (24 pages)
- MG (2 pages)
- FGE-XY (6 pages)
- FB (4 pages)
- ES10 (4 pages)
- FGS-100H (2 pages)
- FGS-250W (2 pages)
- TSB100 (10 pages)
- ES30 (6 pages)
- ES05 (4 pages)
- TSA750 (10 pages)
- TSF (6 pages)
- ESM301 (27 pages)
- MX2 (8 pages)
- FGS-100PV (20 pages)
- FGS-220VC (33 pages)
- MX-500 (4 pages)
- ESMH (6 pages)
- FGS-100PX (20 pages)
- ZP (10 pages)
- WT-100 (2 pages)
- AWS-4050 (14 pages)
- TI-25LT (9 pages)
- TI-25S (11 pages)
- TI-25M (13 pages)
- TI-25DL (19 pages)
- TI-25M-MMX (15 pages)
- TI-25DL-MMX (17 pages)
- TI-007 (9 pages)
- TI-007DL (11 pages)
- TI-CMX (29 pages)
- TI-CMXDL (35 pages)
- TI-CMXDLP (54 pages)
- TI-MVX (42 pages)
- TI-UMX2 (29 pages)
- TI-25P (11 pages)
- TI-44N (11 pages)
