Panasonic NV-S99A User Manual
Eiac, Nv-s99a
Attention! The text in this document has been recognized automatically. To view the original document, you can use the "Original mode".
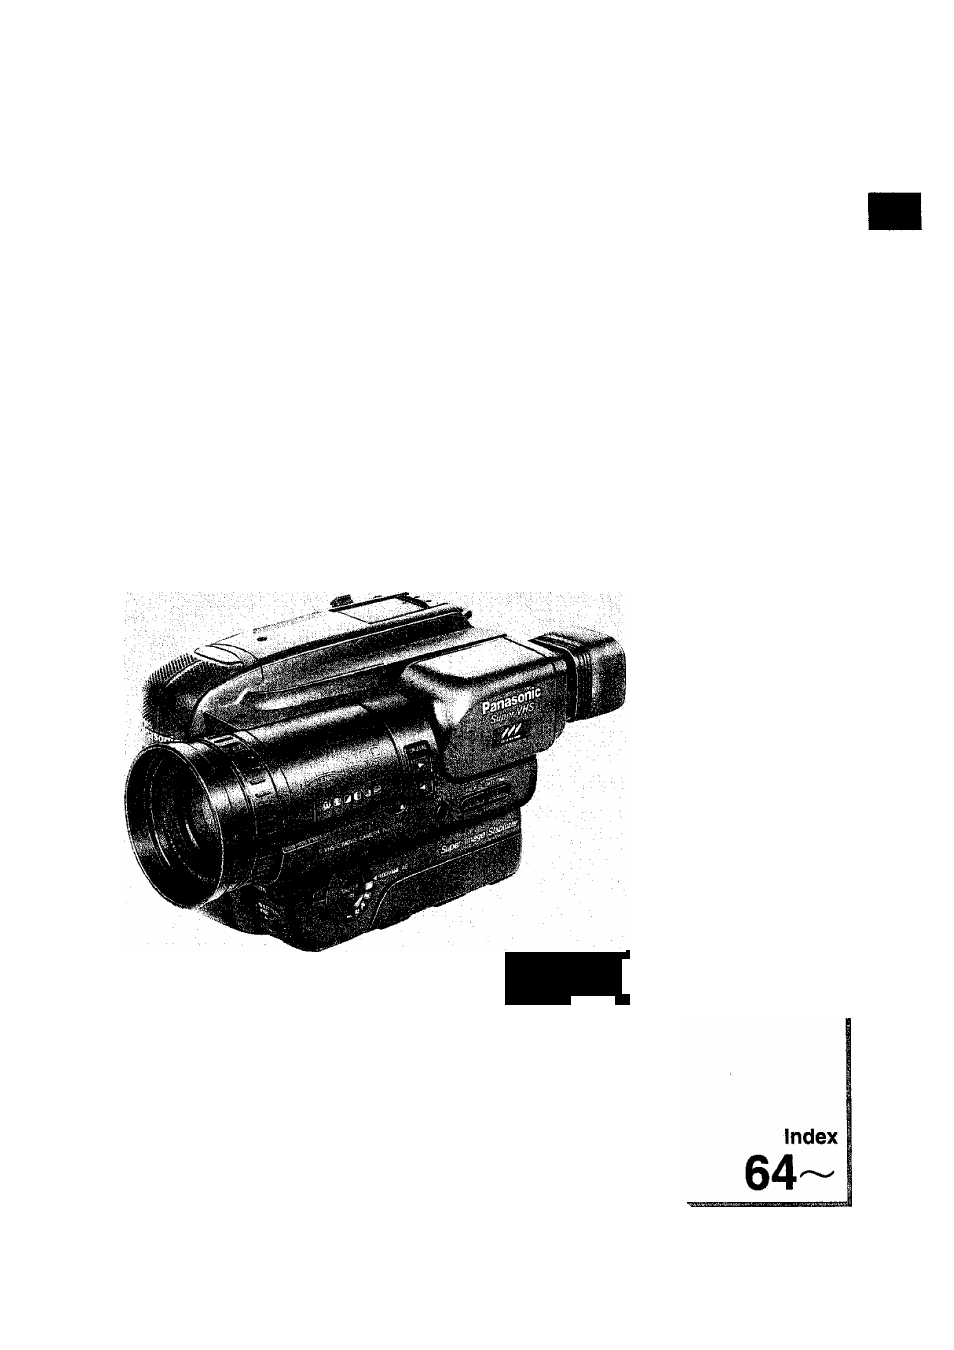
Table of contents
Document Outline
- Basic
- Advanced
- Options/
- Miscetianeous/ Care of Unit
- Information for Your Safety
- Contents
- Check List for the Standard Accessories
- Controls and Functions
- Using the Remote Controller
- Using the AC Adaptor as a Power Supply Unit
- Watching the Picture on a TV Set (Using the Audio/VIdeo Cable or S-Video Cable)
- Charging the Battery Pack
- Attaching the Charged Battery Pack
- Powering the Movie Camera ON/OFF
- Inserting a Video Cassette
- Adjusting the Viewfinder
- Setting the Date and Time
- Inserting and Deleting the Date and Time
- Making the Subject Larger or Smaller During Recording (Zooming)
- Using the Tape Counter Indication
- Using the Memory Function
- Confirming the Remaining Tape Time
- Quick Reference Guide to the indications in the Viewfinder
- Date/Time
- -ROilZ
- -APS
- 0:12.34
- [J] Warning/Alarm Indications
- Viewfinder
- Condition
- Page
- Condensation
- Video Head Clogging
- Remaining Battery Power
- Tape
- |1] Warning/Alarm Indications (cont)
- Viewfinder
- Condition
- Page
- Built-in Lithium Battery
- End of the Tape
- Anti-Ground-Recording
- 2 Error Code Indications
- Viewfinder
- Condition
- Page
- Error Code
- Quick Reference Guide to the indications in the Viewfinder (cont.)
- Playing Back on the Viewfinder or a TV
- Rewinding or Fast-Forwarding the Tape
- Using the Cue, Review and Stili Playback Functions During Normal Playback
- Recording in the Auto Focus Mode
- Recording in the Manuai Focus Mode
- To Cancel the Manual Focus Mode:
- ■ Hints for Manual Focus Adjustment
- Operation Principle of the Auto Focus Mode (Automatic Focusing)
- ■ Focusing
- ■ The Auto Focus Mechanism of this Movie Camera
- ■ To Cancel the Manual White Balance Adjustment
- ■ White Balance
- ■ White Balance Adjustment
- ■ Automatic White Balance Adjustment
- ■ Manual White Balance Adjustment
- ■ Colour Temperature and White Balance
- Using the Menu Function
- Recording a Stiii Picture for 5 Seconds (Snapshot)
- Recording Fast-Moving Subjects
- Making Subjects Stand out Sharpiy from the Background
- Recording Dark Scenes More Brightiy
- Super Image Stabilizer Function
- Digital Zoom Function
- Digital Strobe Function
- Digital Gain-up Function
- Press either of the [DIGITAL] Buttons repeatedly until the “ ^ ” Indication is lit.
- Press either of the [DIGITAL] Buttons repeatedly until the “ *’ Indication is lit.
- Press either of the [DIGITAL] Buttons repeatedly until the “Qi" Indication is lit.
- Press either of the [DIGITAL] Buttons repeatedly until the “ © ’* Indication is lit.
- Checking the End of a Recorded Scene
- Locating a Point Where You Wish to Add a New Scene (Camera Search Function)
- Eliminating Picture Distortions by Adjusting the Tracking
- Using the Power Save Functions
- Lighting
- Standard Vaiues of Brightness
- Using the Car Battery Cord (Optional)
- Editing a Previousiy Recorded Tape
- Using the VITC Function
- Using the Audio Dubbing Function
- Optional Accessories
- Adjusting the Length of the Grip Belt
- Attaching the Shoulder Strap
- Storage
- Cleaning the Viewfinder
- Before Requesting Service
- Cautions
- Cautions (cont)
- Condensation
- Index
- Specifications