6 connecting to the indicator, 1 downloading to the indicator, 2 uploading configuration to irev – Rice Lake 920i Installation Manual V4.01 User Manual
Page 67: 7 installing software upgrades, Downloading to the indicator, Uploading configuration to irev
Using iRev
61
5.6
Connecting to the Indicator
Connect the PC serial port to port 2 of the
920i
. Return
to the Hardware Configuration display, then click on
the
Connect
icon in the toolbar.
iRev 4
attempts to
establish communications to the indicator.
Once communications is established,
iRev 4
queries
the indicator configuration to determine whether the
indicator hardware matches the virtual hardware
configured in the current
iRev 4
file. If the hardware
matches, the Hardware Configuration section of
iRev
4
is disabled, preventing further changes.
If the hardware does not match, you are given the
option of either canceling the connect operation or
overwriting the
iRev 4
hardware configuration with the
actual indicator hardware configuration.
5.6.1
Downloading to the Indicator
The
Download Configuration
function on the
iRev 4
Communications menu allows an
iRev 4
configuration
file (with or without scale calibration data), setpoint
data, widgets, database tables, or an
iRite
program file
to be downloaded to a connected indicator in setup
mode.
T h e
D o w n l o a d C u r r e n t D i s p l a y
f u n c t i o n o n t h e
Communications menu allows you to download only
the currently displayed object, such as the parameter
set for one scale of a multi-scale configuration.
Because less data is transferred using
Download Current
Display
, it is typically faster than a full configuration
download, but there is an increased possibility that the
download may fail due to dependencies on other
objects. If the download fails, try performing a
complete download using the
Download Configuration
function
.
A progress message is displayed during the download
indicating the progress of the download and also
during the clear memory indicating its progress.
5.6.2
Uploading Configuration to iRev
The
Upload Configuration
function on the
iRev 4
C o m m u n i c a t i o n s m e n u a l l o w s t h e e x i s t i n g
configuration of a connected indicator to be saved to a
file on the PC. Once saved, the configuration file
provides a backup that can be quickly restored to the
indicator if needed. Or, the file can be edited within
iRev 4
, then downloaded back to the indicator.
NOTE: The indicator must be in setup mode before uploading
or downloading data.
5.7
Installing Software Upgrades
New releases of the
920i
system software can be
downloaded and installed using an internet connection
and the Rice Lake Web Update application.
NOTE:
Before upgrading to a new version of
920i
system
software, ensure that a copy of the current indicator
configuration has been saved using
iRev 4
. Reloading the
system software requires a RESETCONFIGURATION
function and resets all configuration and calibration values
to their factory defaults.
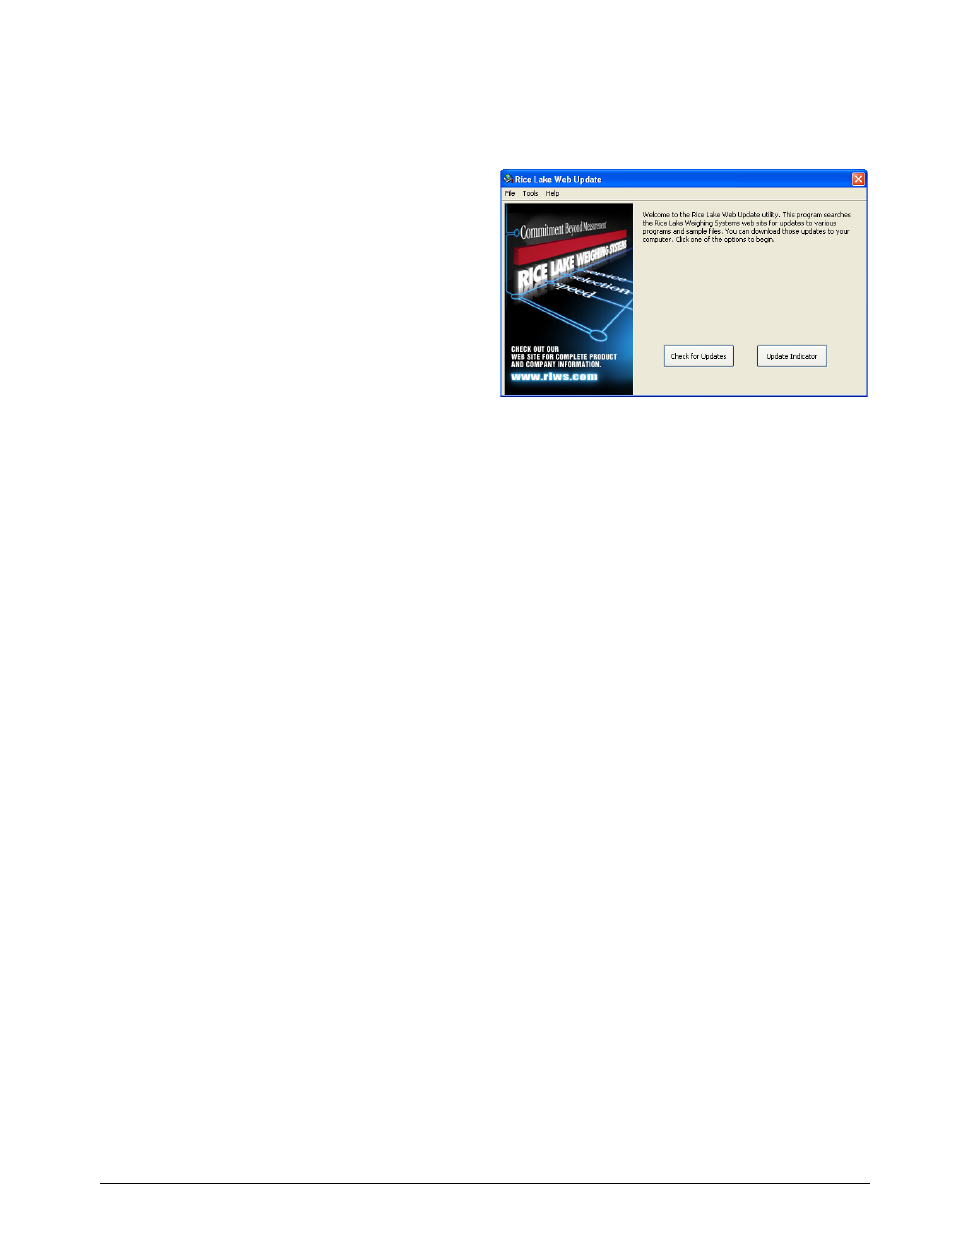
Figure 5-5. Rice Lake Web Update Display
Click on the
Check for Updates
button in the Rice Lake
Web Update application to check if a new version of
the
920i
software is available. To download a new
software version, select the new software version and
click on
Get Selection
. Once the new software is
downloaded to the PC, do the following:
1. Disconnect power to the
920i
.
2. Connect the PC serial port to port 2 of the
920i
. Connection must be made at 38400 bps.
3. Open the indicator enclosure and place a
jumper across the SW1 boot mode pins (see
Figure 2-6 on page 12).
4. Power up the
920i
. The indicator will stall at
the diagnostic monitor.
5. Click on the
Update Indicator
button to
download the new software. When the
download begins, the following messages are
shown:
Loading…
System Diagnostic Monitor v1.14
$
?
$
?
$KNIX
$SYSLOAD
6. When the download is complete, the indicator
display shows the following messages:
$DONE
$BOOT
Loading…
7. The indicator resets and goes to weigh mode.
8. Disconnect power to the indicator. Remove
the jumper from across the SW1 boot mode
pins and place it on a single pin.
9. Power up the indicator and reload
iRev 4
and
iRite
files as necessary.