Dynojet 250iX: Upgrade Installation Guide User Manual
Page 30
Model 200iX/250iX Upgrade Installation Guide
C H A P T E R 1
Trike Carriage Adapter Installation
1-22
R
EMOVING
THE
C
ARRIAGE
C
LAMPS
, S
HIMS
,
AND
N
UT
B
LOCK
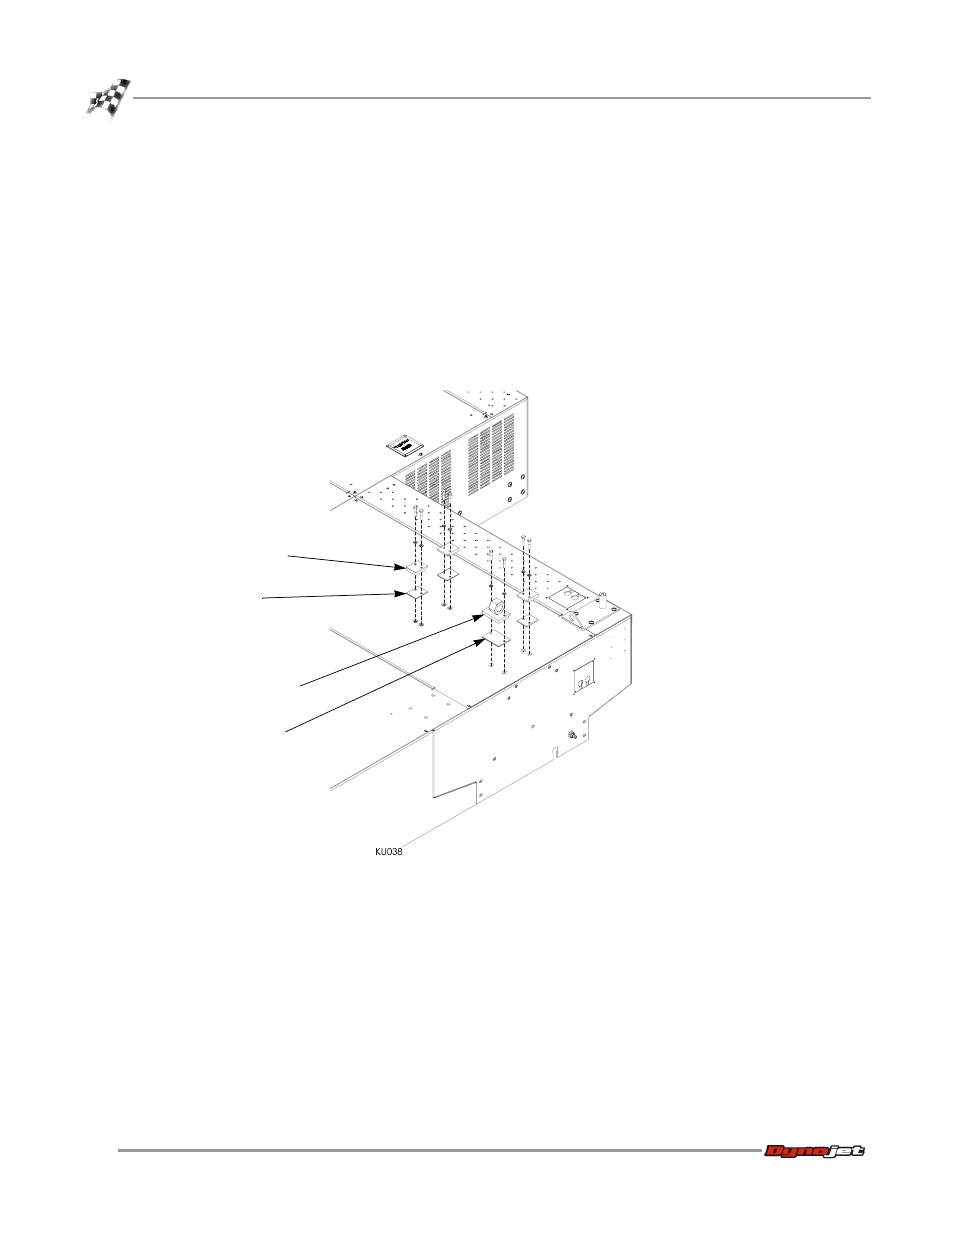
If the carriage is not installed, skip to “Installing the Trike Carriage Adapter Assembly”
on page 1-23.
1
Remove the two 5/16 x 1-inch bolts and two 5/16-inch lock washers securing each
carriage clamp and shim and discard. This hardware will not be used.
2
Remove the three carriage clamps and shims and discard. These will not be used.
3
Remove the two 5/16 x 1-inch bolts and two 5/16-inch lock washers securing the
nut block and shim and discard. This hardware will not be used.
4
Remove the nut block and shim and discard. These will not be used.
Figure 1-18: Removing the Clamps, Shims, and Nut Block
shim
carriage clamp
nut block
shim