Drum installation, Removing the items from crate – Dynojet 250iX: Upgrade Installation Guide User Manual
Page 18
Model 200iX/250iX Upgrade Installation Guide
C H A P T E R 1
Drum Installation
1-10
. . . . . . . . . . . . . . . . . . . . . . . . . . . . . . . . . . .
DRUM INSTALLATION
When you receive your iX upgrade kit, examine the exterior of the shipping container
for any visible damage. If damage is detected at this stage, contact the shipper or
Dynojet before proceeding with unpacking.
Use the following steps to unload drum and items. You will need to provide
equipment capable of lifting a minimum of 272 kg (600 lb.) to move the crated drum
into position in your dyno room.
R
EMOVING
THE
I
TEMS
FROM
C
RATE
1
Move the crate to a clear area near your dyno room.
2
Using a pry bar, or a large flat screwdriver, and a hammer, carefully remove the
top and sides of the crate.
3
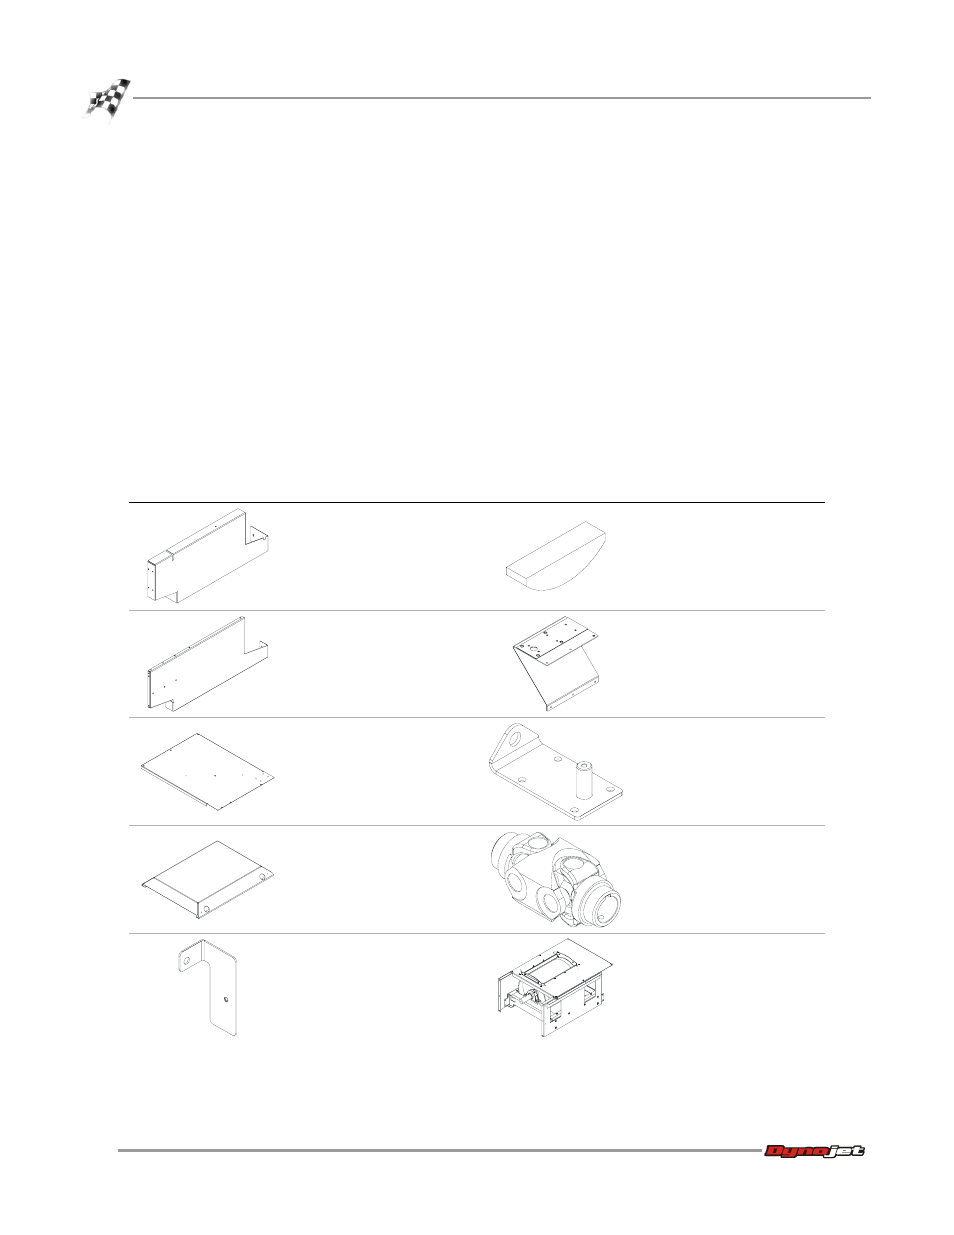
Remove the following parts from the crate and set aside.
part
description
part
description
bulkhead support
P/N 21200022
woodruff key, 3/8 x 1-3/8"
P/N 37620622
decking front panel
P/N 21200024
monitor support brace
P/N 61300007
center panel
P/N 21200037
fan arm mount (2)
P/N 61300009
drum safety cover
P/N 21200038
retarder driveline assembly
P/N 62240070
toe kick bracket
P/N 21600012
drum module
P/N 63200001