Removing the high pressure blower assemblies – Dynojet 250iX: Upgrade Installation Guide User Manual
Page 15
M O D E L 2 0 0 I X / 2 5 0 I X U P G R A D E
Dyno Preparation
Version 1
Model 200iX/250iX Upgrade Installation Guide
1-7
R
EMOVING
THE
H
IGH
P
RESSURE
B
LOWER
A
SSEMBLIES
1
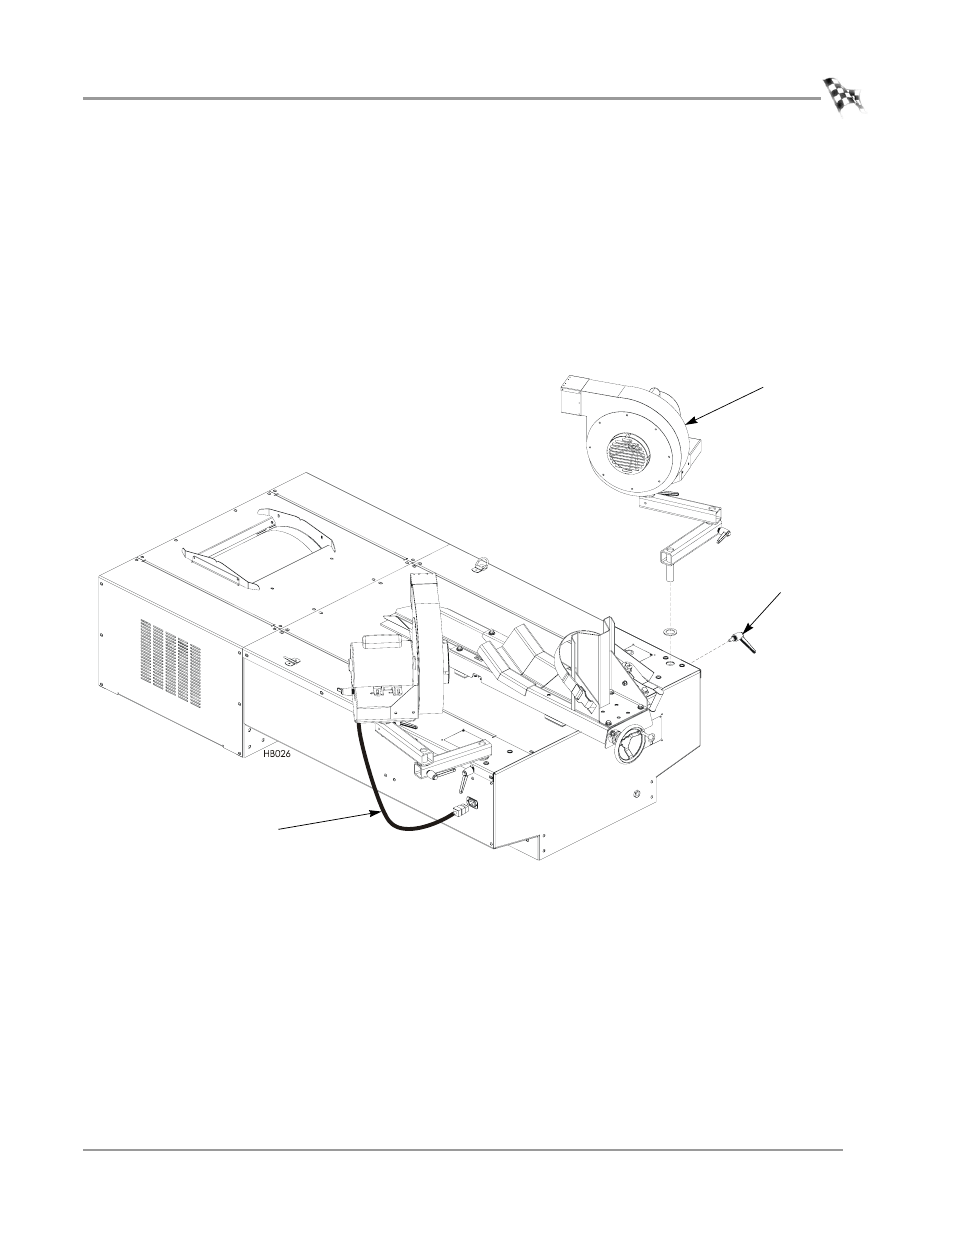
Unplug each high pressure blower power cord from the dyno chassis.
2
Remove the clamp lever securing the blower arm assembly to the dyno and
discard. Do this for both blower assemblies.
3
Lift the blower and arm assembly from the dyno and set aside. Do this for both
blower assemblies.
Note: Both blower assemblies must be removed in order to replace the lower
blower arm. A new lower blower arm is needed to work with the new upgrade tie-
downs.
Figure 1-4: Removing the Blower Assemblies
blower and arm
assembly
power cord
from blower
clamp lever
This manual is related to the following products: