Air brake and manual brake removal, Removing the air brake, Removing the air brake -5 – Dynojet 150: Eddy Current Brake User Manual
Page 11: Figure 1-4: remove the air brake solenoid wires
E D D Y C U R R E N T B R A K E I N S T A L L A T I O N
Air Brake and Manual Brake Removal
Version 8
Eddy Current Brake Installation Guide
1-5
. . . . . . . . . . . . . . . . . . . . . . . . . . . . . . . . . . .
AIR BRAKE AND MANUAL BRAKE REMOVAL
This section describes how to remove both the air brake and the manual brake, the
brake caliper assembly, and the rotor.
If you are mounting the eddy current brake on the right side of your dyno, you do not
need to remove the air or manual brake.
Note: Safety requirements of your local country may require that both brakes are
installed. Be sure to follow the safety requirements specific to your country.
R
EMOVING
THE
A
IR
B
RAKE
1
Disconnect all air lines from the dyno.
2
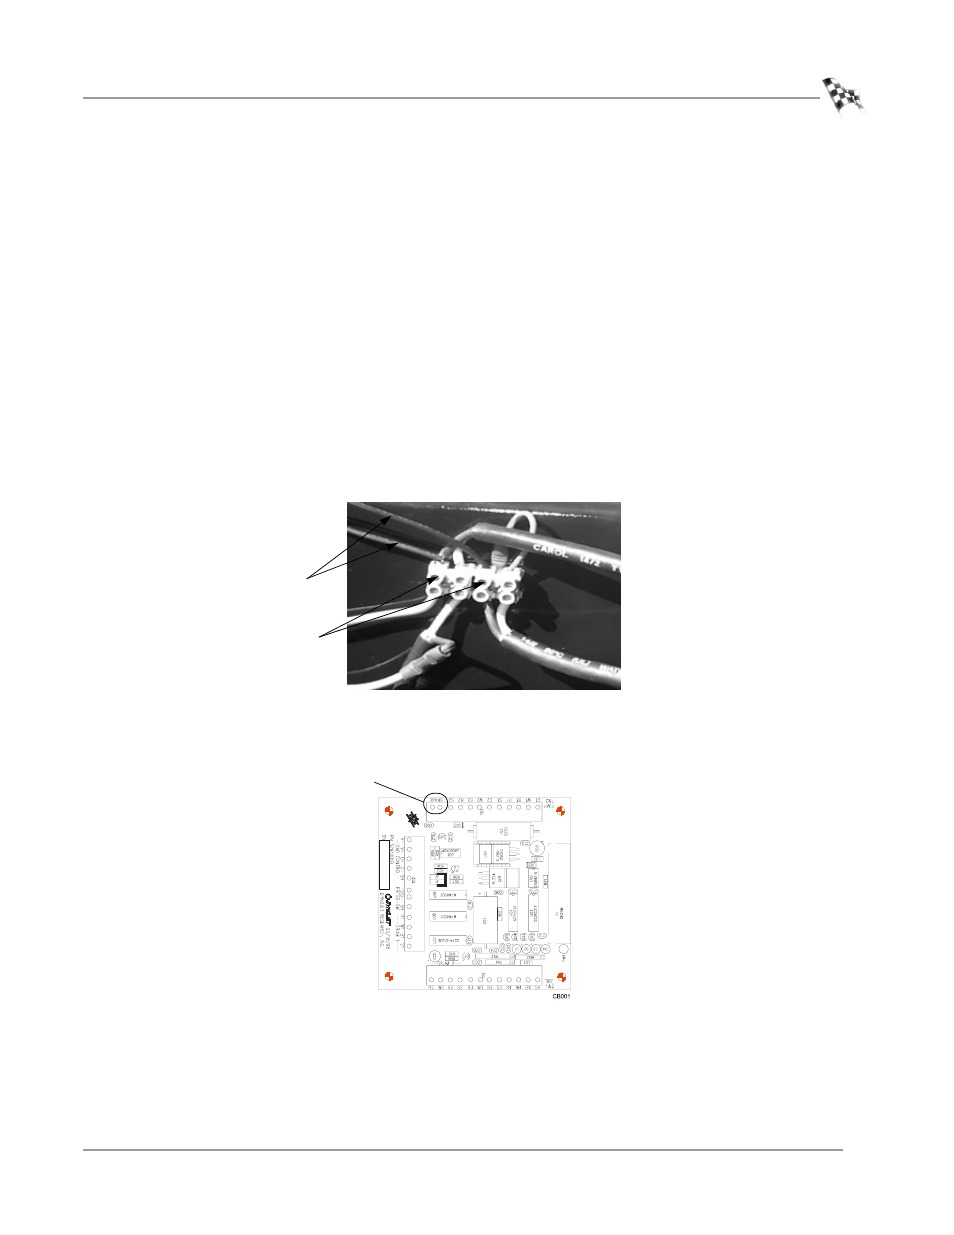
Disconnect the brake electrical wires.
• Model 150 dynos: Disconnect the brake wires from the electrical block
mounted on the center of the dyno frame. Refer to the DynoWare EX+
Upgrade manual for more information.
Figure 1-4: Remove the Air Brake Solenoid Wires
• Upgraded Model 150/Model 200 dynos: Disconnect the brake wires from
the Breakout board located on the side of the dyno.
Figure 1-5: Remove the Brake Wires from the Breakout Board
loosen screws
air brake
solenoid wires
brake wires