Removing the dyno hood, Removing the dyno hood -4, Figure 1-3: remove the hood – Dynojet 150: Eddy Current Brake User Manual
Page 10
Eddy Current Brake Installation Guide
C H A P T E R 1
Preparation
1-4
6
Remove the eddy current brake from the crate.
Note: Dynojet recommends using a continuous nylon loop style strap to lift the
eddy current brake from the crate.
6a
Remove the bolts securing the eddy current brake to the crate.
6b
Place the nylon loop strap around the top of the brake frame making sure it
crosses as shown in Figure 1-2.
6c
Using the nylon loop strap, remove the eddy current brake from the crate
and place it near the dyno.
Figure 1-2: Remove the Eddy Current Brake from the Crate
R
EMOVING
THE
D
YNO
H
OOD
1
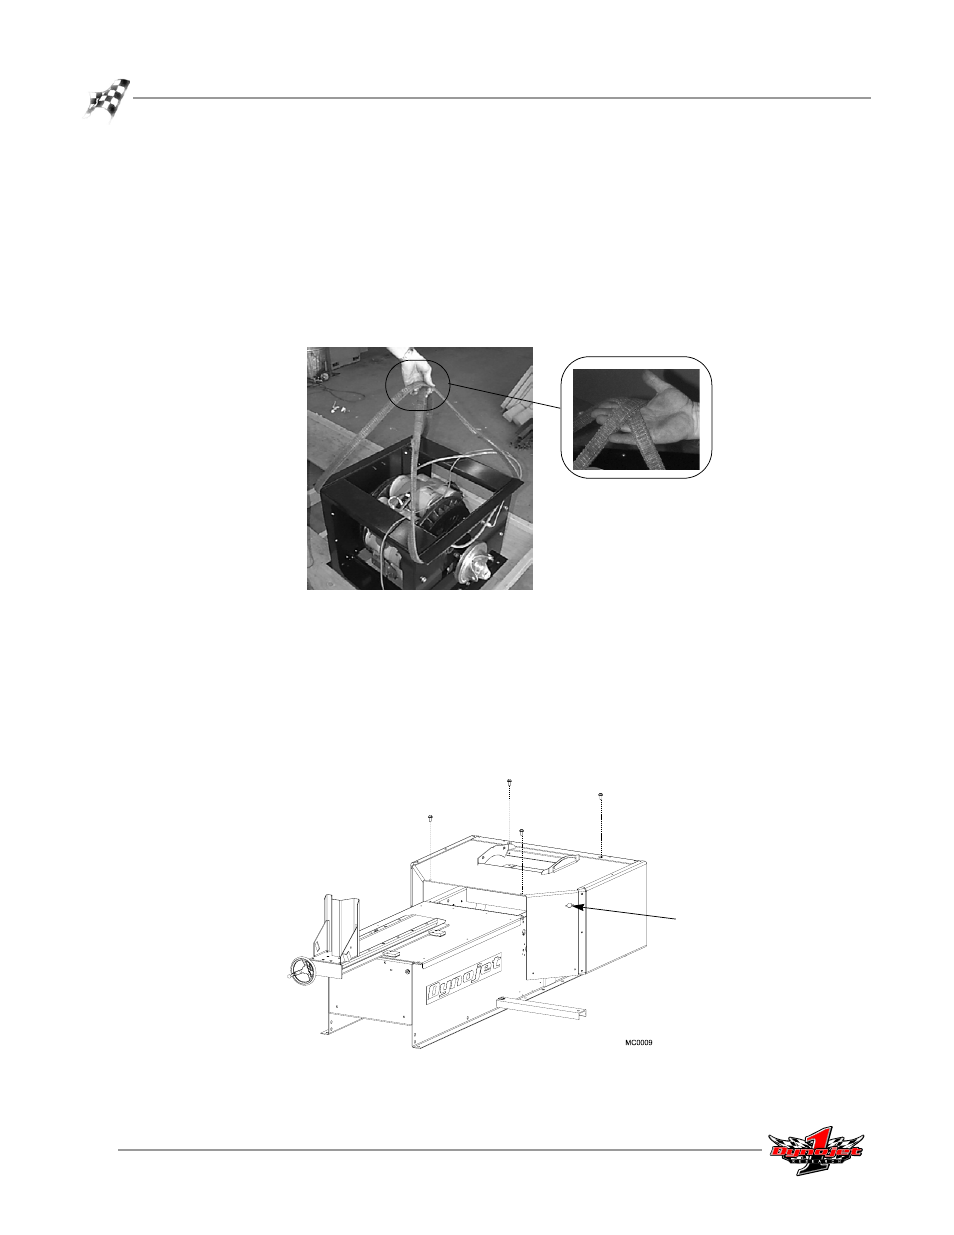
Remove the four bolts securing the hood to the dyno and set aside. Prop up the
hood.
2
If present, disconnect the wires to the key switch.
3
Remove the hood from the dyno and set aside.
4
Disconnect all battery wires.
Figure 1-3: Remove the Hood
key switch