Canon E 700 User Manual
Canon Camcorders
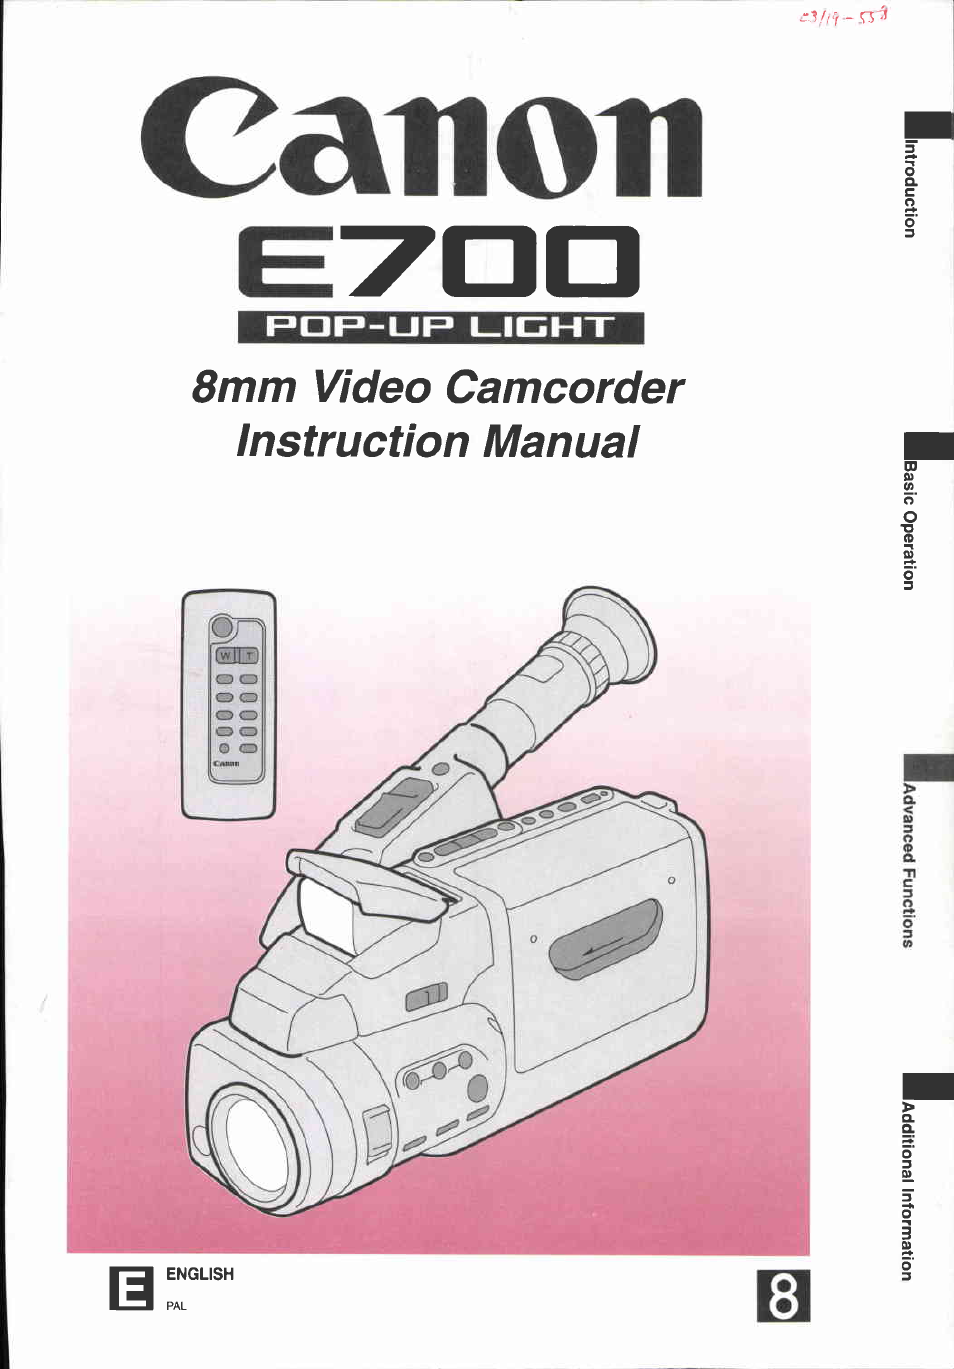
Table of contents
Document Outline
- U Charge the battery pack and attach it to the camera.
- Press the OPERATE button to turn the camera on.
- Adjust the FlexiGrip.
- Thank you for choosing a Canon
- Main Features
- Contents
- Basic Recording
- Notes for Better Recording
- Power Sources
- Notes;
- 1. Insert the DC coupier in the camera’s
- 2. Connect the DC coupler to the adapter.
- 3. Plug the adapter into a mains outlet.
- 4. Detach the DC coupler after use.
- 1. Insert the battery pack in the adapter as shown.
- 2. Plug the adapter into a mains outlet.
- 3. Wait until the battery pack is fully charged.
- 5. Remove the battery pack from the adapter and attach it to the camera.
- 6. Detach the battery pack after use.
- 1. If you are replacing an old battery, attach a power source to the camera.
- 2. Rotate the FlexIGrip downwards so the lithium battery compartment is visible.
- 3. Pull out the lithium battery holder.
- 4. Place the new battery in the holder with the + side facing upwards.
- 5. Click the battery holder back into place.
- Battery Pack Notes
- Cassettes
- Preparing the Camera
- Playback
- Playback Connection
- 2. Set the TV/VIDEO selector on the television to VIDEO.
- 1. Connect the RF unit to the camera.
- 2. Connect the aerial cable to the FROM ANT. terminal on the RF unit.
- 4. Connect the ‘male’ connector to the aerial input on the TV.
- 1. Turn the TV on.
- 2. Start playback on the camera.
- 3. Set the G/l selector on the RF unit.
- 4. Set the TV and the CH selector on the RF unit to the video channel.
- HO
- Zooming
- Image Stabilizer
- Wireless Controller
- Date and Time
- Age Insert
- Titles
- Fade
- Program AE
- White Balance
- Pop-up Light
- 1. Place the camera in record pause mode.
- 2. Slide the POP-UP LIGHT switch to make the light pop up and turn on.
- 3. Make your recording.
- 4. When you have finished using the light, push it back into place.
- 1. Turn the camera off and give the bulb time to cool down.
- 2. Remove the bulb protector as shown.
- 3. Pull out the old bulb and gently Insert the new one as shown.
- 4. Replace the bulb protector.
- WARNING
- Notes:
- High-Speed Shutter
- Focusing
- Check and Edit Functions
- Editing to a VCR
- Video System
- Optional Accessories
- CB-110 Car Battery Adapter
- BP-E718 Battery Pack
- BP-E722 and BP-E722D Battery Packs
- MC-100 Multi-battery Charger
- TL-46 Tele-converter
- WD-46 Wide-converter
- FS-46 Filter Set
- FS-46U Filter Set
- VL-20 Battery Video Light
- SA-1 Adapter Bracket
- SC-150 and SC-300 Soft Carrying Cases
- RS-500 Rain Shield
- WS-20 Wrist Strap
- HC-500 System Case
- Cautions and Maintenance
- Avoid high temperatures and high
- Avoid sudden changes in temperature.
- Do not point the lens at strong light
- sources.
- Avoid magnetic or electric fields.
- Do not expose the camera to water.
- Always replace the lens cap.
- Handle the camera gently.
- Do not disassemble the camera.
- Viewfinder
- Camera body and lens
- Video heads
- Note:
- What is condensation?
- What happens when condensation is detected:
- What you should do:
- Power sources
- TV system
- Protecting the camera from condensation:
- Troubleshooting
- B The camera won’t turn on.
- B The camera turned itself off.
- B The start/stop button doesn’t work.
- B The A PLAY button doesn’t work.
- There’s a bright stripe on the screen.
- The playback picture is rough.
- В There’s no picture on the TV screen,
- В The OPERATE indicator is flashing.
- В “EJECT” is flashing in the viewfinder.
- B The camera doesn’t work when I press the buttons.
- B The cassette compartment won’t open.
- B The pop-up light won’t turn on.
- B There’s no picture in the viewfinder.
- B The camera won’t focus.
- a There are air bubbles inside the lens.
- a Malfunction
- Viewfinder Displays
- Nomenclature
- Specifications
- Index
- Canon