Canon E 700 User Manual
Canon Camcorders
Attention! The text in this document has been recognized automatically. To view the original document, you can use the "Original mode".
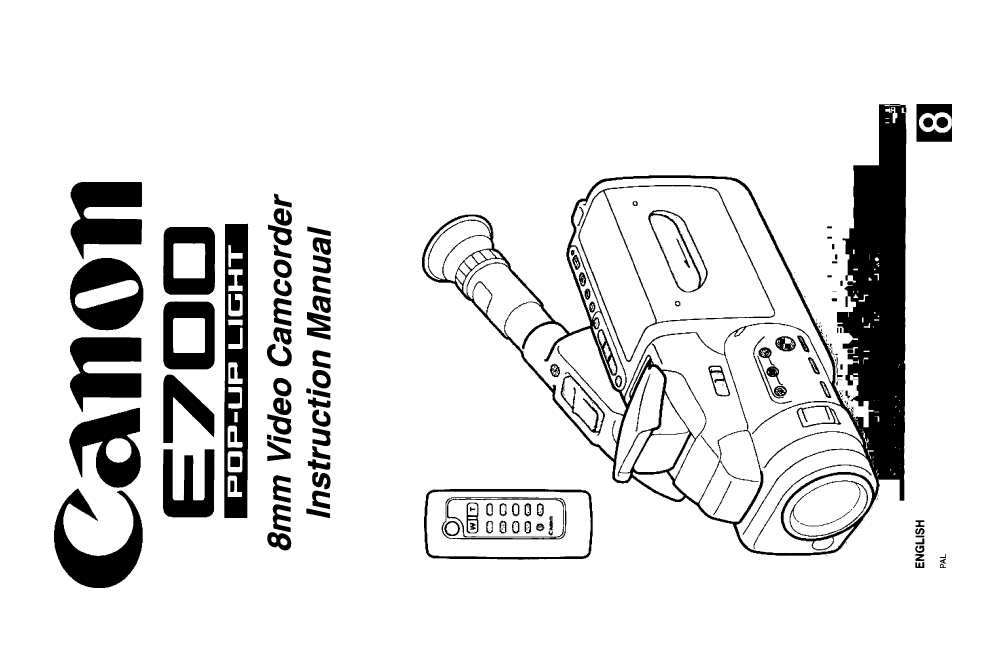
Table of contents
Document Outline
- U Charge the battery pack and attach it to the camera.
- Press the OPERATE button to turn the camera on.
- Adjust the FlexiGrip.
- Thank you for choosing a Canon
- Main Features
- Contents
- Basic Recording
- Notes for Better Recording
- Power Sources
- Notes;
- 1. Insert the DC coupier in the camera’s
- 2. Connect the DC coupler to the adapter.
- 3. Plug the adapter into a mains outlet.
- 4. Detach the DC coupler after use.
- 1. Insert the battery pack in the adapter as shown.
- 2. Plug the adapter into a mains outlet.
- 3. Wait until the battery pack is fully charged.
- 5. Remove the battery pack from the adapter and attach it to the camera.
- 6. Detach the battery pack after use.
- 1. If you are replacing an old battery, attach a power source to the camera.
- 2. Rotate the FlexIGrip downwards so the lithium battery compartment is visible.
- 3. Pull out the lithium battery holder.
- 4. Place the new battery in the holder with the + side facing upwards.
- 5. Click the battery holder back into place.
- Battery Pack Notes
- Cassettes
- Preparing the Camera
- Playback
- Playback Connection
- 2. Set the TV/VIDEO selector on the television to VIDEO.
- 1. Connect the RF unit to the camera.
- 2. Connect the aerial cable to the FROM ANT. terminal on the RF unit.
- 4. Connect the ‘male’ connector to the aerial input on the TV.
- 1. Turn the TV on.
- 2. Start playback on the camera.
- 3. Set the G/l selector on the RF unit.
- 4. Set the TV and the CH selector on the RF unit to the video channel.
- HO
- Zooming
- Image Stabilizer
- Wireless Controller
- Date and Time
- Age Insert
- Titles
- Fade
- Program AE
- White Balance
- Pop-up Light
- 1. Place the camera in record pause mode.
- 2. Slide the POP-UP LIGHT switch to make the light pop up and turn on.
- 3. Make your recording.
- 4. When you have finished using the light, push it back into place.
- 1. Turn the camera off and give the bulb time to cool down.
- 2. Remove the bulb protector as shown.
- 3. Pull out the old bulb and gently Insert the new one as shown.
- 4. Replace the bulb protector.
- WARNING
- Notes:
- High-Speed Shutter
- Focusing
- Check and Edit Functions
- Editing to a VCR
- Video System
- Optional Accessories
- CB-110 Car Battery Adapter
- BP-E718 Battery Pack
- BP-E722 and BP-E722D Battery Packs
- MC-100 Multi-battery Charger
- TL-46 Tele-converter
- WD-46 Wide-converter
- FS-46 Filter Set
- FS-46U Filter Set
- VL-20 Battery Video Light
- SA-1 Adapter Bracket
- SC-150 and SC-300 Soft Carrying Cases
- RS-500 Rain Shield
- WS-20 Wrist Strap
- HC-500 System Case
- Cautions and Maintenance
- Avoid high temperatures and high
- Avoid sudden changes in temperature.
- Do not point the lens at strong light
- sources.
- Avoid magnetic or electric fields.
- Do not expose the camera to water.
- Always replace the lens cap.
- Handle the camera gently.
- Do not disassemble the camera.
- Viewfinder
- Camera body and lens
- Video heads
- Note:
- What is condensation?
- What happens when condensation is detected:
- What you should do:
- Power sources
- TV system
- Protecting the camera from condensation:
- Troubleshooting
- B The camera won’t turn on.
- B The camera turned itself off.
- B The start/stop button doesn’t work.
- B The A PLAY button doesn’t work.
- There’s a bright stripe on the screen.
- The playback picture is rough.
- В There’s no picture on the TV screen,
- В The OPERATE indicator is flashing.
- В “EJECT” is flashing in the viewfinder.
- B The camera doesn’t work when I press the buttons.
- B The cassette compartment won’t open.
- B The pop-up light won’t turn on.
- B There’s no picture in the viewfinder.
- B The camera won’t focus.
- a There are air bubbles inside the lens.
- a Malfunction
- Viewfinder Displays
- Nomenclature
- Specifications
- Index
- Canon