Hookup 1, Vcr setup, Hookup 1: vcr setup – Sony SLV-M10HF User Manual
Page 12: Step 3: hookups (continued)
Attention! The text in this document has been recognized automatically. To view the original document, you can use the "Original mode".
step 3: Hookups (continued)
Hookup 1:
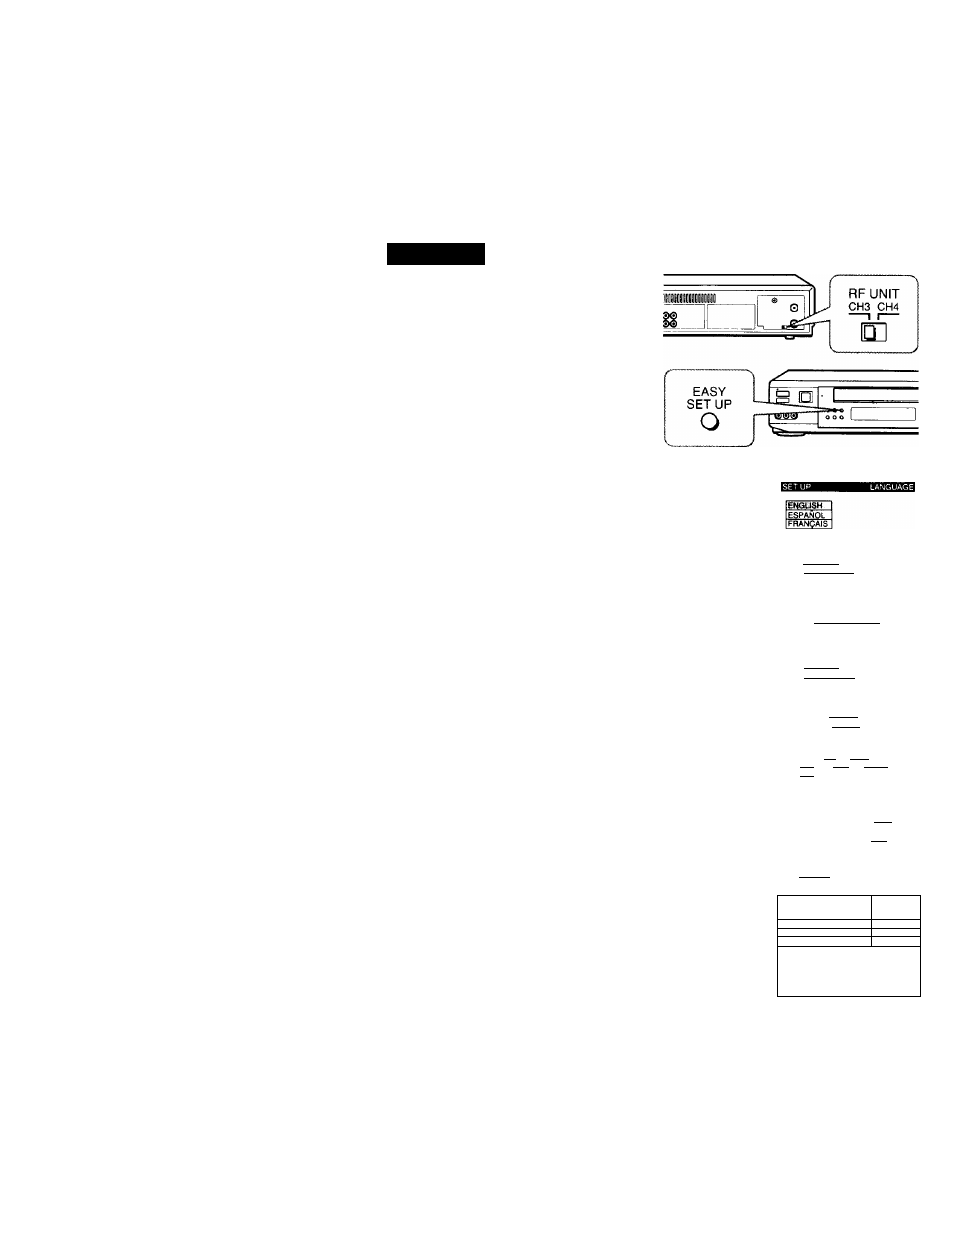
VCR setup
1
Set the RF UNIT switch to
CH 3 or CH 4, whichever
channel is not used in your
area. If both are used, set the
switch to either channel.
For details, see page 105.
If you made A/V
connections (from page 9),
you can skip this step.
2
Turn on your cable box.
3
Press EASY SET UP on the VCR.
O
The LANGUAGE menu appears. Change the
t>n-screen display language to Spanish
(ESPAÑOL) or French (FRANÇAIS) if desired,
and press the cursor stick (OK). For details, see
page 32.
© The CLOCK SET menu appears. Select AUTO
and press the cursor stick (OK). For details, see
page 33.
O The SMART CH MAPPING menu appears.
Push the cursor stick toi/^/'^/^to enter
the ZIP / POSTAL CODE in your area and press
the cursor stick (OK). (You can also use the
number buttons to enter the ZIP/POSTAL
CODE.)
O
The CABLE BOX menu appears. Select ON. For
details, see page 39.
e Enter your cable boj! code number and push the
cursor stick to ♦. For details, see page 39.
Use 53to ^ I ec t
Then push |OK|
Push EASY SET~Ü^ to
ÍAUTO [MANUALI
Use to select
Then push iOKi
Push lEASY SET 1
j
^ to quit
ZIP / POSTAL CODE
IÏ2l^
Enter your ZIP/POSTAL
CODE us i ng P-91 o r [■» f I
and l»»l key s.
then push IOKI
CABLE BOX CONTROL
BOX CODE NO.
BOX OUTPUT CH
)N lorr
CH
3
Use to select
Push lEASY SET UPl In quit
CABLE BOX CONTROL
iMsfUiteBI
CABLE MOUSE
ON lOFF
1
BOX OUTPUT CH
CH3 I
Enter your CABLE BOX
Code No. using |6^ keys
Refer to the Operating
Manual for the Code
Getting Started