Connecting drives – Dell OptiPlex GX1 User Manual
Page 80
Installing Drives: Dell OptiPlex GX1 and GX1p Midsize Managed PC Systems
file:///C|/infodev/2013/eDoc/OpGX1/SIG/drives.htm[2/21/2013 12:07:25 PM]
To remove the insert covering the 3.5-inch bay, follow these steps:
1. Complete steps 1 and 2 of the procedure for removing a 5.25-inch insert.
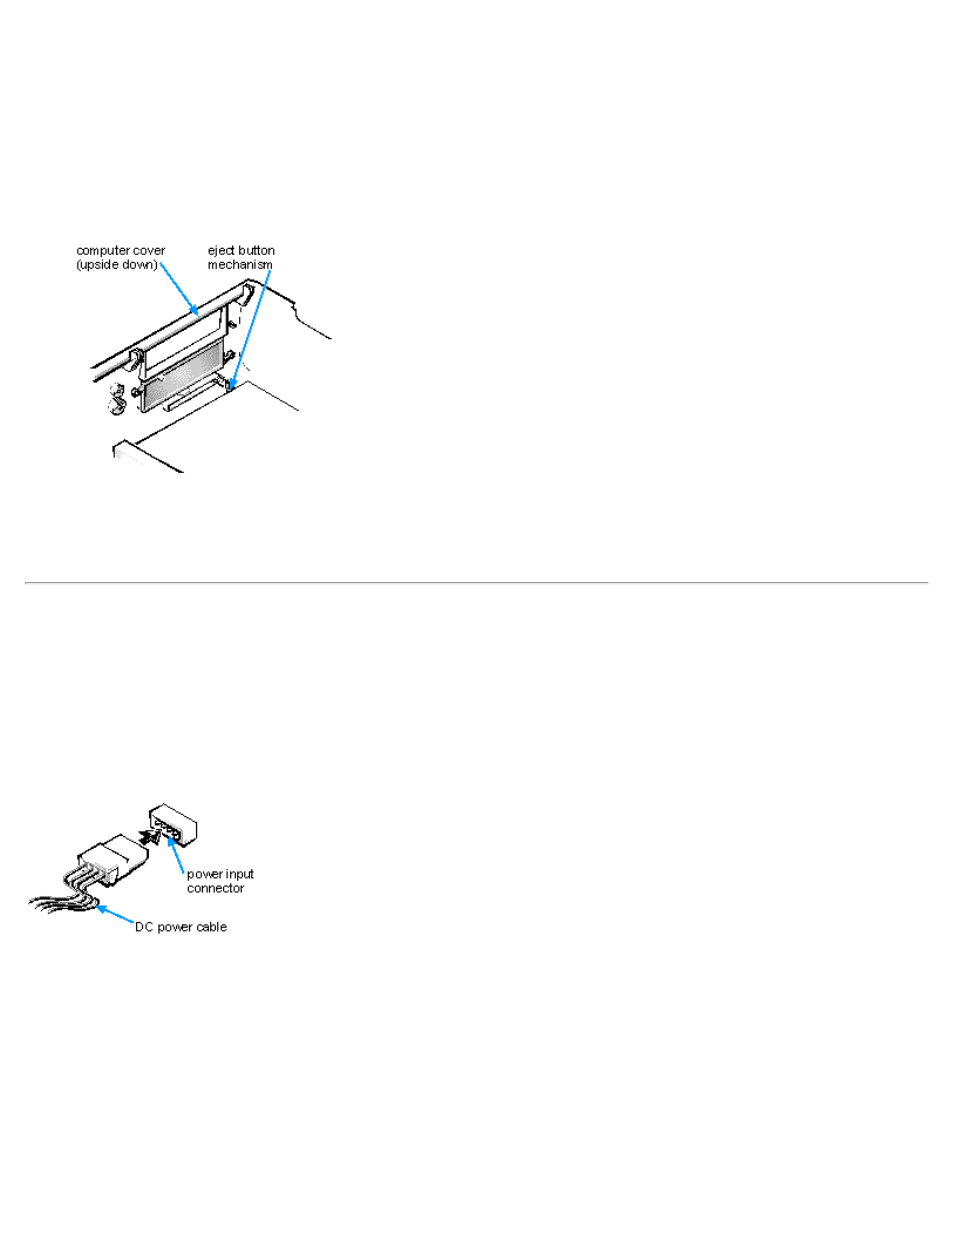
2. Inside the cover, locate the eject button mechanism for the 3.5-inch bay (see Figure 3). Press the
mechanism toward the front panel to snap the plastic insert out of its opening.
Figure 3. Removing the Front-Panel Insert for the 3.5-Inch Bay
To replace the front-panel insert for the 3.5-inch bay, work from outside the cover. Place the insert in
position, and press it into the opening.
Connecting Drives
When installing a drive, you connect two cables—a DC power cable and an interface cable—to the back of
the drive. Your drive's power input connector (to which you connect the DC power cable) resembles the
connector shown in Figure 4.
Figure 4. DC Power Cable Connector
The drive's interface connector is a card-edge connector or a header connector, as shown in Figure 5.
Figure 5. Drive Interface Connectors