Keyboard removal, Infrared board removal – Dell Inspiron 3500 User Manual
Page 7
Keyboard Removal
You can remove the keyboard without removing the palmrest. To remove the keyboard, see the exploded view of the
palmrest assembly
and
perform the following steps:
1. Remove the
display assembly
.
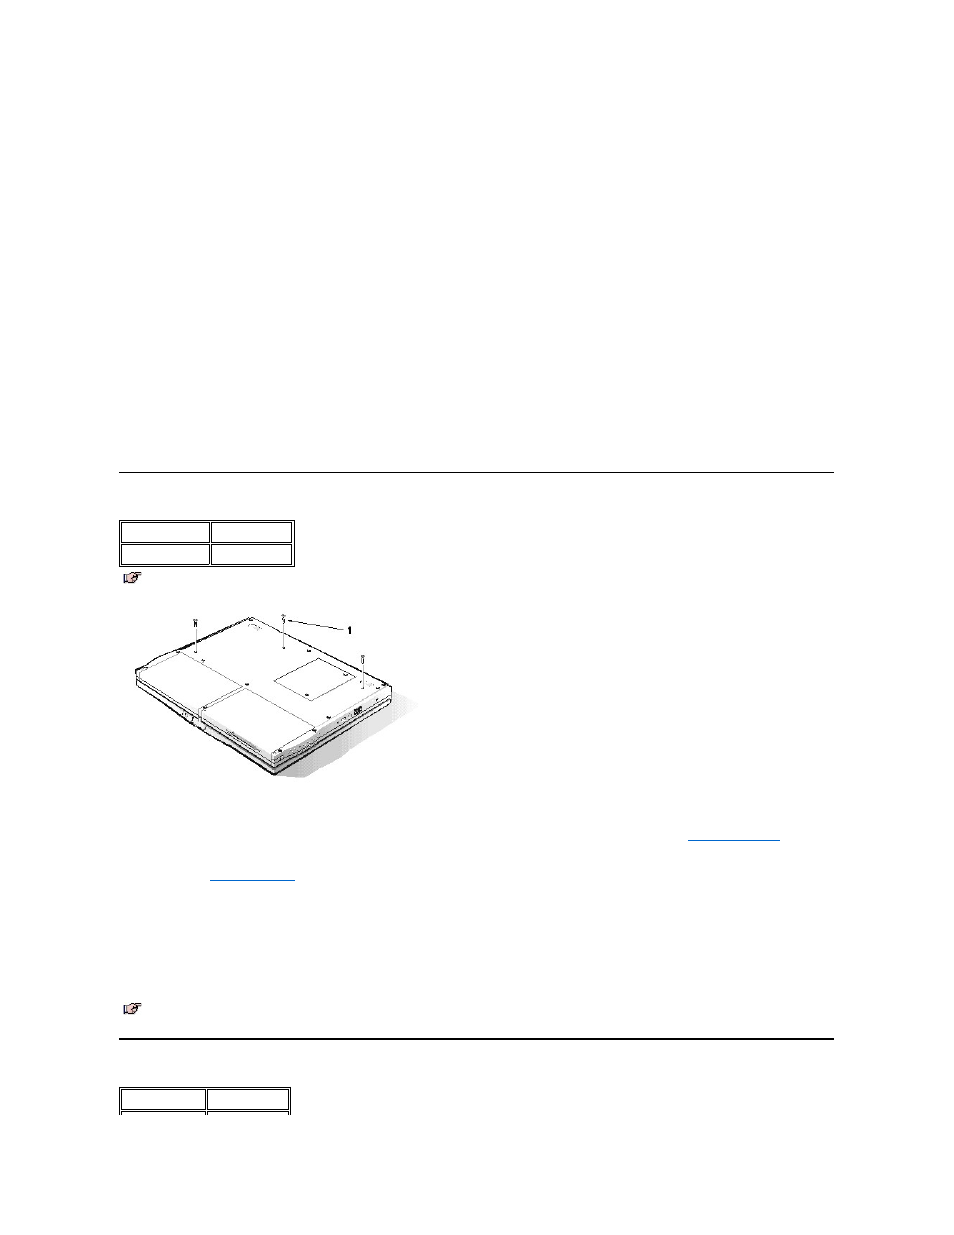
2. Place the computer base face down.
3. Remove the three 16-mm keyboard screws from the bottom of the computer.
The keyboard screws have a K tooled into the plastic beside them.
4. Turn the computer face up.
5. Lift the top edge of the keyboard up, and then slide the keyboard out from beneath the palmrest assembly.
Do not try to completely remove the keyboard, because it is still attached to the system board by a cable.
6. Disconnect the keyboard cable from the side-lift ZIF connector C42 on the system board.
7. Remove the keyboard.
Infrared Board Removal
7 PC Card cage with 14-mm screws (4)
8 Monitor connector cover
9 DC/DC board with 14-mm screw
10 Audio jack board
11 Audio jack shield
12 System-board retaining clip with 5-mm screw
13 Bottom plastic
14 Release latches
15 Speakers
16 system board (in EMI pan)
17 Fan and fan cover with 5-mm screw
18 Heat-sink fin
19 Processor module assembly with 14-mm screws (2)
20 System-board retaining clip with 14-mm screw
21 System board rails (2) with 5-mm screws (2) and 16-mm screw
Type of Screw
Torque
FPH 2.5 x 16 (3) 3.5
–4.0 kgf-cm
NOTE: You can remove the keyboard while the display assembly is still attached. However, Dell strongly recommends removing the
display assembly before removing the keyboard to prevent cosmetic damage.
1 16-mm screws (3)
NOTE: The ZIF connector cap for the keyboard is stocked as a separate part. If the plastic connector cap is broken, you can snap a new
one in place without having to replace the entire system board.
Type of Screw Torque