Radar setup – B&G Zeus Touch 12 User Manual
Page 28
28 |
RADAR |
Zeus Touch installation manual
Radar setup
Setup and confi guration of the Broadband radar has been simplifi ed compared to traditional
pulse radars. There is no zero range (time delay), no warm up time, and no burn-in required..
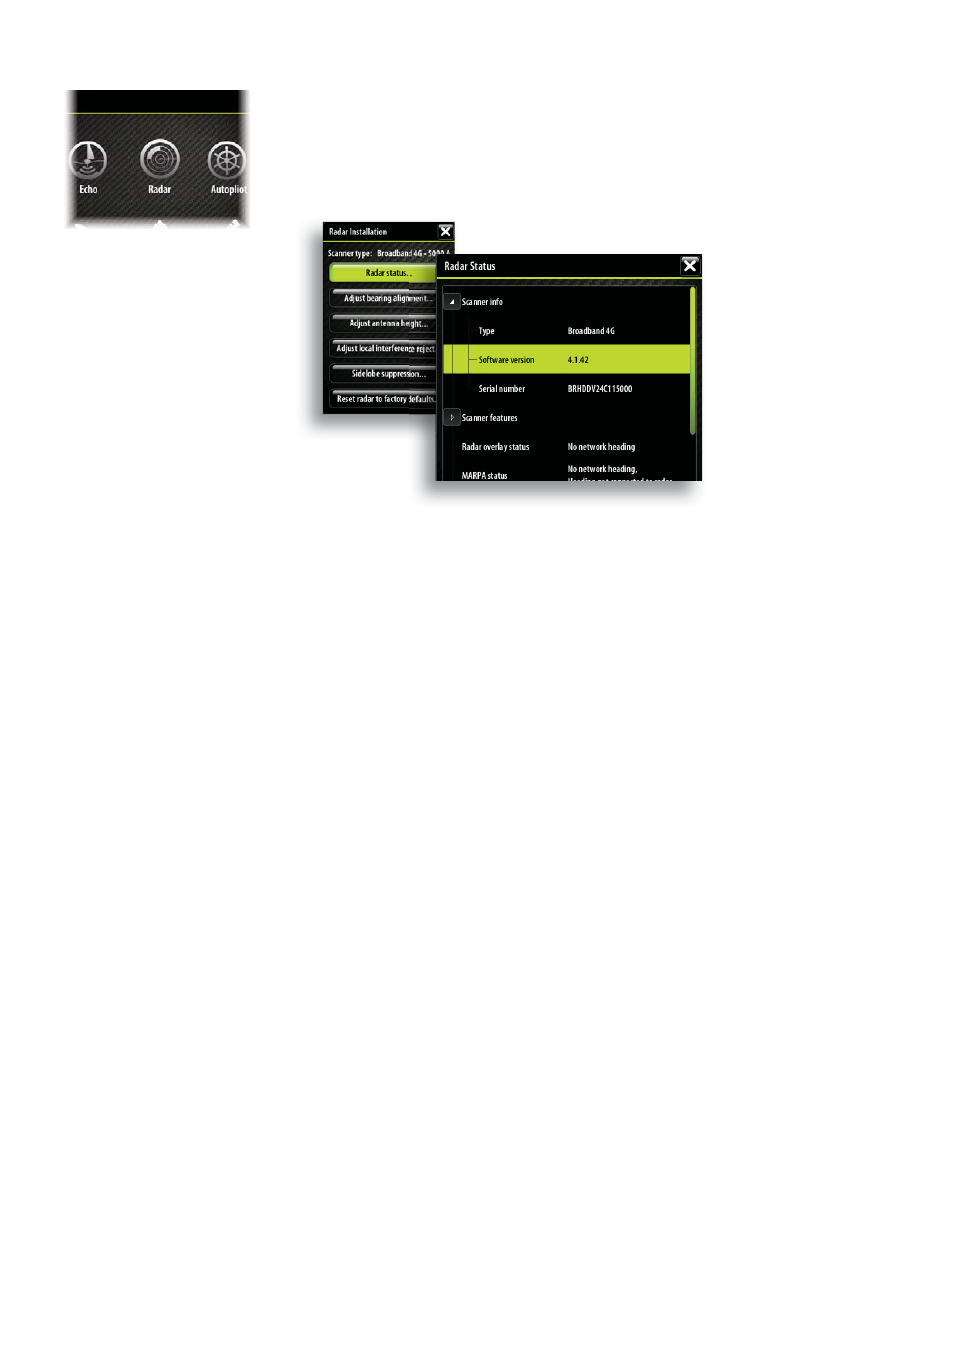
Radar status
Scanner type
Identifi es the model of scanner connected to the network.
Software version
Check to make sure you have the latest software. check website for the latest version.
Serial Number
This number should be recorded for support and insurance purposes.
MARPA status
The MARPA status can identify if a heading sensor is on the network and that the radar is
receiving heading information essential for MARPA calculations.
Reset device ID
Zeus Touch displays only support one radar on the network. Should a radar be connected,
that has been connected to a dual radar network in the past, it may not be detected by the
display because it has an incorrect Device ID. With the radar connected and power up, select
the Reset Device ID button to resolve this problem.
Note:
This procedure must be performed with only one radar on the network.
Adjust bearing alignment
This is to align with the heading marker on the screen with the center line of the vessel, this
will compensate for any slight misalignment of the scanner during installation. Any inaccu-
racy will be evident when using MARPA or chart overlay.
Point the boat to be perpendicular to the very end of a breakwater or peninsula. Adjust the
bearing alignment setting, so that the heading marker and land mass intersect.
Adjust antenna height
Set the radar scanner height. The Radar uses this value to calculate the correct STC settings.
Adjust local interference reject
Interference from some onboard sources can interfere with the Broadband radar. One
symptom of this could be a large target on the screen that remains in the same relative
bearing even if the vessel changes direction. Choose from Local interference rejection LOW,
MED or HIGH. Default is LOW