Example, Lite divider installation (classic-craft) – Therma-Tru SHOP 3 Door Preparation - Book Size User Manual
Page 50
Door
Preparation
3.50
2014 (BOOK SIZE)
Shop 3
Lite Divider Installation
(Classic-Craft)
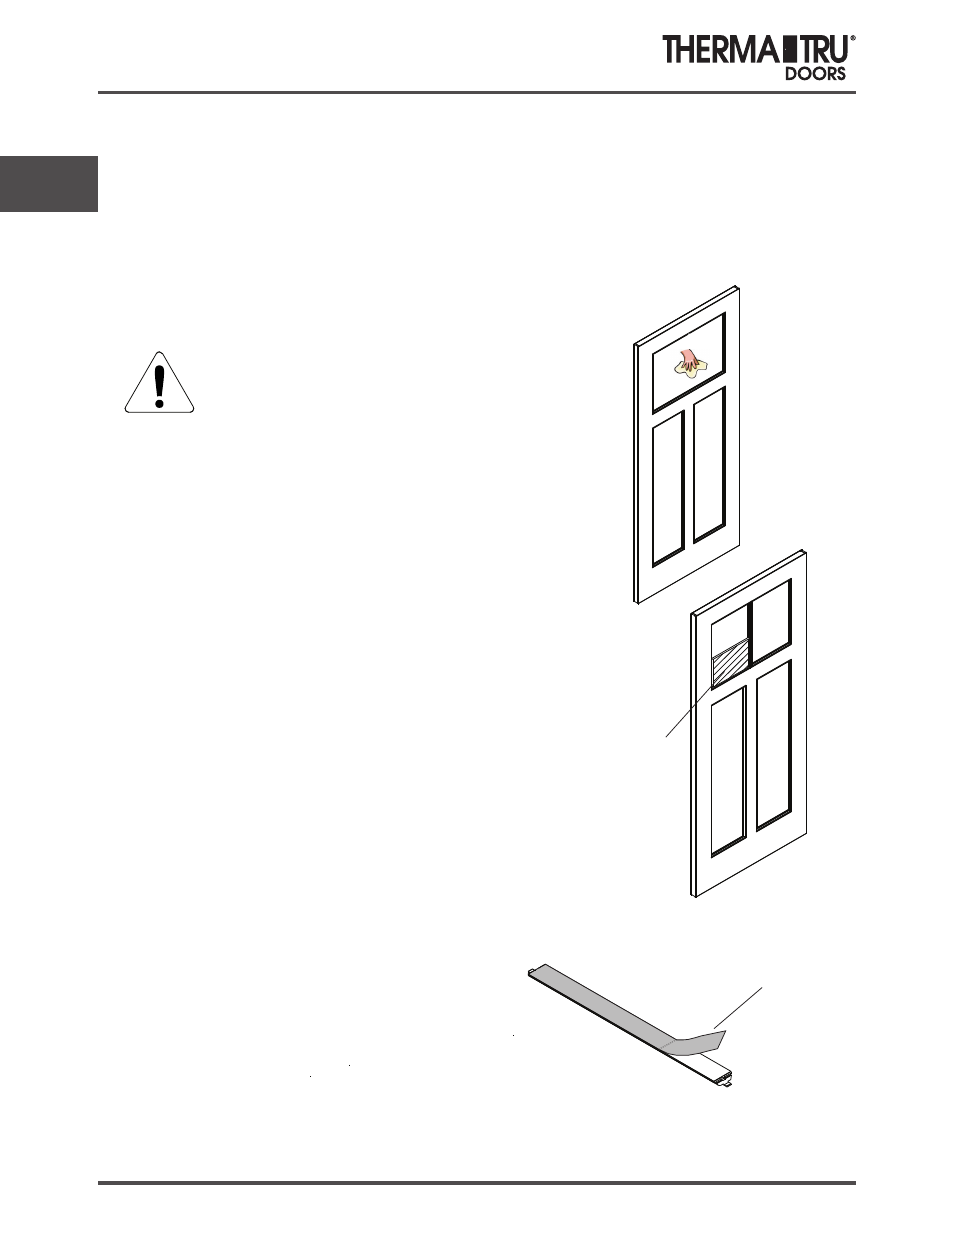
1. Moisten a clean cloth with 70% Isopropyl Alcohol.
Wipe both sides of glass as shown at right.
NOT PREPARING THE GLASS WILL RESULT
IN POOR TAPE ADHESION.
8. Repeat the same installation steps
for the other side of the door.
NOTE: TEMPERATURE RANGE FOR OPTIMUM TAPE ADHESION IS
70 TO 100 F. MINIMUM SUGGESTED APPLICATION TEMPERATURE
IS 60 F. THE DOOR AND LITE DIVIDER ARE TO BE IN THIS
TEMPERATURE RANGE. ALLOW 72 HOURS FOLLOWING
APPLICATION FOR FULL BOND STRENGTH ON TAPE.
Carrier backing
Template
Position
EXAMPLE
2. Lay out dividers in desired pattern
in the lite opening. For the 4- and
6-lite packs: the long dividers are
placed vertically, the short dividers
are placed horizontally.
3. Position template in lower left
corner of lite opening (see page 2),
with the top of the template (as
marked) toward the top of the door.
4. Working with vertical dividers first,
remove carrier backing from the
divider. NOTE: ADHESIVE IS NOT
REPOSITIONABLE.
5. Position divider, adhesive side
toward the glass, using the
template as a guide for placement.
6. Press firmly to the glass to secure
adhesive. Note: allow 72 hours
following application for full bond
strength of adhesive.
7. Apply remaining dividers
(repositioning the template where
applicable) in the same manner.
Recommendations:
Apply all vertical dividers BEFORE applying horizontal dividers.
Use a veneer roller over fully-position lite dividers to increase adhesion.