Therma-Tru SHOP 3 Door Preparation - Book Size User Manual
Page 29
Door
Preparation
Shop 3
2014 (BOOK SIZE)
3.29
Multipoint Lock Preparation
(Except Fire & Steel Doors)
Power Tool Notes:
Remember to always follow the safety and operation instructions of the equipment
manufacturers.
Tools Required:
Plunge router with 1/2” bit and
13/16” collar (Provided in door kit)
Drill bit 7/16”
Drill bit stop (provided)
1/8” Hex head wrench
UNIT SIZE
HANDLE
HEIGHT
6/6
6/8, 7/0, 8/0
33.452”
36.000“
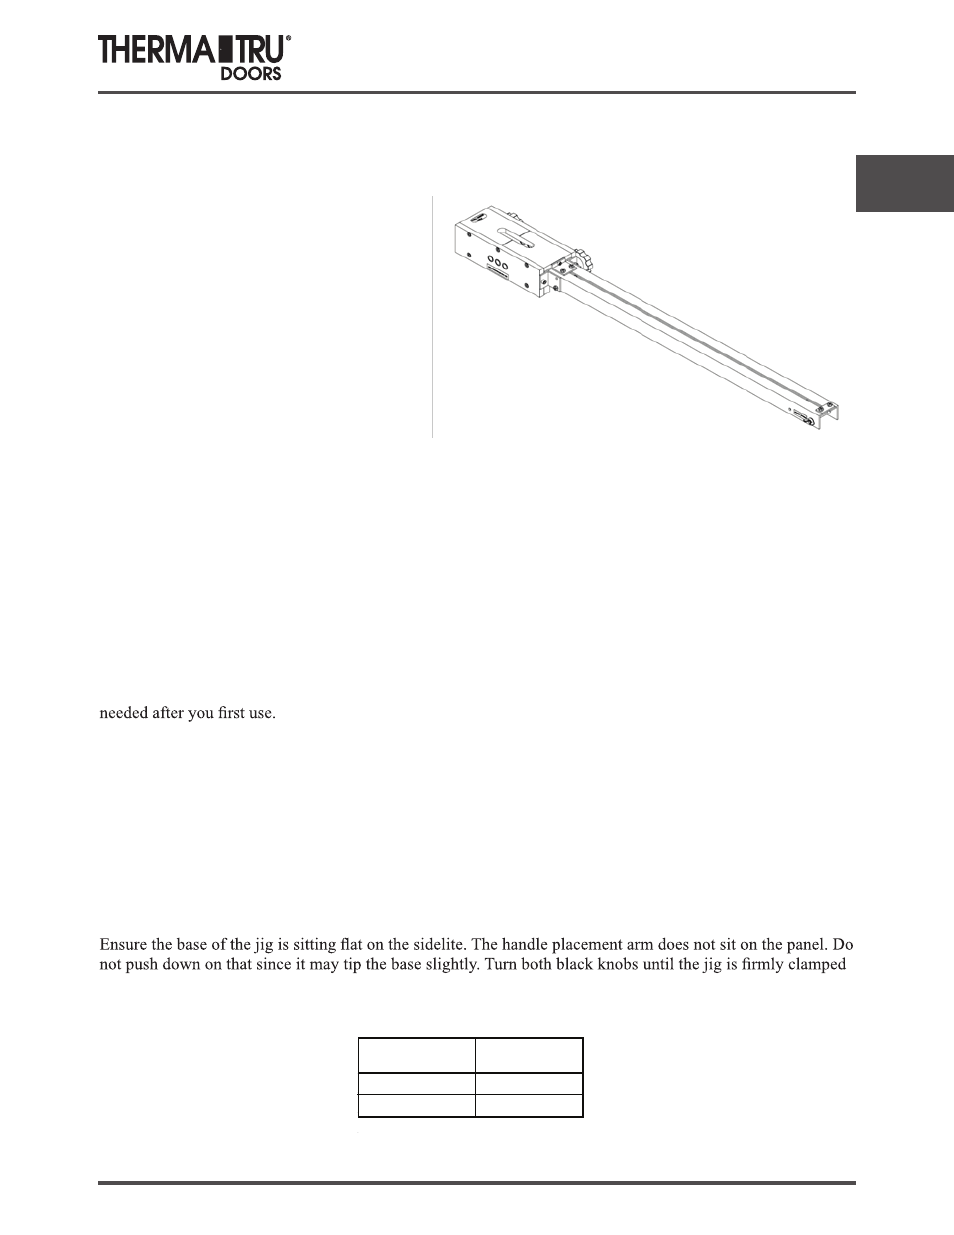
Step 1- Sidelite Handle/Mortise Jig for the Venting S/L units
Using the information given below, determine the handle position. Place the pin in the hole at the bottom that
is marked with the correct handle height. Attach the wing nut to the pin to secure it in place.
Set the router plunge depth to 50.5mm (1.988”).
Slide the drill stop over the 7/16” drill bit and then rest the bit on the top of the jig. The bit should extend to a
depth of 31.75mm (1.250”) or 1-1/4” into the sidelite. Tighten the stop with a 1/8” hex head wrench. Adjust if
Note: With a sidelite system the thumb turn is on the interior side only. As a safeguard the jig has this instruc-
tion etched on the top. Drill from the interior side only.
Slide the jig over the lock stile of the sidelite such that the locator pin is resting against the bottom rail.
to the panel. Do not over tighten.