Installation – Regency Liberty L965E Large Gas Fireplace User Manual
Page 23
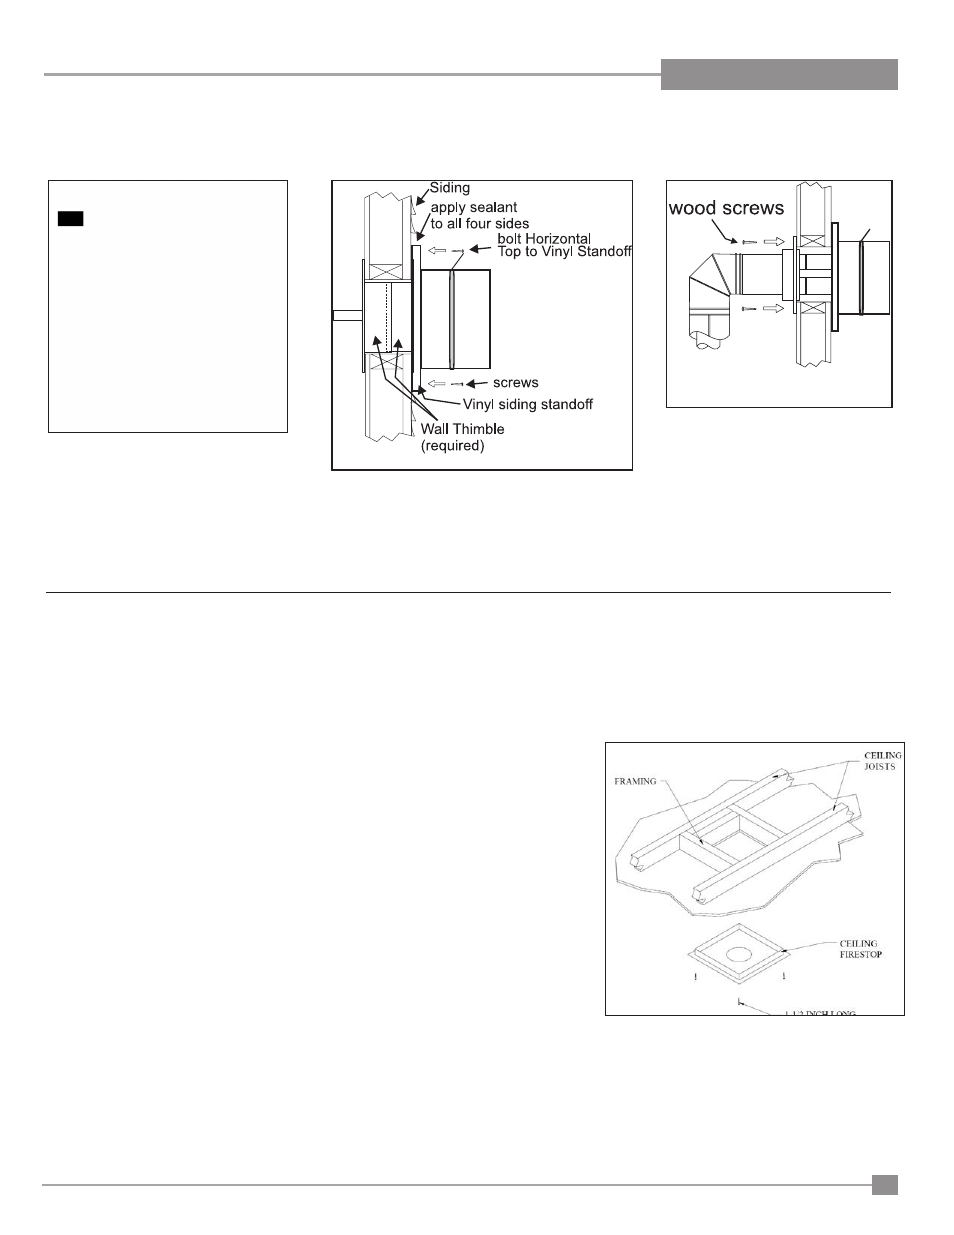
Figure 39: Installation of Wall Firestop.
Figure 38: Installation of Vent Pipe to
Termination.
Figure 40: Installation of Ceiling Firestop.
Figure 37: Installation of Vinyl Siding Standoff.
VERTICAL TERMINATION INSTALLATION:
Step 1.
Maintain clearances between venting and combustible building materials as stated earlier in this section. Do not
pack air spaces with insulation. Check with the Allowable Vent Configurations page when planning your installation to
ensure the vertical and horizontal elements of your installation are within these limits.
Step 2.
Set the fireplace in its desired location. Drop a plum bob down from the ceiling to the
position of the appliance flue exit, and mark the location where the vent will penetrate the
ceiling. Drill a small hole at this point. Next, drop a plumb bob from the roof to the hole
previously drilled in the ceiling, and mark the spot where the vent will penetrate the roof.
Determine if ceiling joists, roof rafters, or other framing will obstruct the venting system. You
may wish to relocate the appliance, or to offset, to avoid cutting load bearing members.
Step 3
. To install the Ceiling Firestop in a flat ceiling, cut a square hole in the ceiling 11” x 11”
(280x280mm) square for 8” x 5” pipe, centered on the hole drilled in Step 2. Frame the hole
as shown in Figure 40.
Step 4
. Assemble the desired lengths of galvanized Pipe and Elbows necessary to reach from
the Appliance Adaptor up through the Ceiling Firestop. Ensure that all Pipe and Elbow
connections are in their fully twist-locked position.
Regency L965E / HZ965E Gas Fireplace
23
INSTALLATION