Skyjacker TU761PRS User Manual
Page 7
20. Install the OEM coil & top assembly to the new Skyjacker strut.
Note: There are four snap ring grooves located on the new Skyjacker
strut body. The ring is installed in the third groove from the bottom of
the strut when shipped. This will yield 6" of lift. The top upper groove
is only to be used when 6" of lift is desired, but aftermarket
accessories have been added that weigh the front end down, ie.
Winch, After Market Bumper, & etc. The lower ring grooves may be
used if you would like to keep the OEM rake. (Front of vehicle lower
than the rear).
once the coil spring seat retaining ring has been
placed, check all suspension components for any contact or
interference. If suspension component contact or interference is
present, lower the coil spring seat by lowering the coil spring
seat retaining ring until no contact or interference is present.
Note: Skyjacker provides a new upper strut retaining nut for the new
replacement strut. (See Photo # 24) Install the new Skyjacker strut
using the OEM upper hardware. (See Photo # 25)
21. Install the new Skyjacker bump stop brackets using the supplied
10mm x 25mm bolts. (See Photo # 26) Attach the OEM bump stops
to the new bump stop brackets using the supplied 10mm nuts.
Note: The bump stop brackets are side specific for passenger &
driver side. (See Photo # 27)
22. Reinstall the lower A-arms to both the driver & passenger sides.
Reinstall the lower strut mount to the lower A-arm.
23.
4Wd Models: Install the CV axles. (See Photo # 28) Attach the new
Skyjacker steering knuckle to the upper & lower A-arm using the
OEM hardware.
24. Attach the OEM ABS line to the upper A-arm & relocate the ABS line
to the new Skyjacker steering knuckle.
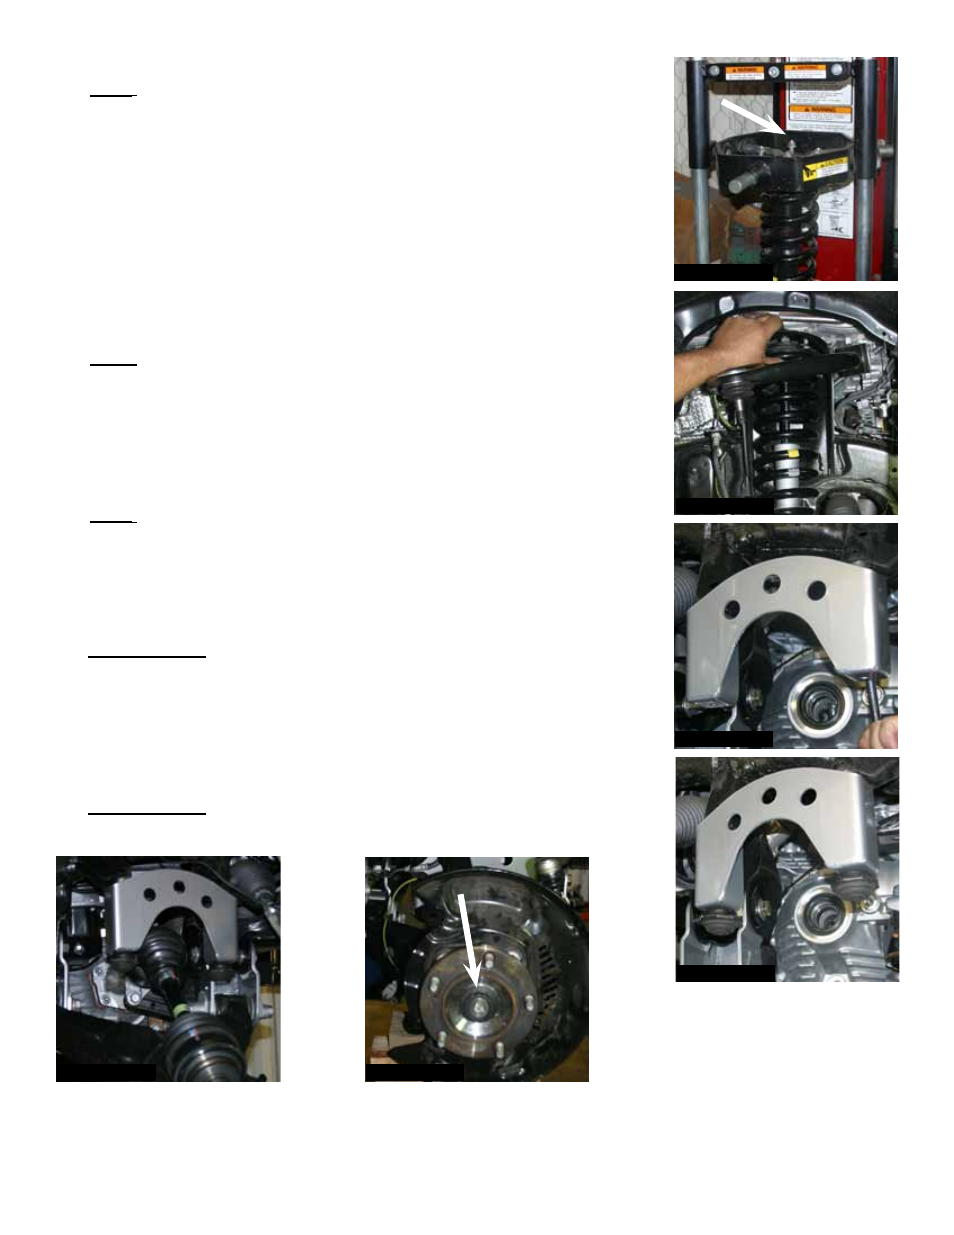
25.
4Wd Models: Attach the CV axle to the new Skyjacker steering
knuckle. (See Photo # 29)
Photo # 24
Photo # 25
I-TU761
Pg 7
Photo # 26
Photo # 27
Photo # 28
Photo #29