See logging on p. 23) ) an, Galaxy® gas analyzer — operating manual, Op er at ion – Eppendorf Galaxy Gas Analyzer User Manual
Page 23
23
Galaxy® Gas Analyzer — Operating manual
Logging
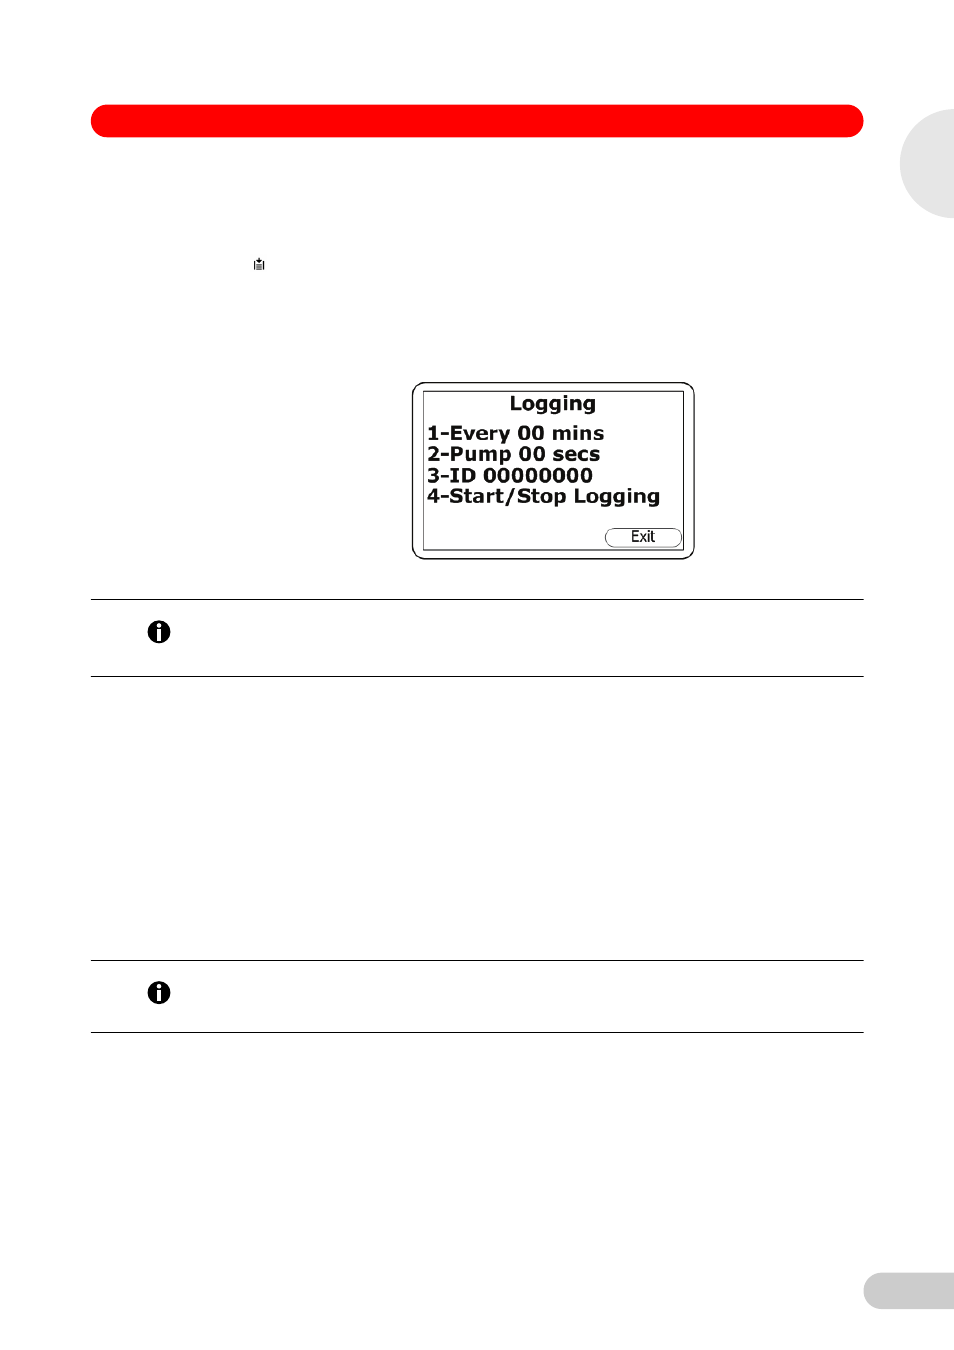
In the Logging screen (see Fig. 17 on p. 23), you can start or stop data logging mode, you can
set automatic data logging intervals and automatic pump operation intervals. You can also
change the default 8-number ID code for data logging. When data logging mode is active, the
icon is displayed in the Main screen.
To access the Logging screen from the Main screen:
1. Press the Menu key on the instrument panel.
2. Press numeric key 2 to display the Utilities Menu.
3. Press numeric key 6 to display the Logging screen:
Abb. 17:
Logging Screen
Fig. 17:
Logging Screen
Data Logging Interval (1-Every 00 mins): Press the numeric 1 key, then use the numeric keys
to enter the time in minutes (01-99) for the desired interval between sample readings. When the
number is in the display as desired (e.g., Every 10 mins), press the Enter key to save the change.
Pump Run Time (2-Pump 00 secs): Press the numeric 2 key to enter the length of time in
seconds (01-60) that you wish the pump to run when taking a sample reading. When the number
is in the display as desired (e.g., Pump 40 secs), press the Enter key to save the change.
The pump run time is the number of seconds the pump runs prior to storing the reading. This
figure will need to take into account the sample tube length and the sample gas volume. For
example, there is little point setting a pump run time of 10 seconds if it takes 30 seconds to draw
in a new sample.
ID Code (3-ID 00000000): Press the numeric 3 key to enter an 8-digit ID code. When the number
is in the display as desired (e.g., 87654321), press the Enter key to save the change.
Start or Stop Data Logging (4-Start/Stop Logging): Press the numeric key 4 to begin or to end
the data logging function, then press the Enter key to save your choice.
When the instrument is actively in logging mode, both the Pump and Store keys are deactivated;
only logged readings can be stored.
Reset
Resetting the instrument will clear all user settings and any stored data including the optional
event log. Perform the following steps to reset the instrument.
1. From the Main screen, press the Menu key on the instrument panel, then press the numeric 2
key to display the Utilities menu:
Hint!
•
1-, 2-, 3- and 4- indicate the numeric key for each function (i.e., press 1 to set the data logging
interval)
•
Press the right-hand soft key at any time to exit this screen and return to the Utilities Menu.
Hint!
When you turn off the instrument, and each time you edit Logging parameters, data logging
mode will automatically stop. You will therefore need to manually restart data logging in either
case.
5
Op
er
at
ion