Galaxy® gas analyzer — operating manual, Op er at ion – Eppendorf Galaxy Gas Analyzer User Manual
Page 19
19
Galaxy® Gas Analyzer — Operating manual
4. To adjust the value displayed (0 in the sample screen above), press key 3 to scroll left (lower
values) or key 6 to scroll right (higher values).
5. If you change your mind during the process and wish to return to the previous setting (the
default 0 in the sample screen shown), press the right-hand soft key to Reject the change.
6. When the contrast displayed is suitable, press the middle soft key to Accept the change and
to return to the Utilities Menu.
Alarms
The Current Alarms screen (see Fig. 12 on p. 19) allows you to set High or Low alarms for the
CO
2
gas channel and, if this option is present, the O
2
gas channel. The alarms for each channel
can be enabled or disabled independently in this screen.
Once enabled, these alarms become active in the Main screen; this is indicated by a bell icon.
If an alarm is triggered, the screen turns red and displays a flashing bell
icon. The audible
alarm, a beeper, sounds until the gas level has recovered beyond the set-point.
High alarms are triggered when the gas level exceeds the maximum value you set, while Low
alarms are triggered when the gas level falls below the minimum value you set.
To access the Current Alarms screen from the Main screen:
1. Press the Menu key on the instrument panel.
2. Press numeric key 2 to display the Utilities Menu.
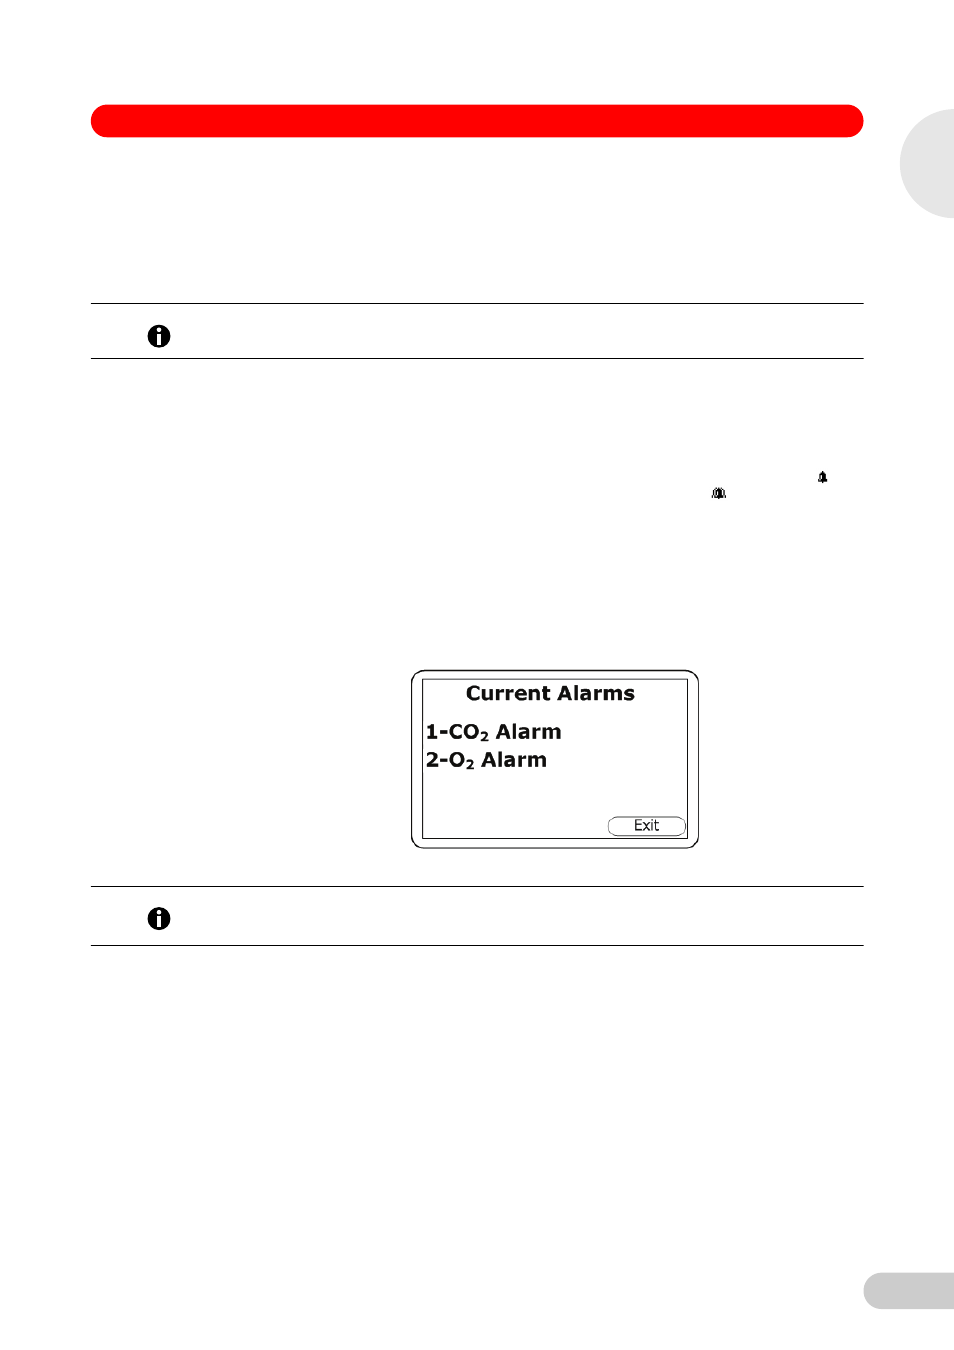
3. Press numeric key 3 to display the Current Alarms screen:
Abb. 12:
Current Alarms screen
Fig. 12:
Current Alarms screen
4. Press numeric key 1 to access the CO
2
alarm (or press numeric key 2 for the O
2
alarm). The
CO
2
Alarm (or O
2
Alarm) screen will allow you to disable any alarms previously set (press the
numeric key 1 to do this), or to set or adjust the High (Max) and Low (Min) alarm values.
5. Press the numeric 2 key to set the Max alarm value, then use the numeric keys to enter the
desired value. The decimal point is already present, so to set a value of 5.5 (see Fig. 13 on
p. 20), key in 55, then press the Accept (middle) soft key.
6. Press the numeric 3 key to set and accept the Min alarm value in the same way.
Hint!
When you adjust and accept the Contrast setting, the instrument will retain the new setting when
you turn if off and later turn it back on.
Hint!
•
1- and 2- indicate the numeric key to set each function (1 for CO
2
Alarm, 2 for O
2
Alarm)
•
Press the right-hand soft key at any time to exit this screen and return to the Utilities Menu.
5
Op
er
at
ion