Eppendorf Temperature Verification System User Manual
Page 21
Temperature Verification System USB – Single-channel — Operating manual
21
1. Log in as
User
or
Administrator
.
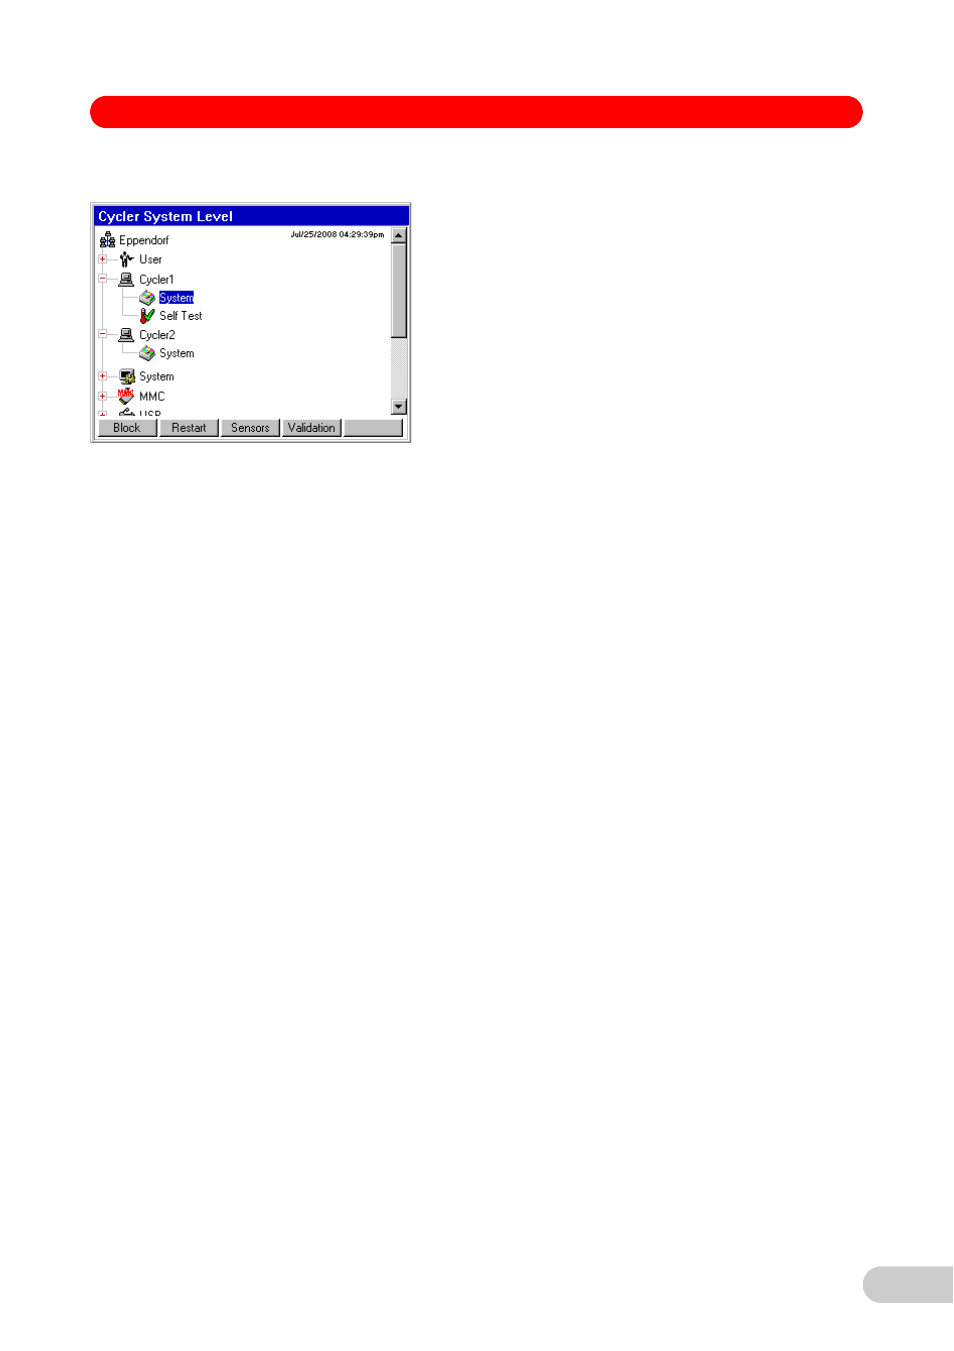
2. Select
System
menu item under the cycler nodes.
3. Press the
Verification
softkey.
A note on the Temperature Verification System USB – Single-channel will be shown.
4. Confirm the note with the
OK
softkey.
You will be prompted to connect the Temperature Verification System USB – Single-channel.
5. Connect and switch on the Temperature Verification System USB – Single-channel.
The connection of the Temperature Verification System USB – Single-channel to the various
Mastercycler devices is described in the installation chapter.
6. Confirm the request with the
OK
softkey.
The temperature sensor will be checked by the Mastercycler.
If the certification of the temperature sensor is no longer valid, an error message will be
shown. End the verification. Arrange to have the temperature sensor certified.
The verification program starts and heats the heated lid to 105 °C. You will then be prompted
to open the lid.
7. Open the heated lid.
8. Confirm the request with the
OK
softkey.
You will be prompted to insert the temperature sensor (
Insert sensor in the position
indicated
).
9. Insert the temperature sensor in the position indicated.
10. Confirm the request with the
OK
softkey.
You will be prompted to close the heated lid.
11. Close the heated lid.
12. Confirm the request with the
OK
softkey.
The first measuring cycle begins by checking the temperatures 95 °C and 35 °C.
Each additional measuring cycle begins with the request to insert the temperature sensor in
a different bore. The position will be shown on the display.
13. Repeat steps 7 to 12.
The protocol will be shown on the display after verification.
You now have the option to print or save the protocol.
14. Press the
Exit
softkey.
The
Cycler System Level
window will be shown.