Begin pouring – MBW CG200 User Manual
Page 35
33
BEGIN POURING:
1. Make sure the Height Sensor
switch is flipped to the POUR posiĆ
tion.
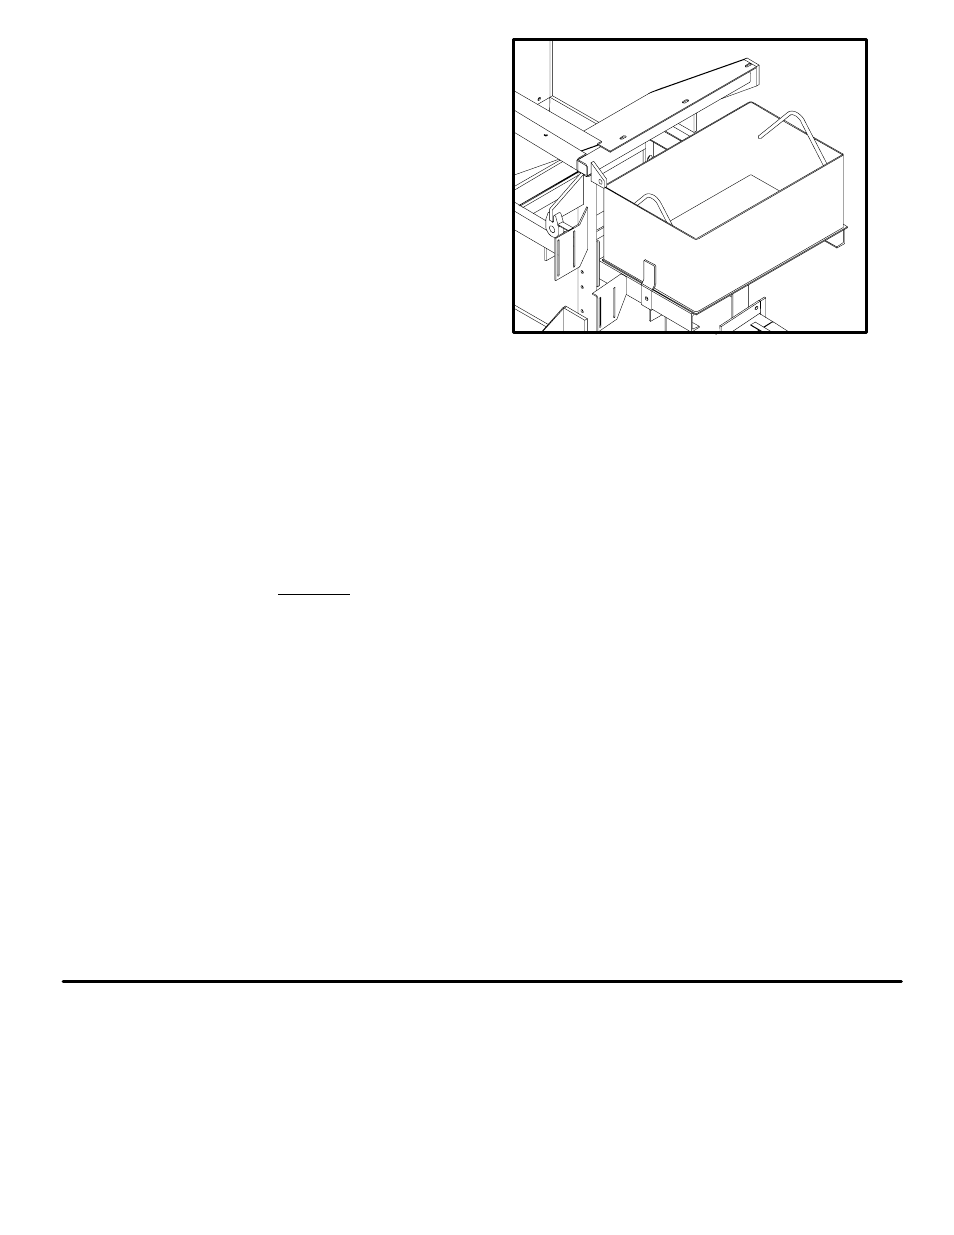
2. First Pour: Fill weight box (above
mold) with concrete.
3. Spray hopper area and mold inside
and outside with form oil. Fill hopĆ
per to within 8" to 10" of the top with
standard slip form paver concrete
mixture. (See operating hints for
concrete mix, page 36.)
4. Proceed with pour. Adjust vibrator potentiometers as required to fill mold and
aid flow of concrete into curb area. Lower slump concrete will require higher
vibrator settings to fill the form. Generally, start with vibrators set between 5
and 6.
5. If the engine is lugging or the exhaust is exceptionally black, check the position
of the vibrator pots. It is recommended that all three vibrator pots be set at
approximately the same position. Unused vibrators should be turned off. This
reduces the hydraulic load on the engine.
6. The three main manual operator functions while pouring are
1. Adjusting vibrator speed.
2. Adjusting travel speed.
3. adjust the pitch of mold from front to back by rising or lowering the front
cylinder. Use the black mark on the front steering sensor wand as a reference
mark.
4. The above three settings will be determined by the concrete mix.
7. To move back of curb away from the stringline move the steering sensor closer
to the stringline.
8. To move back of curb closer to the stringline move the steering sensor away
from the stringline.
9. To change top of curb height, use the height trim knob. Move clockwise (+) to
raise the curb and counterĆclockwise (Ć) to lower the curb.
NOTE: Fewer adjustments are better than many.