BNC 970 Portable Multi-Channel Analyzer (MCA) User Manual
Page 10
Model 970 Instruction Manual
7
10.
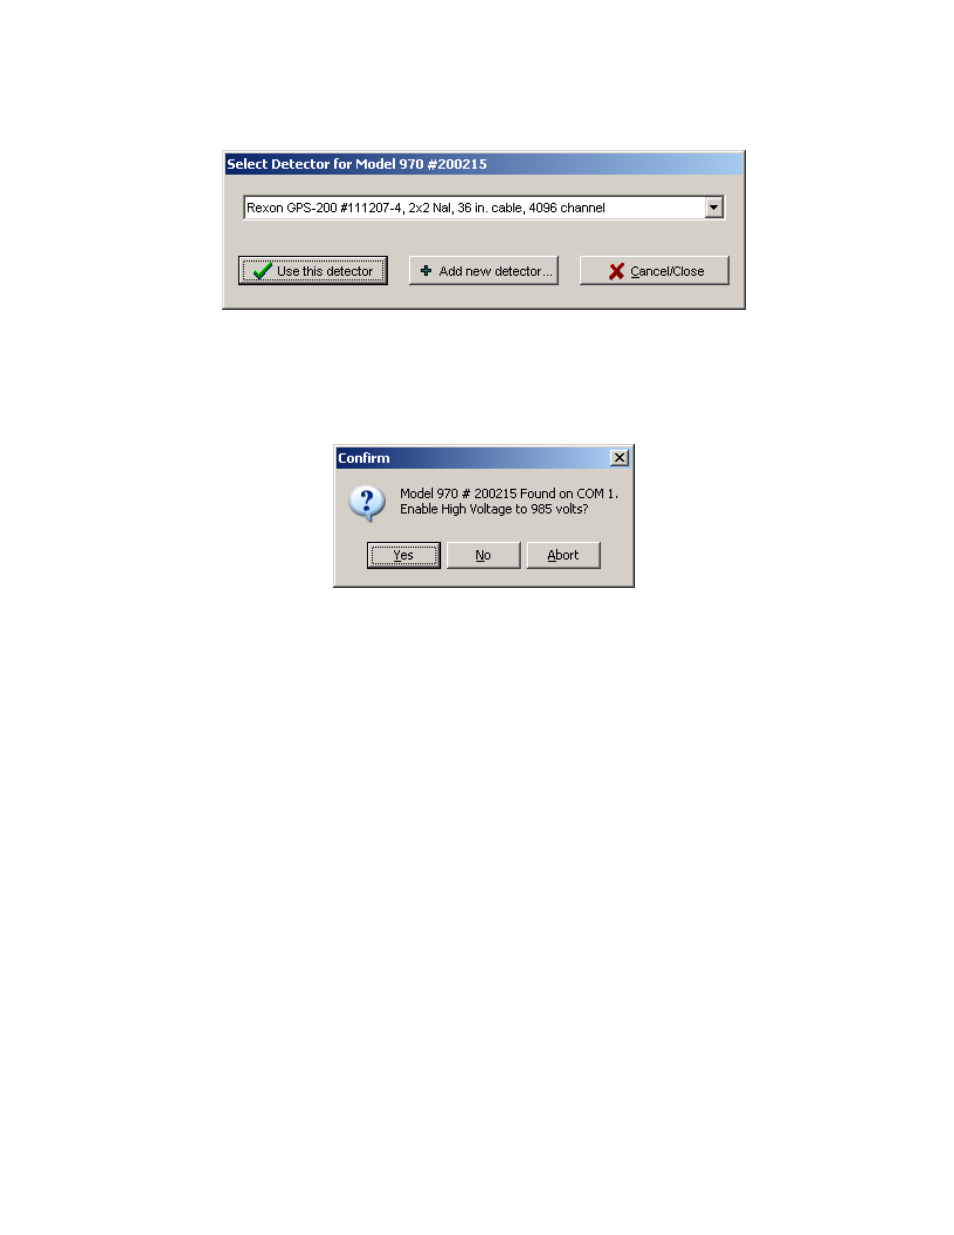
The Select Detector window is now displayed, showing the detector just entered. Click
Use This Detector.
11.
A window showing the serial number of the Model 970 and the number of the COM port
being used is displayed. Click Yes to enable the High Voltage to the displayed value or No
to start SNAP-MCA with the High Voltage turned off. It is recommended that you enable the
High Voltage at this time unless you have some reason to believe that enabling the High
Voltage to the value displayed might damage the detector (e.g., the HV is higher than you
think it should be or you don’t actually have the detector connected yet).
12.
The SNAP-MCA Main Window will now be displayed. At this point, whether the first use
or not, SNAP-MCA may appear to pause for a few moments while it adjusts the 970’s on-
board Hardware Settings and while it loads various associated files including the library file,
the last used ROI Set, Energy and Efficiency Calibrations.
Note that field names that are marked with an asterisk cannot be changed or edited once the
detector data have been added. For instance, if after capturing and storing spectra, you
choose to change the Number of Channels, a new detector must be added in order to select
the number of channels to be used.
The "Add New Detector" window can also be selected from the Utility | Detector… menu
discussed on page 10. In the "Base New Detector on" field, you may select an existing
detector set up and make minor edits or you may start from scratch. Your system can have
a number of different detectors or the same detector with a different number of channels.
Placing these parameters in the Add New Detector screen is the only way to change the
number of channels in the Spectrum Display.