Start up of the adjustment mode, Safety instructions, Adjustment mode – Barco R9002120 User Manual
Page 25
Safety Instructions
5-1
5975977 BARCODATA 708 260597
5
START UP OF THE ADJUSTMENT MODE
Adjustment mode
All picture geometry and convergence adjustments are made while in the 'Adjustment mode'. Two possible ways to enter the adjustment
mode :
a) Using the RCU.
Press the
ADJUST
key.
The projector displays the path selection menu.
ADJUST
STANDBY
ENTER
EXIT
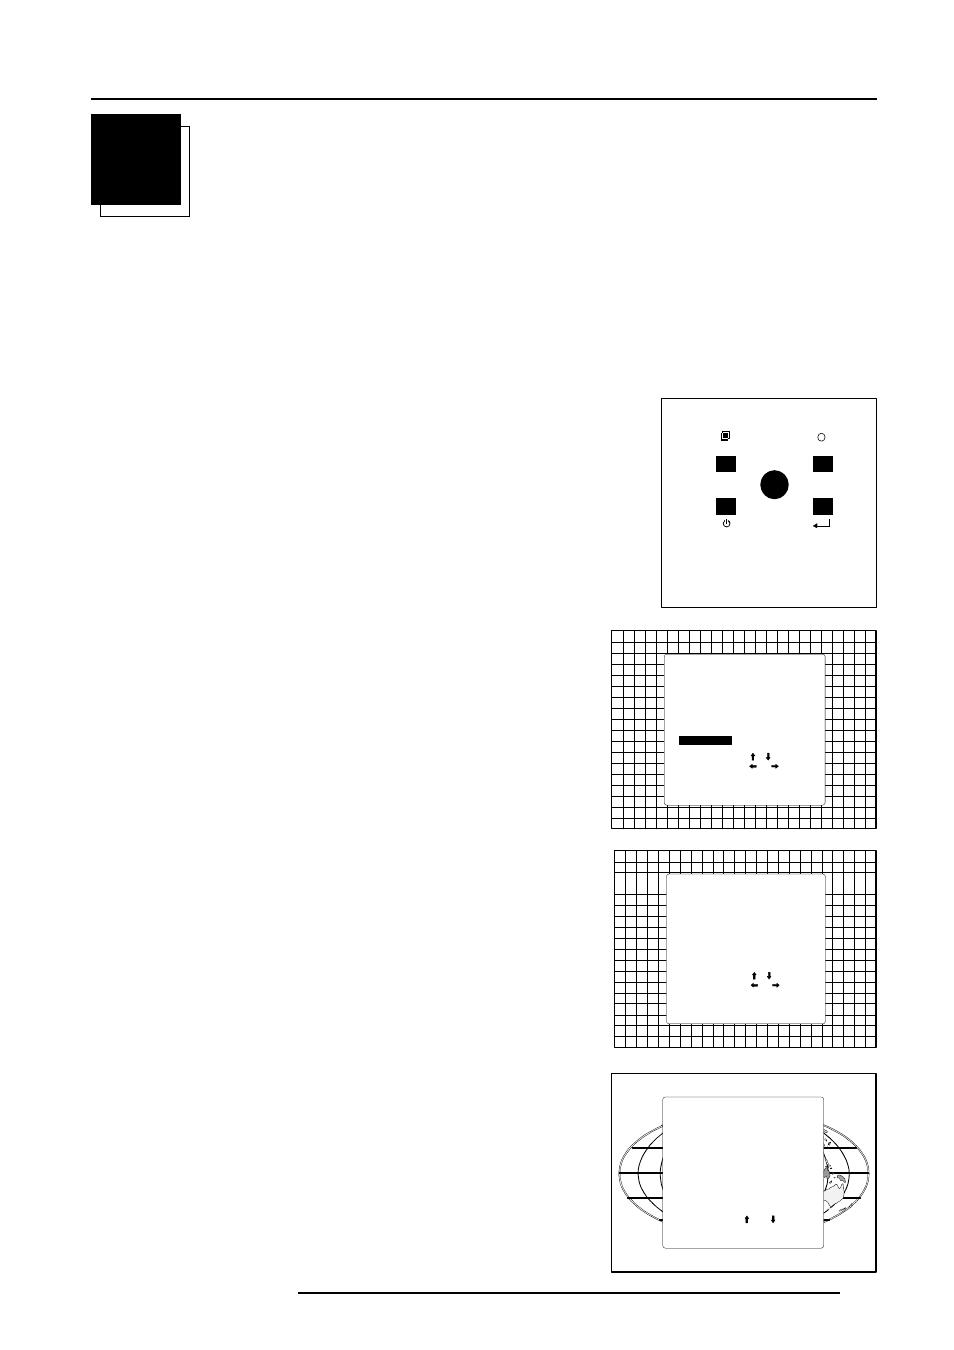
b) Using the local keypad.
Press the
ADJUST
key.
The projector displays the
General access menu
.
GENERAL ACCESS
Select with ,
or
then
SHARPNESS
TINT
COLOR
BRIGHTNESS
CONTRAST
5 6
3 4
1 2
Enter ADJUST
Note : to adjust the Analog picture control while in the 'Adjustment mode', press
the
ADJUST
key. The next General Access menu will be displayed.
Push the control disk up or down to select the analog control to be adjusted and
press the
ENTER
key to confirm.
When the analog control is adjusted the projector returns automatically to the
General access menu. When you want to return to the Adjustment mode, press
EXIT
, otherwise select
quit ADJUST
and press
ENTER
to return to operational
mode.
You are now in the
'Adjustment mode'
. The control disk is used to make menu
selections and also vertical and horizontal adjustments. The
ENTER
and
EXIT
keys are used to move forward and backward through the menu structure. The
ADJUST
key can be used to terminate the adjustment mode while a path
selection menu (head menu) is displayed.
There are 5 possible paths to follow once in the Adjustment mode. They are :
INSTALLATION
- Installation should be selected if the projector has been
relocated and/or a different screen size is desired.
When selecting 'Installation', the user or operator will be warned to call a qualified
technician to perform the installation procedure (see example of projected
warning on next page).
GUIDED
- Guided should be selected if the user intends to perform a complete
alignment of the projected image. All of the necessary geometry and conver-
gence adjustments are made in a predetermined sequence.
Use the control disk to highlight
enter ADJUST
and press
ENTER
. The path
selection menu will be displayed.
GENERAL ACCESS
Select with ,
or
then
SHARPNESS
TINT
COLOR
BRIGHTNESS
CONTRAST
quit ADJUST
643
ADJUSTMENT MODE
Select a path from
below:
Select with or
then
GUIDED
RANDOM ACCESS
INSTALLATION
SERVICE
IRIS
source 1