Playing and recording from a dv camcorder 09, Dv video setting, About dv – Pioneer RCS-656HX User Manual
Page 99
Playing and recording from a DV camcorder
09
99
En
6
Find the place on the camcorder tape that you
want to start recording from.
For best results, pause playback at the point from which
you want to record.
• Depending on your camcorder, you can use this
recorder’s remote to control the camcorder using the
, , ,
,
,
and
buttons.
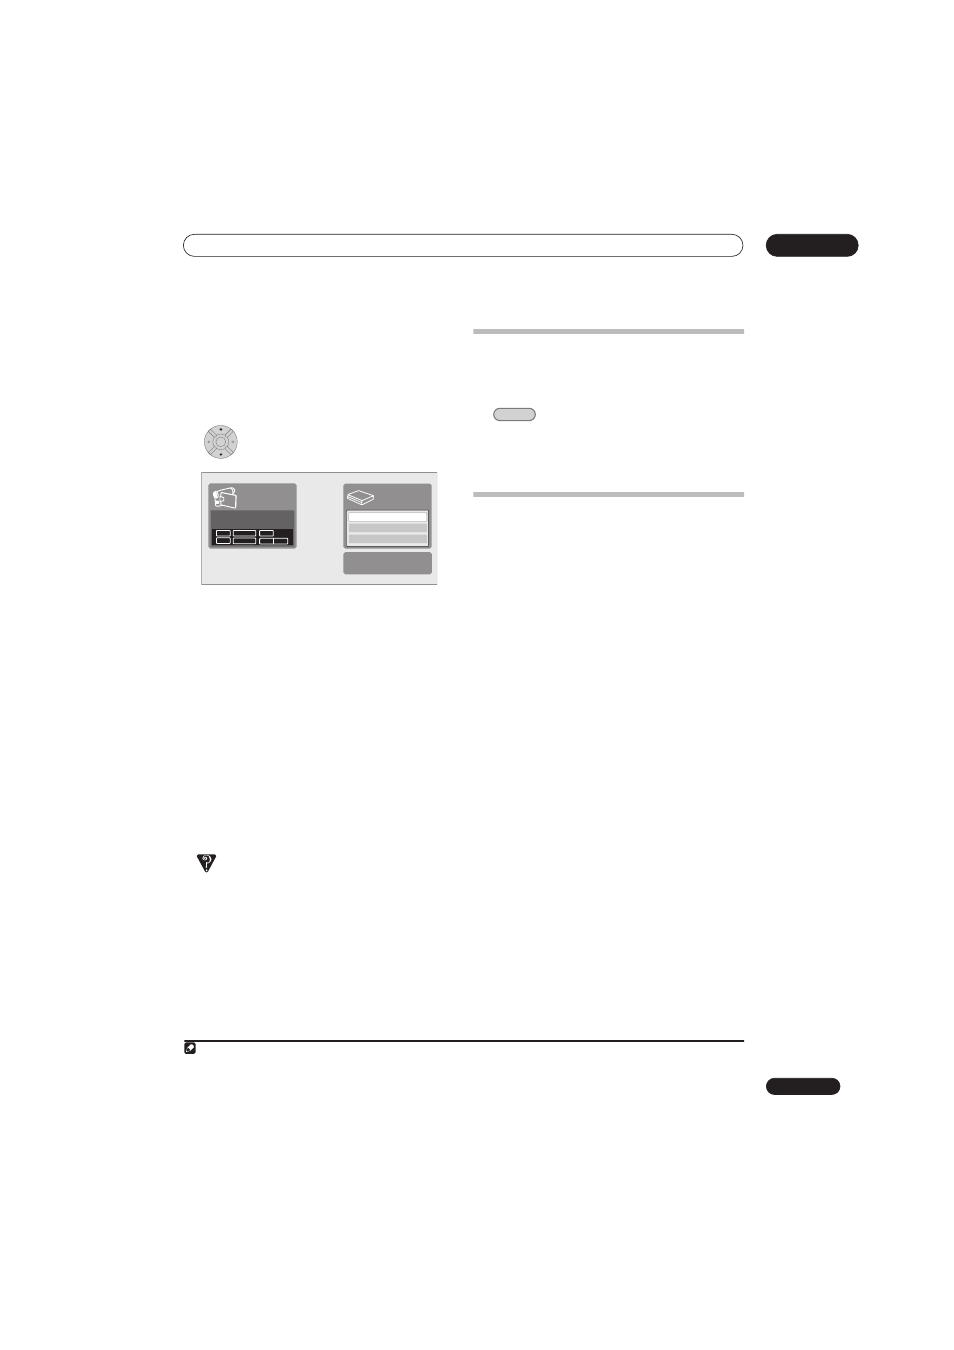
7
Select ‘Start Rec’.
• You can pause or stop the recording by selecting
Pause Rec or Stop Rec from the on-screen display.
You cannot control the camcorder from this remote
control during recording.
• If you restart recording after stopping the camcorder,
the first few seconds of the camcorder tape will not
be recorded. Use the pause button on your camcorder
instead and recording will start immediately.
• HDD, DVD (VR Mode) and DVD-RAM only: A chapter
marker is inserted every time there is a break in the
timecode on the DV tape. This happens when the
recording is stopped or paused then restarted, for
example.
• If you don’t want to see the DV recording screen
during recording, press
DISPLAY to hide it (press
again to display).
• While recording, you cannot exit the DV recording
screen using the
HOME MENU or RETURN/EXIT
button.
Frequently Asked Questions
• I can’t get my DV camcorder to work with the recorder!
Check that the DV cable is properly connected. Also
make sure that what you’re trying to record is not
copy-protected.
If it still doesn’t work, try switching off the camcorder
then switch back on.
• There’s a picture, but no sound!
Try switching the
DV Input setting (see DV Input on
page 133) between
Stereo 1 and Stereo 2.
1
DV video setting
Use this setting to adjust the picture quality of the
incoming video from the DV device connected to the DV
jack of this recorder.
•
Select ‘DV’, then ‘DV Video Setting’
from the Home Menu.
For detailed information on this setting, see Setting the
picture quality for TV and external inputs on page 126.
About DV
Using DV, also known as i.LINK or IEEE 1394-1995, you
can connect a DV camcorder to this recorder using a DV
cable for input of audio, video, data and control signals.
“i.LINK” and the “i.LINK” logo are trademarks.
• This recorder is only compatible with DV-format
(DVC-SD) camcorders. Digital satellite receivers and
Digital VHS video recorders are not compatible.
• You cannot connect more than one DV camcorder at
a time to this recorder.
• You cannot control this recorder from external
equipment connected via the
DV IN jack.
•
It may not always be possible to control the connected
camcorder via the
DV IN jack.
• DV camcorders can usually record audio as stereo
16-bit / 48 kHz, or twin stereo tracks of 12-bit / 32 kHz.
This recorder can only record one stereo audio track.
Set the
DV Input setting as required (see DV Input on
page 133).
• Audio input to the
DV IN jack should be 32 kHz or 48
kHz (not 44.1 kHz).
• Picture disturbance in the recording may occur if the
source component pauses playback or plays an
unrecorded section of tape, or if the power fails in the
source component, or the DV cable is disconnected.
• The
DV IN jack is an input only. There is no output
functionality.
Note
1 If the audio subcode on the DV tape cannot be read correctly, the audio type will not switch automatically. You can switch the audio manually
from the
External Audio setting (page 133).
ENTER
Start Rec
Pause Rec
Stop Rec
SP (2h00m/DVD)
32h45m
Stop
Stop
1.02.22
Control with these
buttons
Rem.
HDD
HOME MENU