Zooming and cropping photos – Kodak ESP 7 User Manual
Page 52
Viewing and Printing Photos
44
www.kodak.com/go/aiosupport
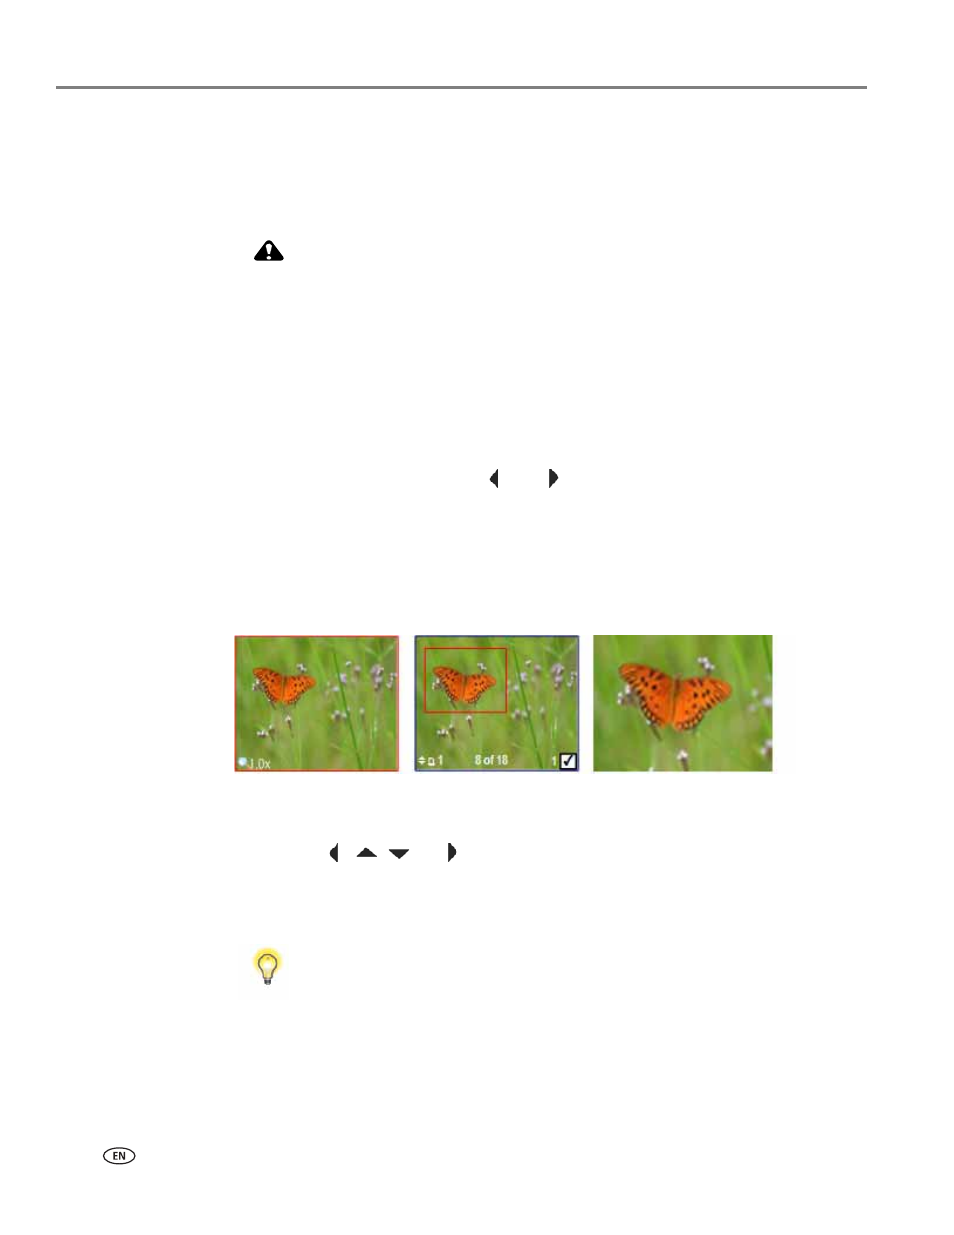
Zooming and cropping photos
Your printer enables you to zoom in or out on a specific area of a photo. When you
print the photo, the photo is cropped so only the area bounded by the crop
boundaries is printed.
CAUTION:
You cannot use the zoom or crop functions of this printer on photos located on
a PictBridge camera connected to the printer. All changes made to photos
stored on a PictBridge camera are conducted on the camera.
NOTE: The changes you make to the photo apply only to viewing and printing the
photo, and will not be saved on the memory card or storage device.
1. Select an image from the display. As needed, see
non–PictBridge digital cameras, memory cards, and USB flash drives, page 40
.
2. As desired, press
Menu
to display the
Print Photos Options
menu. The first
option is Print Size. Press the
and
navigation buttons on the control panel
to change the size of the output that you want for the image, which will affect
the zoom and crop displays. Press
OK
when you are satisfied.
3. Press
Zoom +
to enable the zoom and crop function. You can enlarge the photo
in .25X increments, up to a 5X magnification. Press
Zoom –
to decrease the
magnification in .25X increments, to 1X.
NOTE: The changes you make to the photo apply only to viewing and printing the
photo; they are not saved on the memory card or storage device.
4. Use the
,
,
and
navigation buttons on the control panel to display the
part of the picture you want to print.
5. Press
OK
when finished. The photo is displayed with the original view, and a
border (“crop box”) is displayed around the area you want to use.
Tip: You can make more precise zoom and crop adjustments to your photos on
your computer using photo editing software. To send a photo from the printer to
your computer, see
Transferring images to a computer
below.