Basic recording, Inserting blank spaces – Aiwa CX-NHMT75 User Manual
Page 17
En
ENGLISH
17
RECORDING
BASIC RECORDING
This section explains how to record from the tuner, CD player, or
external equipment.
Preparation
• Use Type I (normal) and Type II (high/CrO
2
) tapes for recording.
• Set the tape to the point where recording will start.
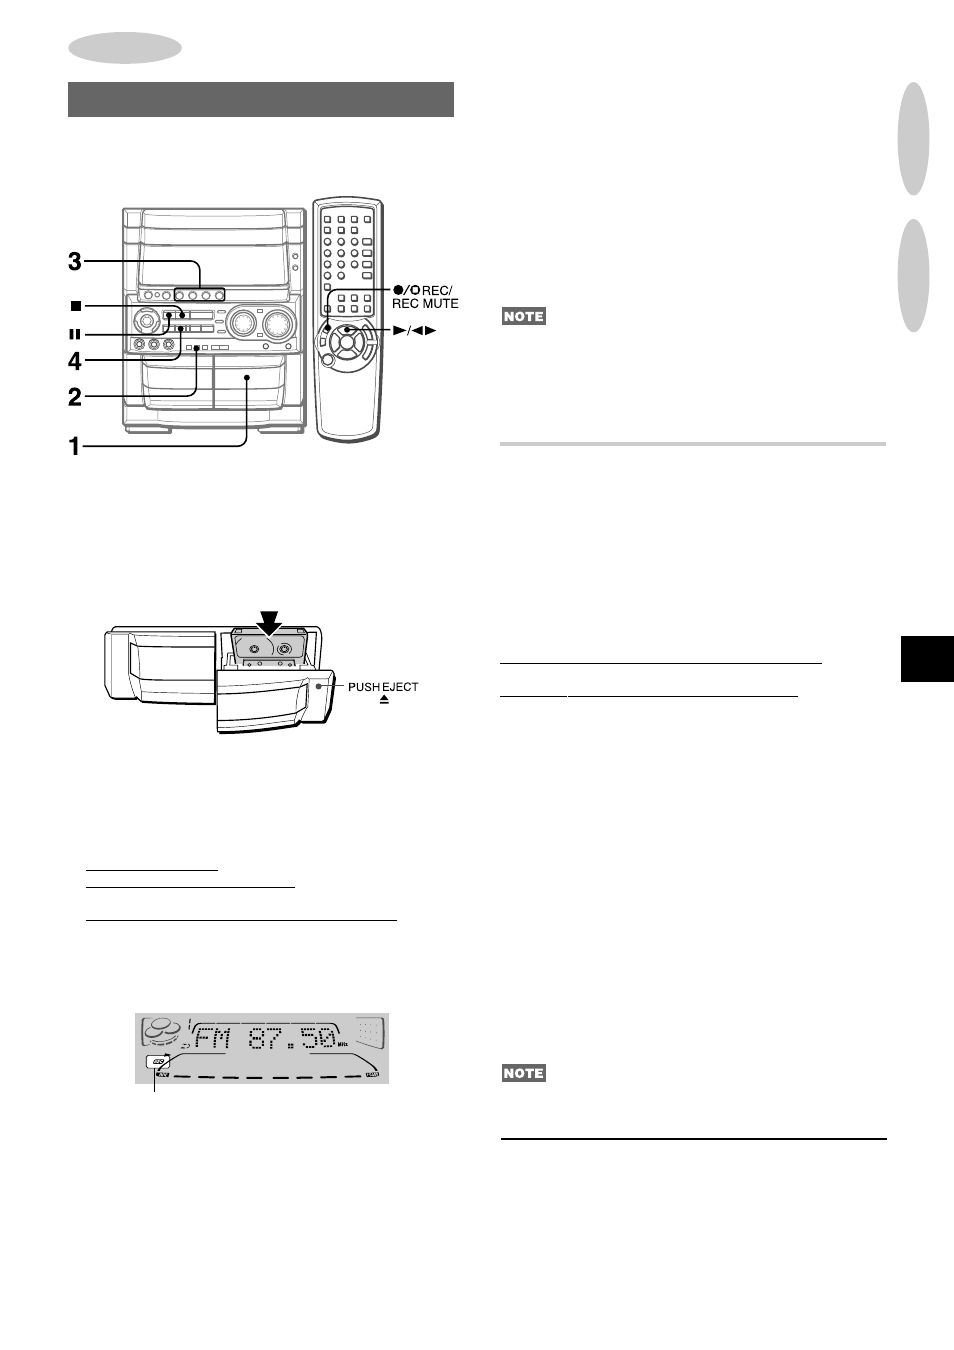
1 Insert the tape to be recorded on into deck 2.
Insert the tape with the side to be recorded on first facing out
from the unit.
2 Press REV MODE to select the reverse mode.
To record on one side only, select
p.
To record on both sides, select
[ or ].
3 Press function (TUNER/BAND, VIDEO/AUX/5.1CH,
CD or MD) and prepare the source to be recorded.
To record from a CD, press CD and load the disc(s).
To record from a radio broadcast, press TUNER/BAND and
tune in to a station.
To record from a connected source, press
VIDEO/AUX/5.1CH or MD.
4 Press w REC/REC MUTE to start recording.
When recording from a connected source, start playback of
the source.
When the selected function is CD, playback and recording
start simultaneously.
To stop recording, press
s.
To pause recording, press
a. (Applicable when the source is
TUNER, VIDEO/AUX/5.1CH or MD) To resume recording, press
it again.
To start recording with the remote control
First press
q REC/REC MUTE, and then press c/d within
2 seconds.
Sound adjustment during recording
The VOLUME control has no effect on recording, while the BBE
affects recording.
When recording an externally connected source via the VIDEO/
AUX or the MD jacks, the small dot near the “
]” lights up
continuously in the display if the input level is too high. In this
case, stop recording and adjust the input level until the dot lights
intermittently (page 28).
INSERTING BLANK SPACES
Insertion of 4-second blank spaces enables you to activate the
Music Sensor function. (Applicable when the source is TUNER/
BAND, VIDEO/AUX/5.1CH or MD.)
1 Press
w REC/REC MUTE during recording or while in
recording pause mode.
4 on the display flashes for 4 seconds and 4-second blank
space is made. Then, the deck enters the recording pause
mode.
2 Press
a to resume recording.
To insert a blank space of less than 4 seconds, press
w
REC/REC MUTE again while
4 is flashing.
To insert blank spaces of more than 4 seconds, after the deck
enters recording pause mode, press
w REC/REC MUTE again.
Each time the button is pressed, a 4-second blank space is added.
To erase a recording
Make sure the microphone is not connected to this unit. Set the
microphone volume and the echo level to OFF (page 23).
1 Insert the tape to be erased into deck 2 and press TAPE/
DECK 1/2 to display “TP 2”.
2 Set the tape to the point where the erasure is to be started.
3 Set the reverse mode by pressing REV MODE.
4 Press
w REC/REC MUTE to start the erasure.
“Can’t REC” is displayed if you attempt to record on a tape with
the plastic tabs broken off.
4
CD PLAYING
RECORDING