1 your tp-120 xga line receiver, Figure 5: tp-120 xga line receiver – Kramer Electronics TP-107AV User Manual
Page 13
KRAMER: SIMPLE CREATIVE TECHNOLOGY
Your Line Transmitters and Presentation Controllers
10
Table 4: TP-107V / TP-107AV (Underside Panel) Features
#
Feature
Function
1
HS
Slide the switch to the left to
INV.
1
to change the HS polarity
2
Slide the switch to the right to NORMAL to retain the polarity
2
SYNC POLARITY
Switches
VS
Slide the switch to the left to
INV.
1
to change the VS polarity
2
Slide the switch to the right to NORMAL to retain the polarity
3
ID BIT Switch
Slide to the right to ON
3
or to the left to set to OFF
4
RS-232 Switches
Set both switches to the right to convert the RS-485 connectors to RS-232
for firmware upgrade
5
RS-485 TERM. Switch
Set the switch to the left to ON for RS-485 Line Termination with 120
6
PROGRAM Switch
Slide to the right to PROGRAM to upgrade to the latest Kramer firmware
(via RS-232), see
section 6.
Switch to the left for normal operation
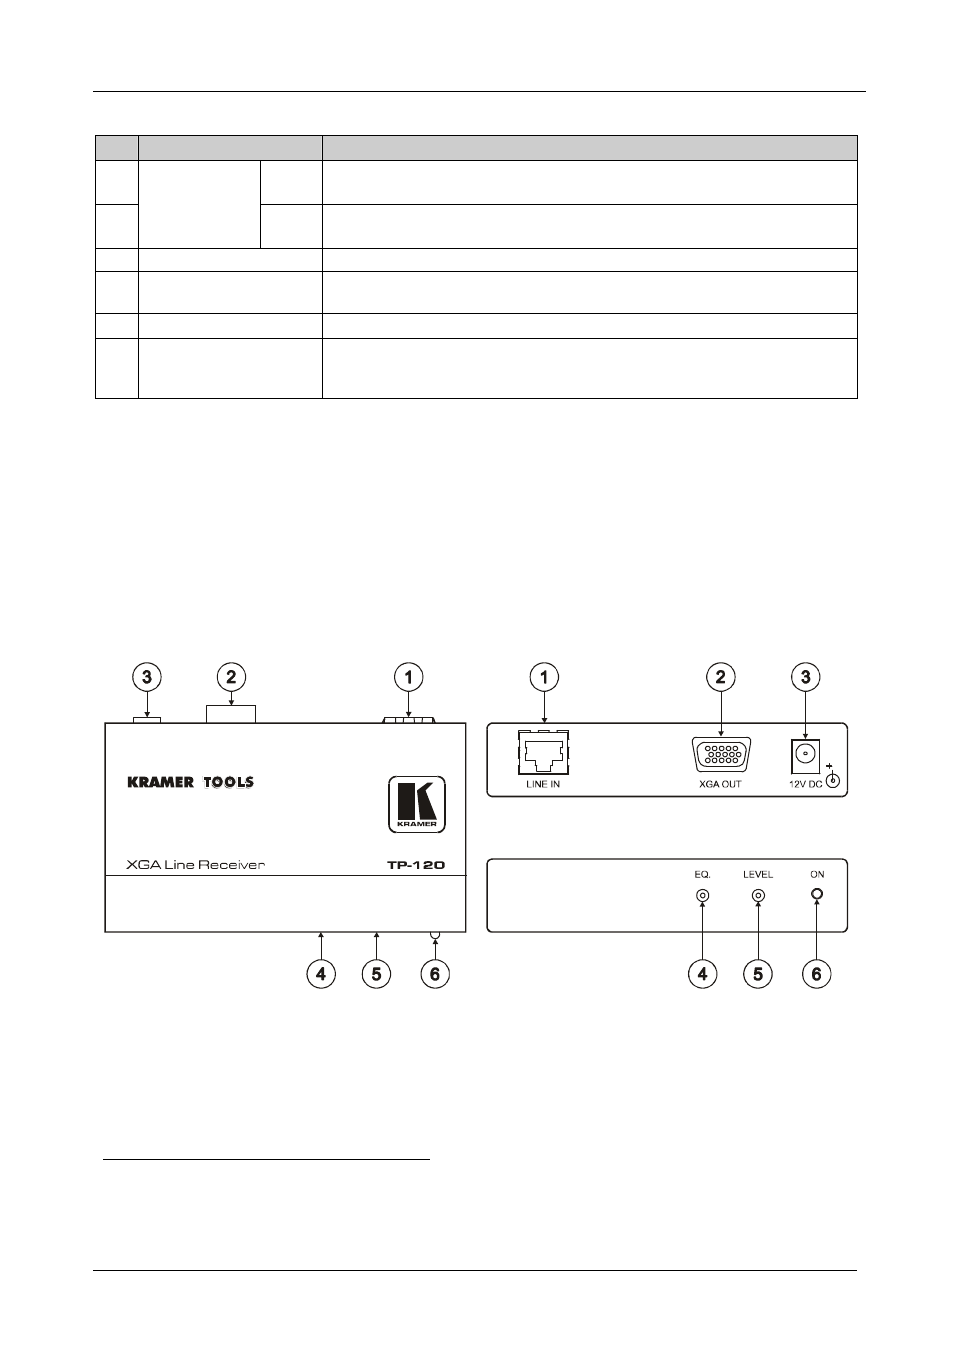
4.2 Your TP-120/TP-122 Line Receiver
This section defines the:
TP-120 XGA Line Receiver (see section 4.2.1)
TP-122 XGA / Audio Line Receiver (see section 4.2.2)
4.2.1
Your TP-120 XGA Line Receiver
Figure 5 and Table 5 define the
TP-120 XGA Line Receiver:
Figure 5: TP-120 XGA Line Receiver
1 By default, both switches are set to the right
2 Downgoing syncs
3 The default. Enabling the notebook or laptop to output a VGA signal to an external VGA monitor