Kramer Electronics VP-1201 User Manual
Page 17
Connecting a VP-1201 12x1 XGA Switcher / Scanner
13
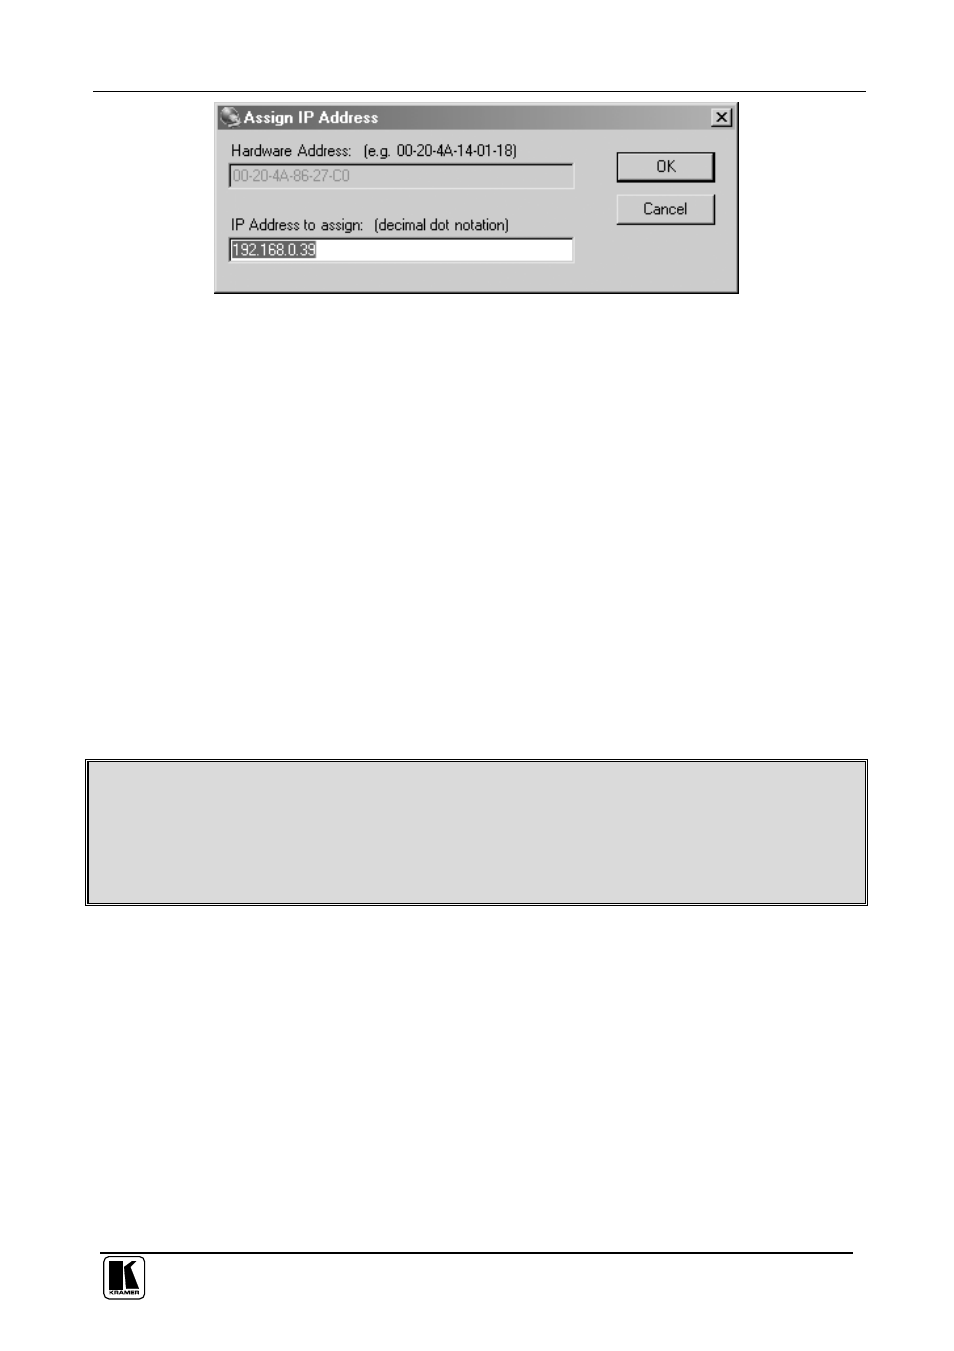
Figure 10: IP Address Assignment Dialog Box
Enter the new IP Address and click
OK. The new IP Address will appear in
the main window.
5.4.2.4 Test the IP Address
To test the IP Address, do the following:
1. Select the device from the main window list.
2. Click the
Ping
icon or select
Ping
from the Action menu. The Ping
Device dialog box shows the IP Address of the selected device.
3. Click the
Ping button and the results will be displayed in the Status
window. Use the
Clear Status button to clear the window so you can
ping the device again.
4. Click the
Close button to close the dialog box and return to the main
window.
Note: If you do not receive “Reply” messages, make sure the unit is properly
attached to the network and that the IP address assigned is valid for the particular
network segment you are working with. If you are not sure, check with your
Systems Administrator
5.4.3
Configuring the ETHERNET Port
You must configure the ETHERNET Port so that it can communicate on a
network with your serial device. For example, you must set the way the unit
will respond to serial and network traffic, how it will handle serial packets,
and when to start or close a connection. You can configure your unit locally
or remotely using the following procedures:
Use the XPort™ Installer to configure the unit. Some features are only
available through the XPort™ Installer menus
Use a standard Web browser to access the unit’s internal Web pages and
configure the unit over the network (see section 5.4.4)
This is the easiest and preferred method