Take down the iss, Detaching the sim cover, Disassemble the standard radiation shield – DAVIS Vantage Pro2/Pro2 Plus: Daytime Fan Asp. Radiation Shield Kit User Manual
Page 3
Installing the Daytime Fan Kit
3
To put your console in Setup Mode:
At your Vantage Pro2 console, press and hold DONE and then press the
down arrow (-) to put the console in Setup Mode. This prevents the
reception of erroneous data while you are removing the ISS.
Note:
If the console acquires erroneous data during the upgrade, see Take the Console Out
of Setup Mode on page 16 for instructions on clearing data. Additional information on
clearing console data can be found in the Vantage Pro2 Console Manual.
Take Down the ISS
Please work on your Vantage Pro2 ISS in a safe place. If you are installing the
Daytime Fan Kit on an ISS that has already been placed into service, you will
need to take down the ISS from its sited location and move it to a convenient
and safe place to perform the installation.
To disassemble the ISS:
1. Locate the Sensor Interface
Module (SIM) housing cover
on the side of ISS and open it.
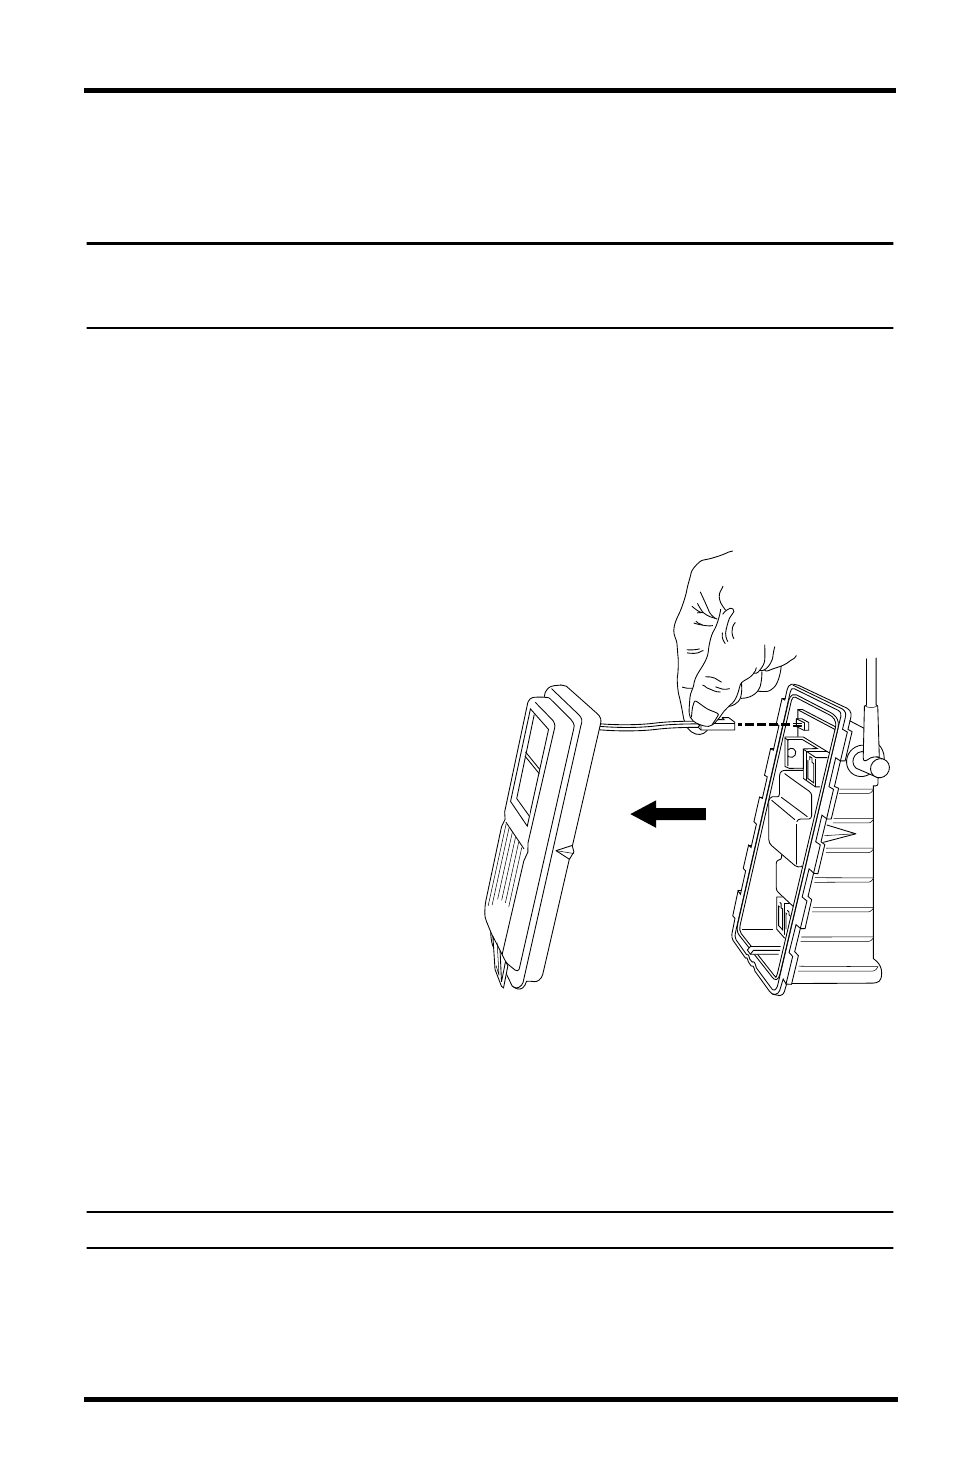
2. Disconnect the Solar Panel
wire on the SIM cover from
the SIM board by pulling the
Solar Panel connector.
3. Pull the foam insert out of the
cable access port in between
the cables and set the foam
insert aside.
4. Disconnect the anemometer
cable from the sensor
connector labeled WIND and,
if you are using a cabled
model, disconnect the console
cable from the SIM and slide
the cables out of the cable
access port.
5. You can now remove the ISS from its mounted position. Move it to a safe
place to install the kit components.
Disassemble the Standard Radiation Shield
Note:
We recommend using a workbench or table to perform the following procedures.
1. Open and remove the SIM cover if you have not done so already.
2. Disconnect the Temperature/Humidity cable from the SIM and slide the
cable out of the cable access port.
Lift off cover,
unplug solar power
connector
Detaching the SIM Cover