A note on securing cables, Troubleshooting, Cable clip cable tie – DAVIS Anemometer Transmitter Kit Installation User Manual
Page 14
Page 14
A N
OTE
ON
S
ECURING
C
ABLES
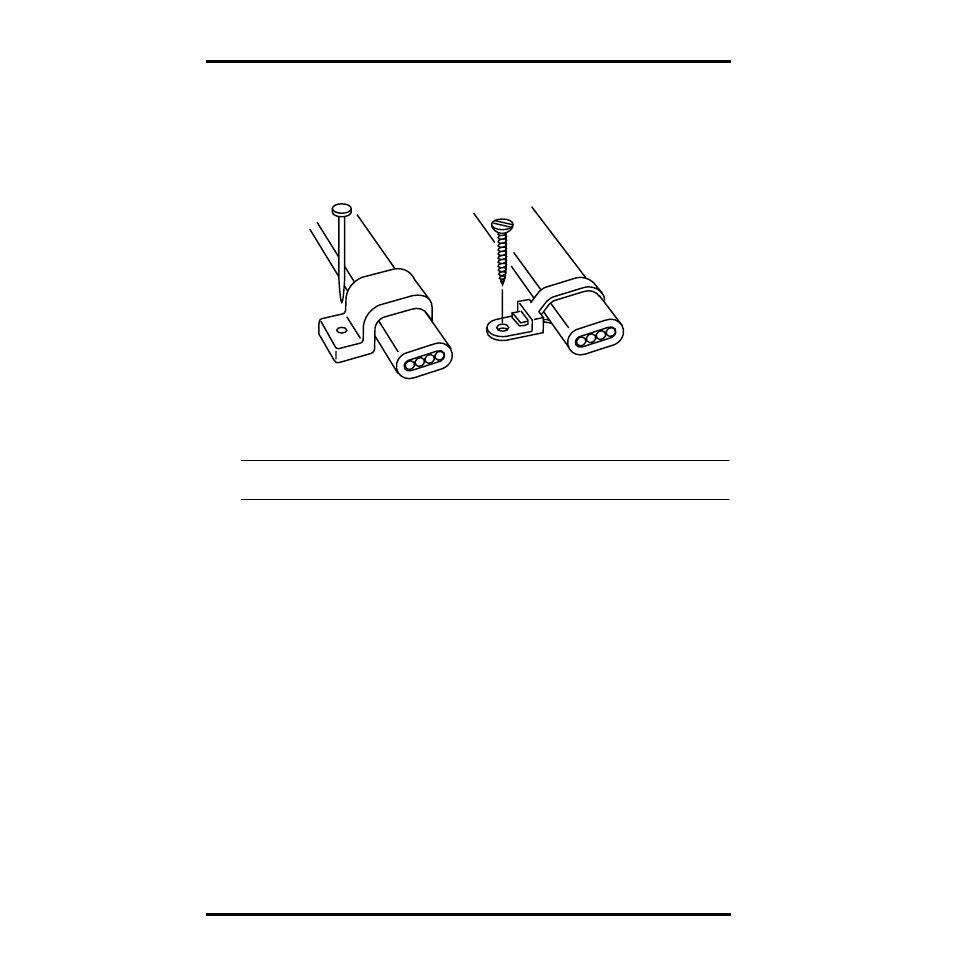
To prevent fraying or cutting of cables, secure them so they will not whip about
in the wind. Secure a cable to a metal pole by wrapping electrical tape around
them both. Make sure cables are secure by placing clips or ties approximately
every 3 – 5' (1 – 1.6 m).
Note: Do not use metal staples or a staple gun to secure cables. Metal staples—especially when
installed with a staple gun—have a tendency to cut the cables.
If you haven’t used the entire length of anemometer cable, secure the remain-
ing coil by taping it to the pole, or hanging it on a hook on the post. Place the
coil at least 6" away from the antenna.
T
ROUBLESHOOTING
“The anemometer head is tilted when I mount the anemometer.”
With your Allen wrench, loosen the screws holding the anemometer head on
the arm. (The screws are on the bottom of the anemometer head, by the wind
cups.) Turn the anemometer head so it is straight and then tighten the screws.
“The wind cups are spinning but my console only displays zero miles/hour.”
The signal from the wind cups is not making it back to the display. Remove the
cups from the anemometer and make sure there is a small silver disk next to
the steel shaft where the cups go. Put the cups back onto the shaft and adjust
them up or down 1/16 – 1/8 inch (1.5 – 3 mm). Check your cables for visible
nicks and cuts. Look for corrosion in the “WIND” jack on the Sensor Interface
Module and on splices in the cable (if any). If possible, remove any extensions
and try using the anemometer cable only. If none of these steps get the wind
speed working, call Technical Support at (510) 732-7814 to ask for a wind test
cable.
Cable Clip
Cable Tie