Caution to pre-1994 station owners, Testing the rain collector ii, Remove the cone from the base – DAVIS Rain Collector II for GroWeather, EnviroMonitor, Weather Monitor and Wizard User Manual
Page 5
Rainfall Calibration Number
5
If you install the metric adapter to your rain collector, first adjust the console to
display rainfall in millimeters (press RAIN then UNITS until it displays mm) and
then change CAL to 0005. (To change CAL, press and hold the RAIN button until
CAL appears on the display. Consult the station manual, if necessary, for further
instructions.) Be aware that the console will revert to its default calibration (i.e.,
inches) if it loses power.
Note: Make sure you display rainfall in the appropriate units of measure before changing CAL; otherwise you
will be setting the wrong calibration number. If, by mistake, you change CAL before switching to the
appropriate units, you can rectify the error by switching to the appropriate units and then entering the
appropriate CAL (for millimeters, 0005; for inches, 0100).
Once the console is calibrated for 0.01" (default) or 0.2 mm, you can switch the
display units as often as you like; the console accurately converts rainfall
amounts regardless of the type of rain collector you use.
Caution to Pre-1994 Station Owners
If you purchased a Monitor or Wizard station prior to 1994, it may be pre-cali-
brated for an earlier model rain collector. See “Calibration of Older Model
Weather Stations” on page
10 for instructions.
Testing the Rain Collector II
Before installing the Rain Collector II, test the unit. If you are replacing a rain col-
lector you previously installed, make a note of the total rainfall amount dis-
played. You may want to reenter this amount after you test the rain collector.
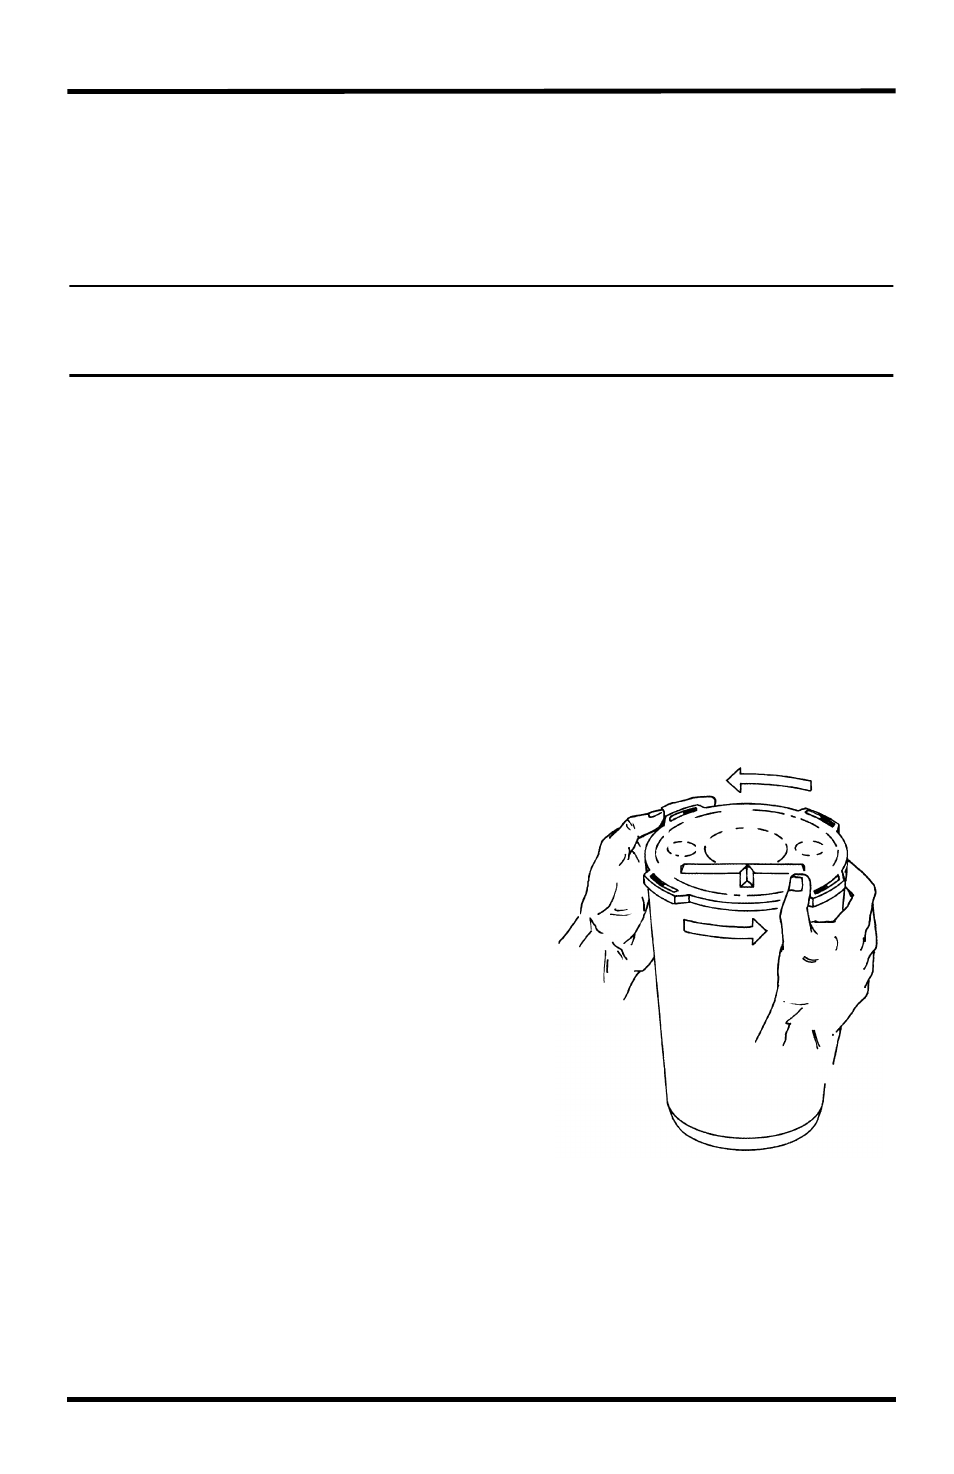
1. Turn the rain collector upside down and
remove the cone from the base by
rotating the base until the latches on the
cone line up with the latch openings in
the base then lifting the base away from
the cone.
Remove the Cone from the Base
2. Carefully cut and remove the plastic tie
which holds the bucket in place during
shipping.
3. Attach the rain collector cable to the
appropriate connector on the junction
box.
4. Consult your station manual or system
installation manual.
5. Press the appropriate key on your con-
sole as necessary to display rainfall.
6. Press UNITS if necessary to display
rainfall in the rain collector’s native unit
of measure.
7. While watching the display on your console to see if it changes, slowly tip the
bucket until it drops to the opposite side. If the display does not change, you
may be tipping the bucket too quickly. Try again, more slowly this time.