Maintenance – JKS OGS159 User Manual
Page 3
JKS OGS159
JKS Adjustable Track Bar Installation
Page 3
Ratchet Strap (preferred)
Â
Attach a heavy duty ratchet strap to the chassis on
one side of the vehicle, and to the axle housing on
the other side.
Â
Tighten the strap in small increments to pull the
chassis in alignment with the axle.
Â
Take measurements after each adjustment until
centered.
Pushing Vehicle Body
Although this method will laterally shift the chassis
relative to axle housing, it does not enable the posi-
tion to be easily stabilized while measurements are
taken.
Â
With the vehicle safely on the ground, have a
partner gently push on the vehicle body above the
rear wheels.
Â
Take measurements while your partner maintains
pressure on the vehicle body.
4. SET ADJUSTABLE TRACKBAR
LENGTH AND MOUNT TO CHASSIS
With the axle housing centered beneath the chas-
sis, adjust the length of Adjustable Trackbar by
rotating the Chassis End (A) until steel sleeve in
Rubber Bushing (D) aligns with the mounting holes
on the chassis bracket.
Apply anti-seize lubricant to original mounting bolt
threads and adjustment threads of trackbar.
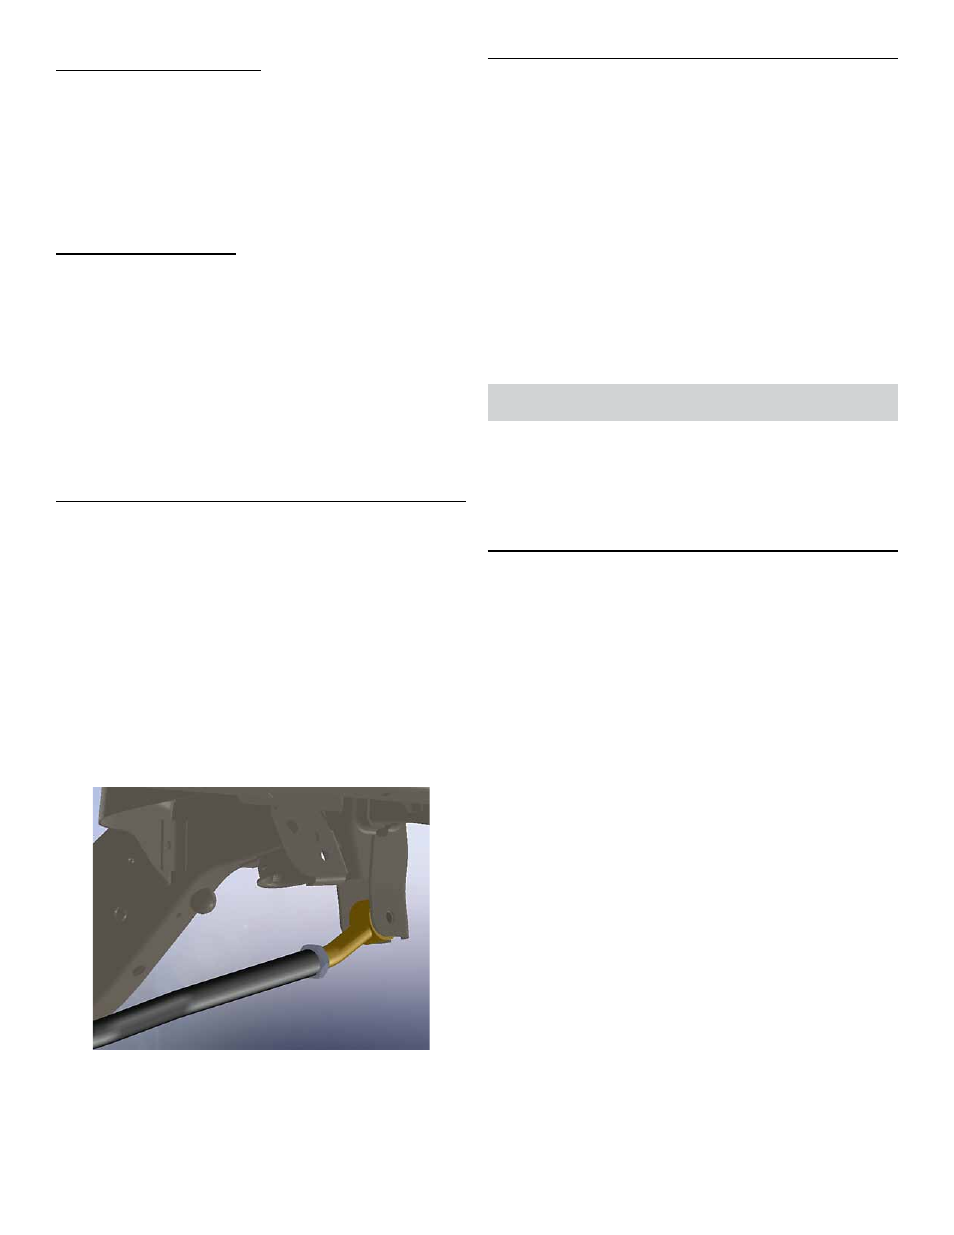
HINT:
Bend in chassis (gold) end of trackbar must point
down to prevent interference from occurring when
suspension articulates. This is the same for RHD
and LHD vehicles.
Mount Chassis End (A) of adjustable trackbar to
the chassis bracket by loosely installing the origi-
nal mounting hardware.
5. POST-INSTALLATION
Take measurements again to ensure axle housing
is perfectly centered and make any final adjust-
ments if necessary.
IMPORTANT: The rear axle housing must be in
perfect lateral alignment with vehicle chassis be-
fore you proceed with installation.
Once all adjustments are complete, fully tighten
the Jam Nut (C) to prevent Adjustable Trackbar
length from changing. HINT: It may be easier to
tighten Jam Nut with the Adjustable Trackbar re-
moved from vehicle.
Using a torque wrench, tighten mounting hardware
at both ends of track bar to 125 ft-lbs.
Maintenance
Check torque specifications regularly.
Regular cleaning with pressurized water is recom-
mended to maximize reliability.
©2014 JKS Manufacturing, Inc & Aftermarketing, LLC
Revision Date 03/13/2014