HP Pavilion t350.uk Desktop PC User Manual
Page 144
136
user’s guide
To install a new optical drive:
NOTE:
Make sure the jumper on the new drive is in the CS (Cable Select)
position.
1 Slide the new optical drive through the front of the computer. Don’t slide the
drive in all the way — you need room to attach the cables.
2 Connect the cables to the back of the drive(s).
3 Push the drive(s) all the way in, align the screw holes and insert the screws as
follows:
•
upper drive bay, full-sized drive — use C screw holes.
•
lower drive bay, full-sized drive — use D screw holes.
•
lower drive bay, 3.5-inch drive in an adapter tray — use the rear (D) slotted
screw hole and the (G) forward screw hole. This positions the 3.5-inch
drive tray flush with the front cover.
NOTE:
The 3.5-inch drive option applies only to Chassis I and II, and is not
available for Chassis III.
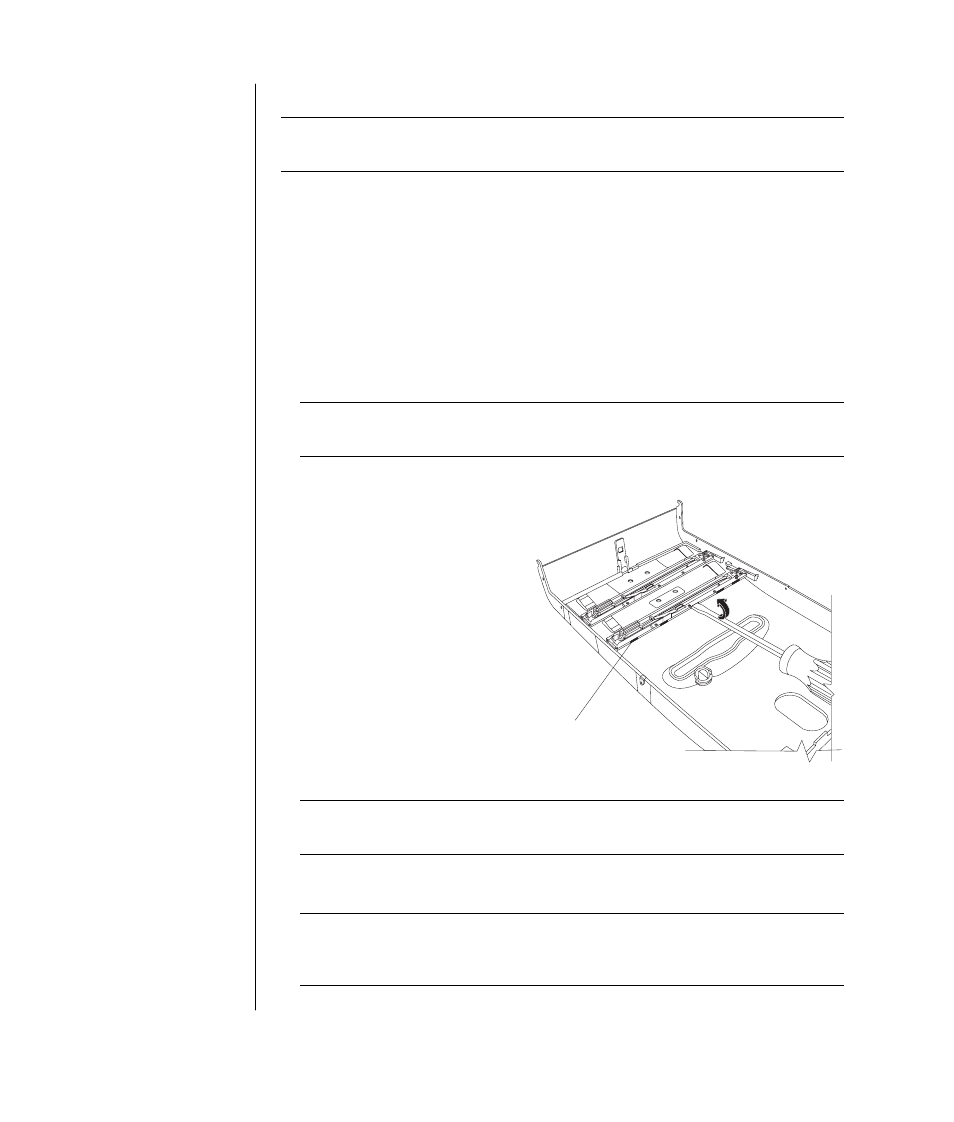
To reassemble the computer:
1 Replace the fan duct and side
panel (see ”closing the
computer” on page 139).
2 Skip this step if you are
installing a full-sized drive or if
you have Chassis III. Prepare
the front cover when a 3.5-inch
drive is in the lower drive bay:
Remove the lower bay door by
inserting a screwdriver blade at
H
(5 places) on the inside of the
cover. Pry the door off the front
cover.
NOTE:
This step applies only to Chassis I and II, and is not available for
Chassis III.
3 Lift the door of the CD holder located on the top of the chassis, if your
computer has one (Chassis II and Chassis III only).
NOTE:
If your computer has a top door and you don’t lift the door of the CD
holder before you attach the front cover, the front cover will not fit properly
and could break, if forced.
H
Chassis I and Chassis II only