Clogged tip, Troubl eshooting – HP Designjet 3D Printer series User Manual
Page 56
52
Troubl
eshooting
Clogged tip
Occasionally, a tip may clog with material. This will often result in a loss of extrusion (LOE). A
clogged tip will prohibit material load and part building.
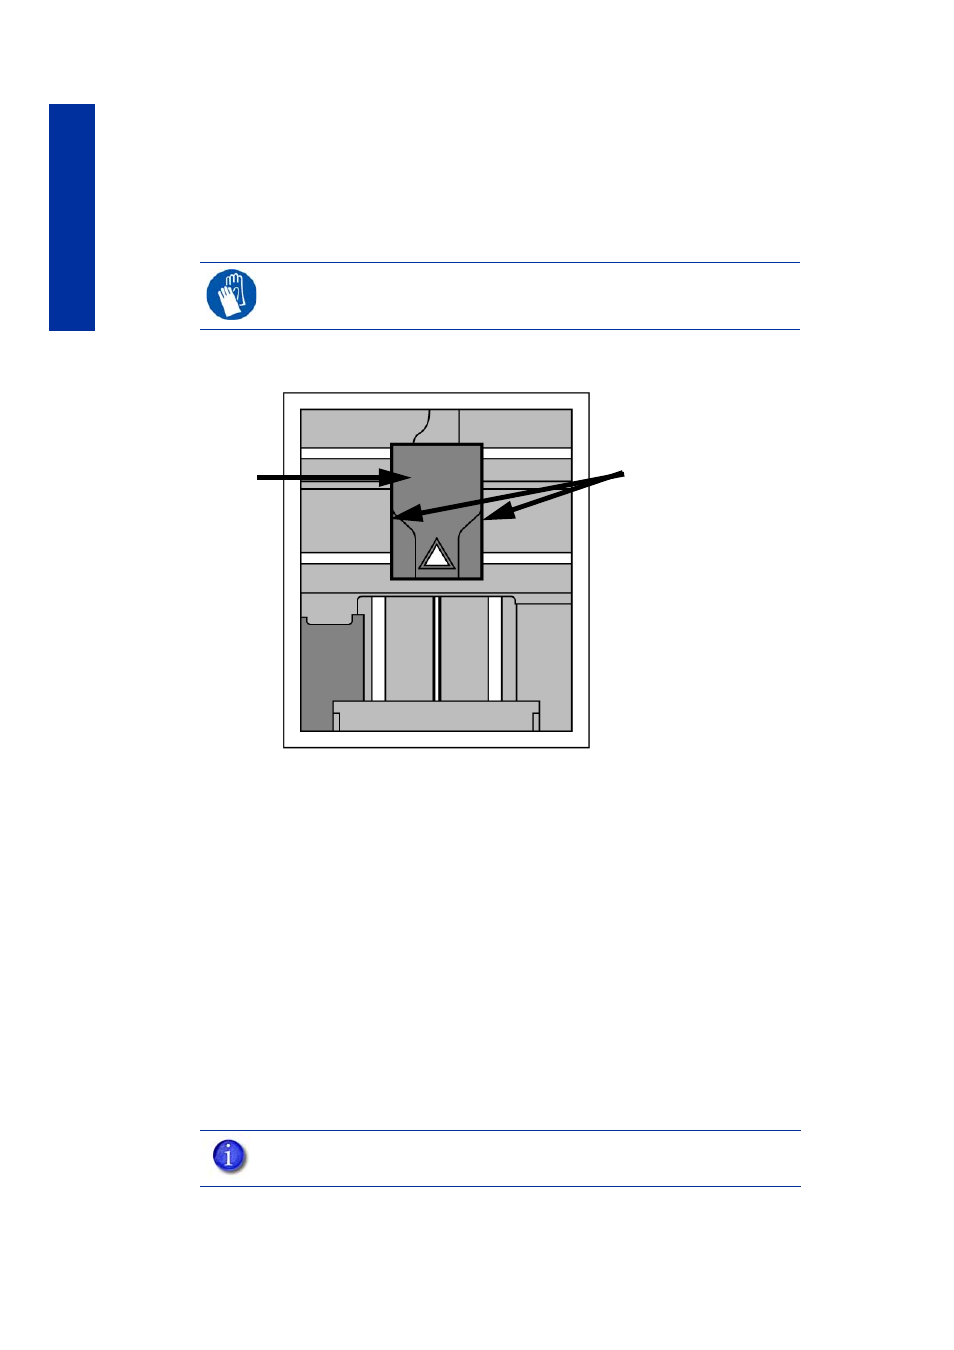
1.
Remove the head cover by pressing the tabs in and pulling away from the head. See
Figure
47.
Figure 47
Remove the head cover
2.
Inspect to of tips for material build up. If there is excess material build up see
from loss of extrusion” on page 55
. If there is no excess material build up close the
chamber door and continue.
3.
From the display panel press Maintenance.
4.
Press Machine. The printer will calibrate which will take approximately 3 minutes.
5.
Press Head. The head will heat up to operating temperature which will take approximately
3 minutes.
6.
Press Select Drive and choose the drive that may have the clogged tip.
7.
Press Forward, the drive wheel will turn the selected drive forward.
8.
Press Blower Off, this will turn the head cooling fan off for 10 seconds, allowing the tip to
heat up beyond operating temperature. If material starts to extrude the tip is no longer
clogged. If material does not extrude see
“Recovering from loss of extrusion” on page 55
9.
Press Done.
10.
Replace head cover.
11.
Display will ask Which Materials Loaded? Press Both.
12.
Press Done until back to Idle.
GLOVES:
The head area is hot. Use leather gloves when working in this area
of printer.
NOTE:
If the head cover is not replaced the printer may not function properly.
Press tabs in to remove
head cover
Head Cover