Auto power down, Cancelling auto power down, Powering off – HP Designjet 3D Printer series User Manual
Page 36: Resuming operations from standby mode, Updating printer firmware, Installing the firmware, Figure 26
32
Op
era
tio
n
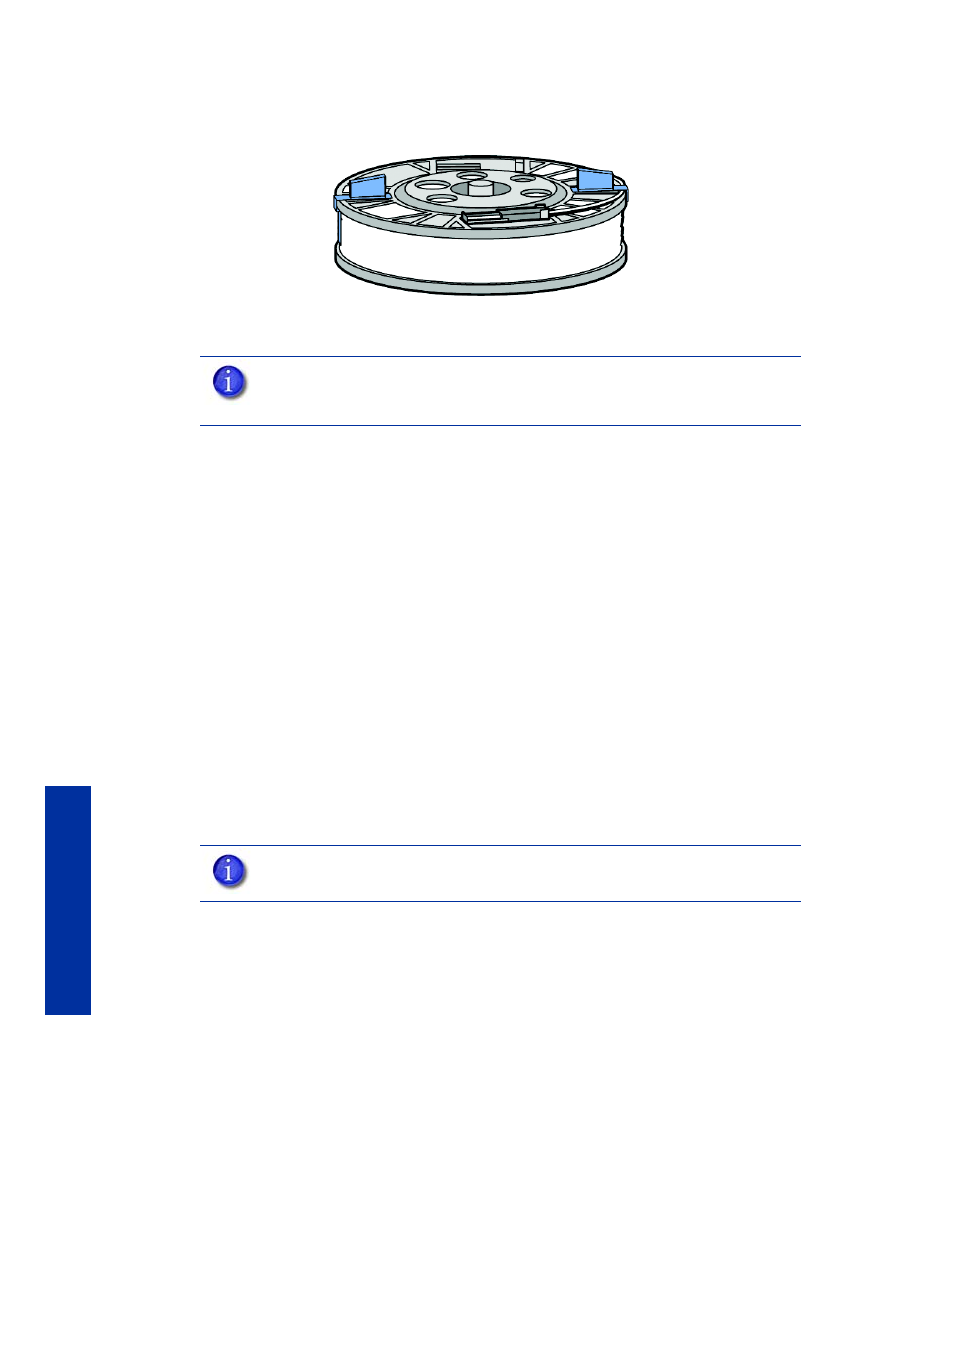
Figure 26
Properly installed material retaining clips.
14.
Place the material spool in the storage bag that came with the material carrier.
Auto power down
You can set the printer to automatically power down when a build is complete. This option will
save energy usage.
1.
While the printer is building, press the Auto Power Down button.
2.
Turn the power switch, located on the left side of the printer, to the OFF position.
The printer will display
Auto Power Down Mode
and the printer will power down as soon as the
build is complete.
Cancelling auto power down:
1.
Turn the power switch back to the ON position.
Powering off
To power off the printer, turn the power switch to the OFF position.
You can do this at anytime
without harming the printer. No other steps are necessary. If this is done while the printer is
building a part, the current part will not be completed.
Resuming operations from Standby mode
After several minutes of inactivity, the printer will enter Standby mode. During Standby, the head
temperature will decrease to conserve energy.
From the display panel press Resume.
Updating printer firmware:
Check
for printer firmware updates. If
there is an upgrade to the printer firmware, download the upgrade and install on the printer.
Installing the firmware:
1.
From the printer display panel, press Maintenance.
2.
Press System.
NOTE:
When not loaded in the printer, always store material spools in the
material carrier or the storage bag that came with the carrier to prevent
moisture absorption.
NOTE:
System cooling fans and lights will continue to operate for several
minutes after the switch has been turned off.