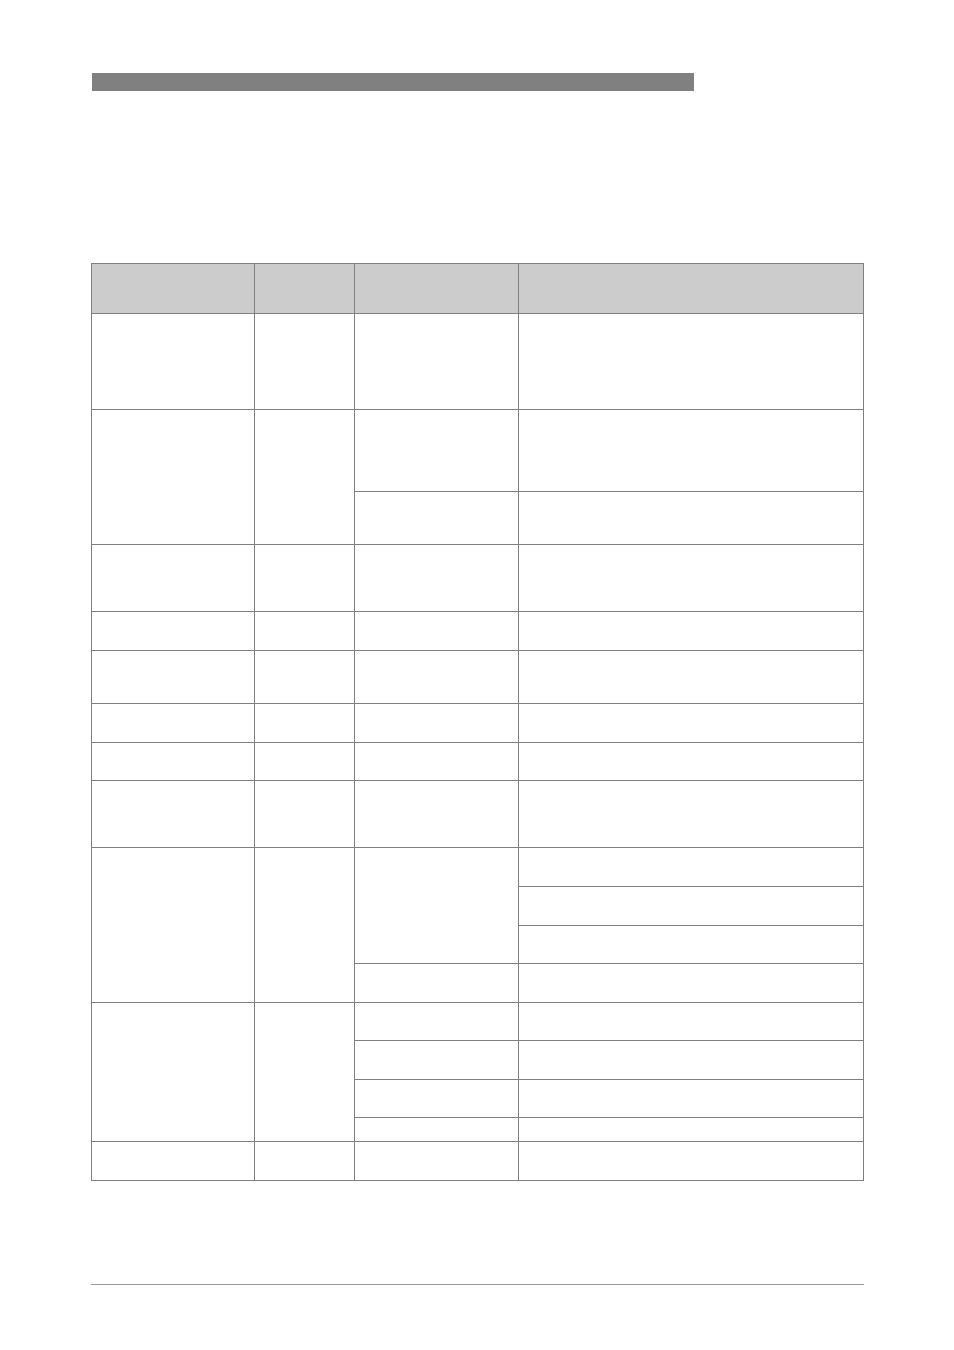
Fault chart, Operation – KROHNE OPTISYS TUR 1050 EN User Manual
Page 49

OPERATION
5
49
OPTISYS TUR 1050
www.krohne.com
11/2012 - 4002444301 MA OPTISYS TUR 1050 R02 en
Apart from the faults shown before there are problems that do not have a specific message in
the display (e.g. extremely alternating measuring results). The following table contains both
kinds of problems:
Fault chart
Fault message /
problem
Category
Cause
Measurement
CAL (bottom row of
display)
Error
Deficient calibration or
calibration impossible.
Ensure that you use a proper calibration liquid (the
best way is to use the calibration cuvettes of the
manufacturer); if the calibration fails nonetheless,
check the output of the sensor lamp and clean it or
replace. After you remedied the problem, you have
to recalibrate the device.
CLN (bottom row of
display)
Error
Ultrasonic transducer
has no contact to the
spring connections or
transducer itself is
damaged.
Rotate ultrasonic cuvette slightly to improve the
spring connection; if message persists, the
transducer itself is damaged and you have to
replace the whole cuvette.
Ultrasonic cuvette has
been removed or
wrong cuvette is used.
Insert correct ultrasonic cuvette and pay attention
to the correct procedure (details on page 21).
DESC (bottom row of
display, only if
desiccant alarm
disabled)
Warning
Desiccant in the pouch
is saturated or bad.
Change desiccant pouch (details on page 51).
FAIL (bottom row of
display)
Failure
Complete malfunction
of an internal system.
Return the device to the manufacturer.
FLOW (bottom row of
display, only if flow
switch is installed)
Error
Sample flow stopped.
Restore sample flow, contact manufacturer for
further information.
LAMP (bottom row of
display)
Error
Light source fails.
A service employee of the manufacturer has to
replace the lamp, do not do it on your own!
MA (bottom row of
display)
Error
4...20 mA loop open.
Check wiring of the current output (details on page
Measuring result
blinks (i.e. value in the
upper row of the
display)
-
Exceeding of
measuring range, i.e.
turbidity is too high.
Take a sample and check the turbidity in a
laboratory.
Measuring result
alternates extremely
-
Bubbles in the
measured medium.
Ensure that the drain vent hole is open and not
blocked.
Apply backpressure with the help of the
backpressure valve.
In case of severe bubble formation use a stilling
chamber (available as accessory part).
Debris in the ultrasonic
cuvette.
Remove cuvette (details on page 50) and clean it
with a soft cloth.
Measuring result is
higher than expected
-
Bubbles in the
measured medium.
See above in this table.
Condensate or dirt in
the ultrasonic cuvette
Remove cuvette (details on page 50) and clean it
with a soft cloth.
Leaky ultrasonic
cuvette.
Check for leakages and replace devices if
necessary.
Improper calibration.
Recalibrate the device (details on page 30).
Measuring result is
lower than expected
-
Improper calibration.
Recalibrate the device (details on page 30).
