KANOMAX 3443 Digital Dust Monitor User Manual
Page 26
3. Display Description and operation Procedure
20
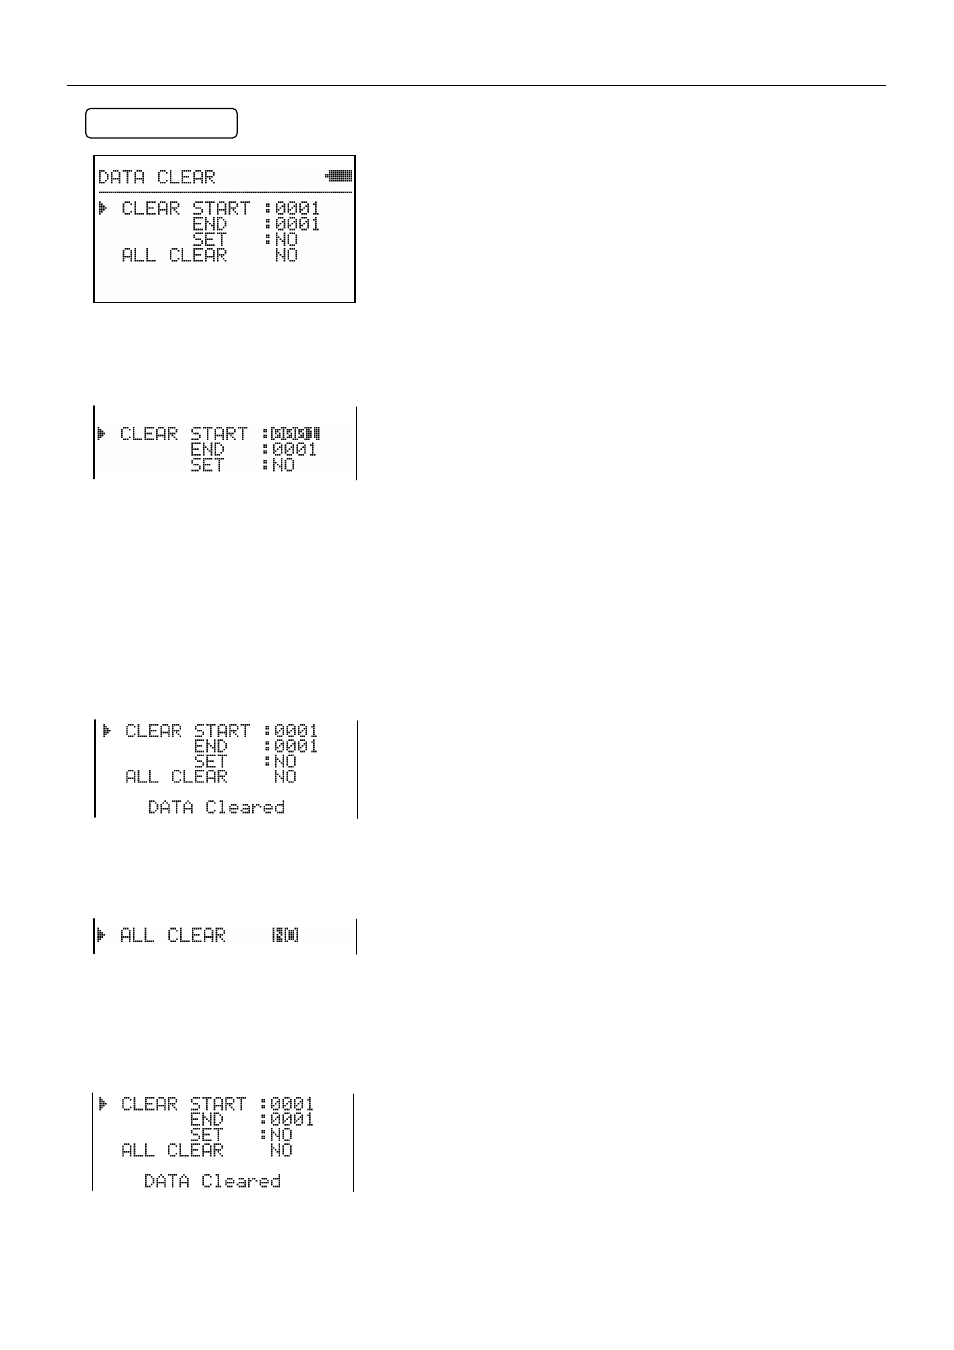
3.4.4 Deleting Data
Select DATA CLEAR on the menu screen to display the screen shown
on the left.
You can select to delete either only the selected data or all measurement
data.
Press [▲] [▼] keys to move the cursor and press [SET] key to select the
item.
Press [MENU] key to go back to the menu screen.
A) To Delete Only the Selected Measurement Data
Set the first and the last measurement data numbers to be deleted.
The item to be set will be highlighted.
Press [▲] key to increase the figure and [▼] key to decrease the figure.
Press [SET] key to fix the value. The set value will stop being
highlighted.
After setting the data number, YES/NO for SET will be highlighted. To
perform deletion, select [YES] using [▲] [▼] keys and then press [SET]
key. Then the data in the selected range will start to be deleted.
When the data deletion completes, the display will go back to the DATA
CLEAR screen where you can select to delete only selected data or all
data.
To go back to the MENU screen, press [MENU] key.
B) To Delete All Measurement Data
YES/NO will be highlighted.
To perform deletion, select [YES] using [▲] [▼] keys and then press
[SET] key. Then all of the data will start to be deleted.
When the data deletion completes, the display will go back to the DATA
CLEAR screen where you can select to delete only selected data or all
data.
To go back to the MENU screen, press [MENU] key.
“DATA Cleared
” will appear after deleting data.
“DATA Cleared
” will appear after deleting data.