Installation – Hired-Hand Farm Hand Series: SCS w/Back-Up User Manual
Page 13
Part No. 4801-5117 Rev. 8-01
Farm Hand SCS
11
1.
Place a thermometer inside the house at the location of each sensor. Allow a few minutes for
the temperature to stabilize.
2.
Take readings from the thermometers located at Sensor 1 and Sensor 2.
3.
Use the Program Mode to set calibrations of Sensor 1 and Sensor 2 (Refer to Table 1).
16. Installation
16.1 Unpacking Components
Unpack the system, and check that all components are present. Locate the required tools.
1
Farm Hand SCS™
1
Installation Kit
2
Temperature Sensors
1
Manual
16.2 Installation Instructions
1. Hang Farm Hand SCS™ with four screws and the plastic mounting brackets included.
2. Make sure all power supplies are disconnected before breaking any wires, or reaching into the
enclosure.
3. If the SCS™ contains a Back-Up, open the Farm Hand SCS™ and locate sensor connections.
Refer to Wiring Diagrams, Schematics, etc.
4. For the Back-Up, run sensors out to locations inside the house. Be sure that the sensors are in a
safe location, free from any extreme temperature influences (direct sunlight, water, etc.) Use care
when securing sensor wires so that you do not cut the wire. Any short or break in the wire will
cause improper sensor operation.
5. Connect each sensor to its appropriate terminals inside the enclosure. See Section17.2.
6. Wire the power supply. See Section 17.6
7. Wire the individual stages. See Wiring Diagrams at the back of this manual.
8. Wire the Local Network connection.
9. Close the Farm Hand SCS™ and tighten the two screws in the lid to secure the unit shut.
16.3 Checklist For Setting Up Control Of House Temperature
Please read and follow the Installation instructions on the following pages. Refer to the following
checklist as an aid in setting the Farm Hand SCS™ Back-Up controllers.
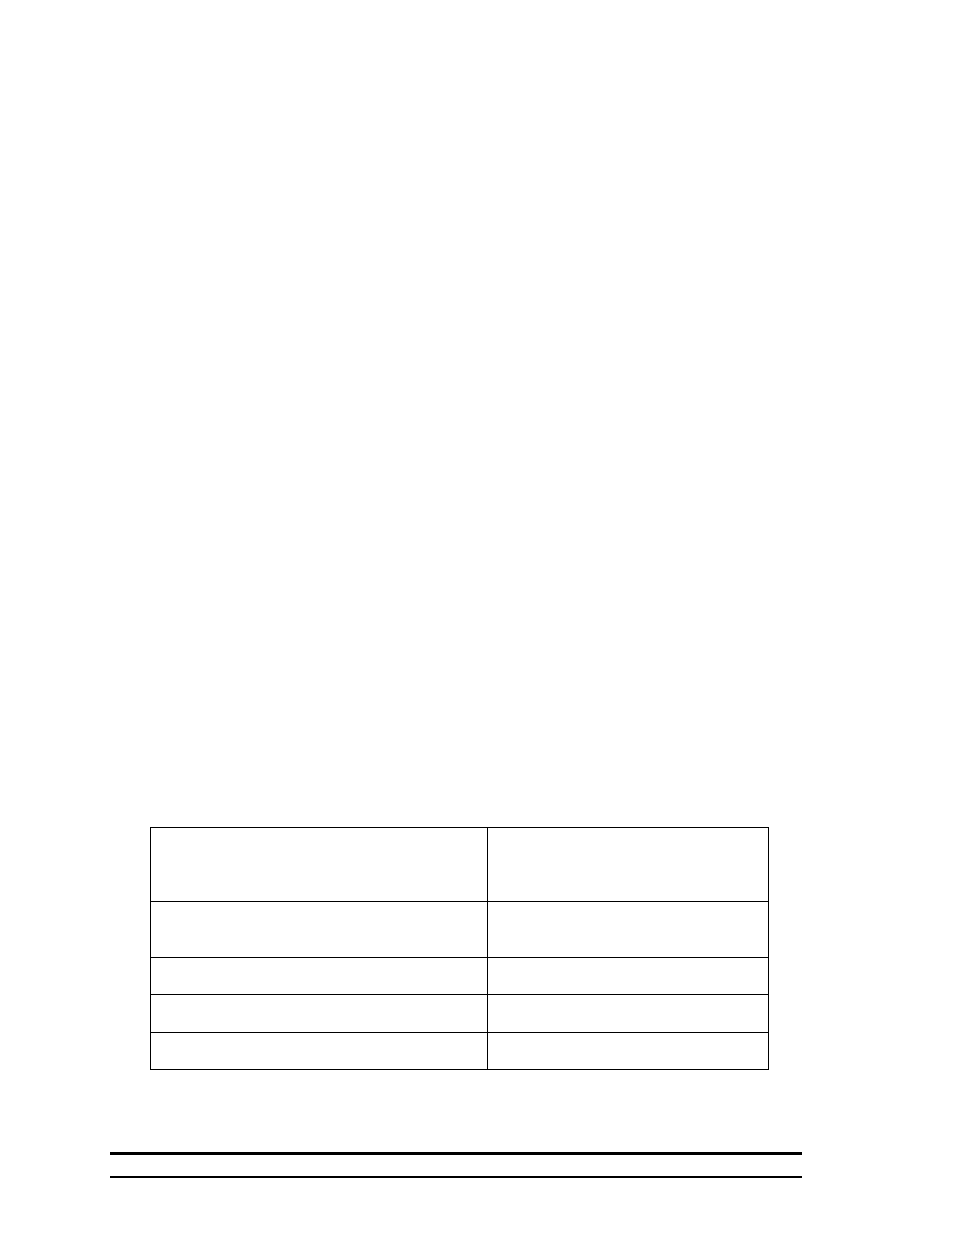
1. Physically install the controller, temperature
sensors, and wires leading from the output
stages to cooling and/or heat equipment or to a
control panel.
Refer to Section 16, Installation
Refer to Section 17.8, Connecting
Power from Breaker to a Heat Stage
or Cool Stage
2. Verify the jumpers on the Stage block to that
select either 115v or 230v operation. Set
Heat/Cooling Stage options.
Refer to Section17.8, SCS™
Connections to the Power Supply
3. Install power to controller.
Refer to Section 17.6.
4. Set High Limit & Low Limit
Refer to Section 13, Set Limits
5. Calibrate Sensors
Refer to Section 15, Calibrate
Sensors
Tools Required:
Mini Screwdriver
Wire Strippers
Standard Screwdriver