Laurel Electronics Ethernet Node Configuration for Series 2 Digital Panel Meters, Counters, Timers, Transmitters and Ethernet-to-Serial Device Servers User Manual
Page 43
43
You will find that Instrument Setup software is very user friendly, with separate tab-selectable
windows for Input+Display, Scaling, Filter, Relay Alarms, Communications, Analog Output, and
Lockouts. If the required hardware, such as the analog output board, is not sensed, the corres-
ponding tab will be grayed out. Uploading and downloading setup files from a host PC can be a
major time saving when multiple meters or transmitters have to be set up in the same way.
Additional Features
• The Commands pull-down menu allows execution of certain meter functions by using a
computer mouse. You can reset individual meter functions, display current or peak readings,
and enter numbers to be displayed on a remote meter. The Commands pull-down menu is
grayed out unless a Get Setup has been executed.
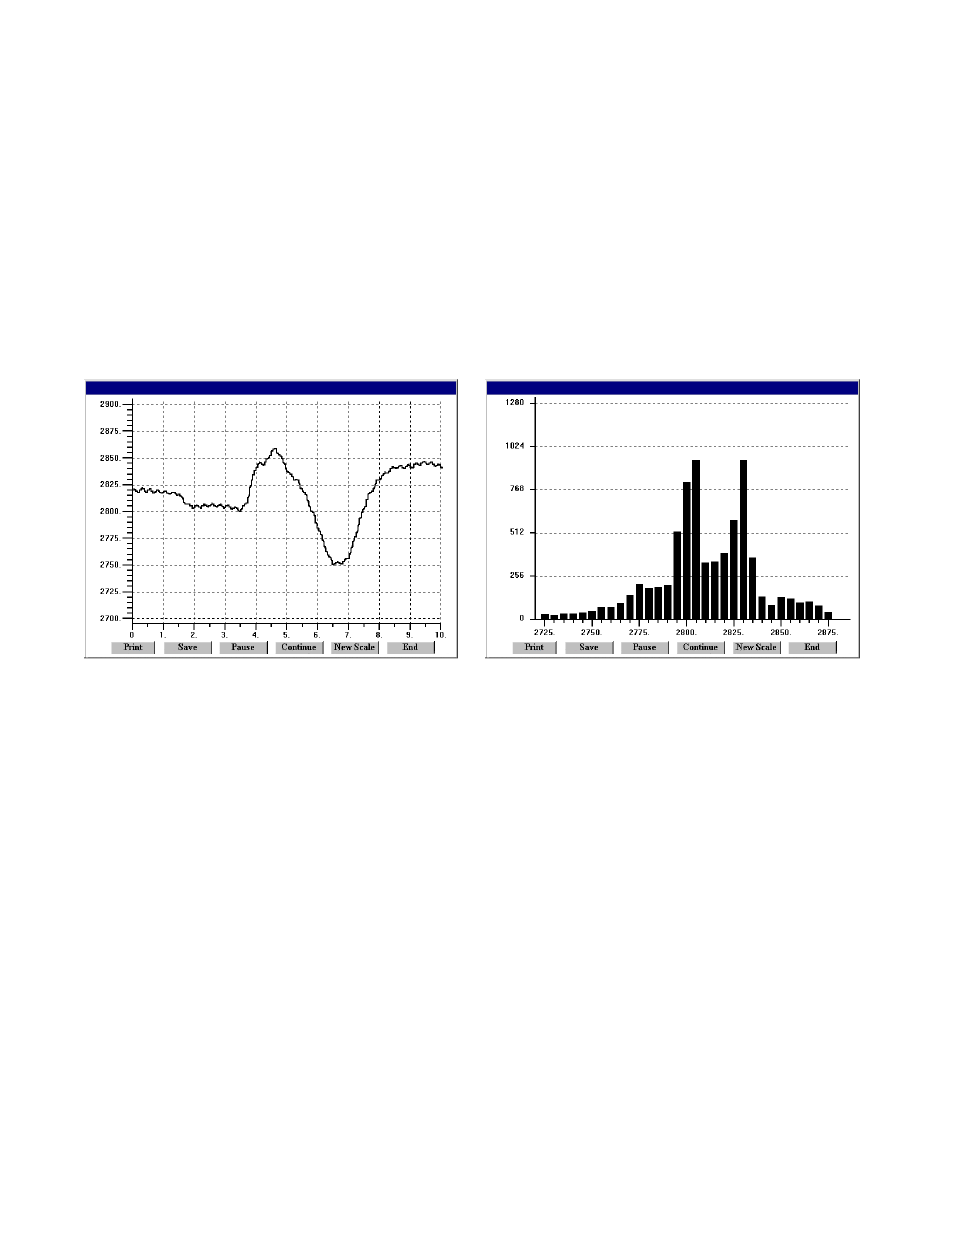
Plot
*
Graph
• The Readings pull-down menu provides three formats to display device data on the PC
monitor. Use the Pause and Continue buttons to control the timing of data collection, then
press Print for a hardcopy using your PC printer.
• List presents the latest readings in a 20-row by 10-column table. Press Pause at any time to
freeze the display. Press Print for a hardcopy. List can capture peak readings.
• Plot generates a plot of readings vs. time in seconds. It effectively turns the DPM-PC combi-
nation into a printing digital oscilloscope.
• Graph generates a histogram, where the horizontal axis is the reading and the vertical axis is
the number of readings. The display resizes itself as the number of readings increases.
• The Jumpers pull-down menu shows required board jumper positions.
• The Calibration pull-down menu allows easy calibration of voltage and current ranges for the
DC, load cell, and AC RMS signal conditioner boards. The PC first recognizes the type of board,
then prompts you to apply specific jumpers and calibration signals. Press Ready to take a
reading. Press Repeat to take more readings. When you have decided on which reading to
accept, press on the number 1 through 10 of that reading. Additional calibration software is
available online.